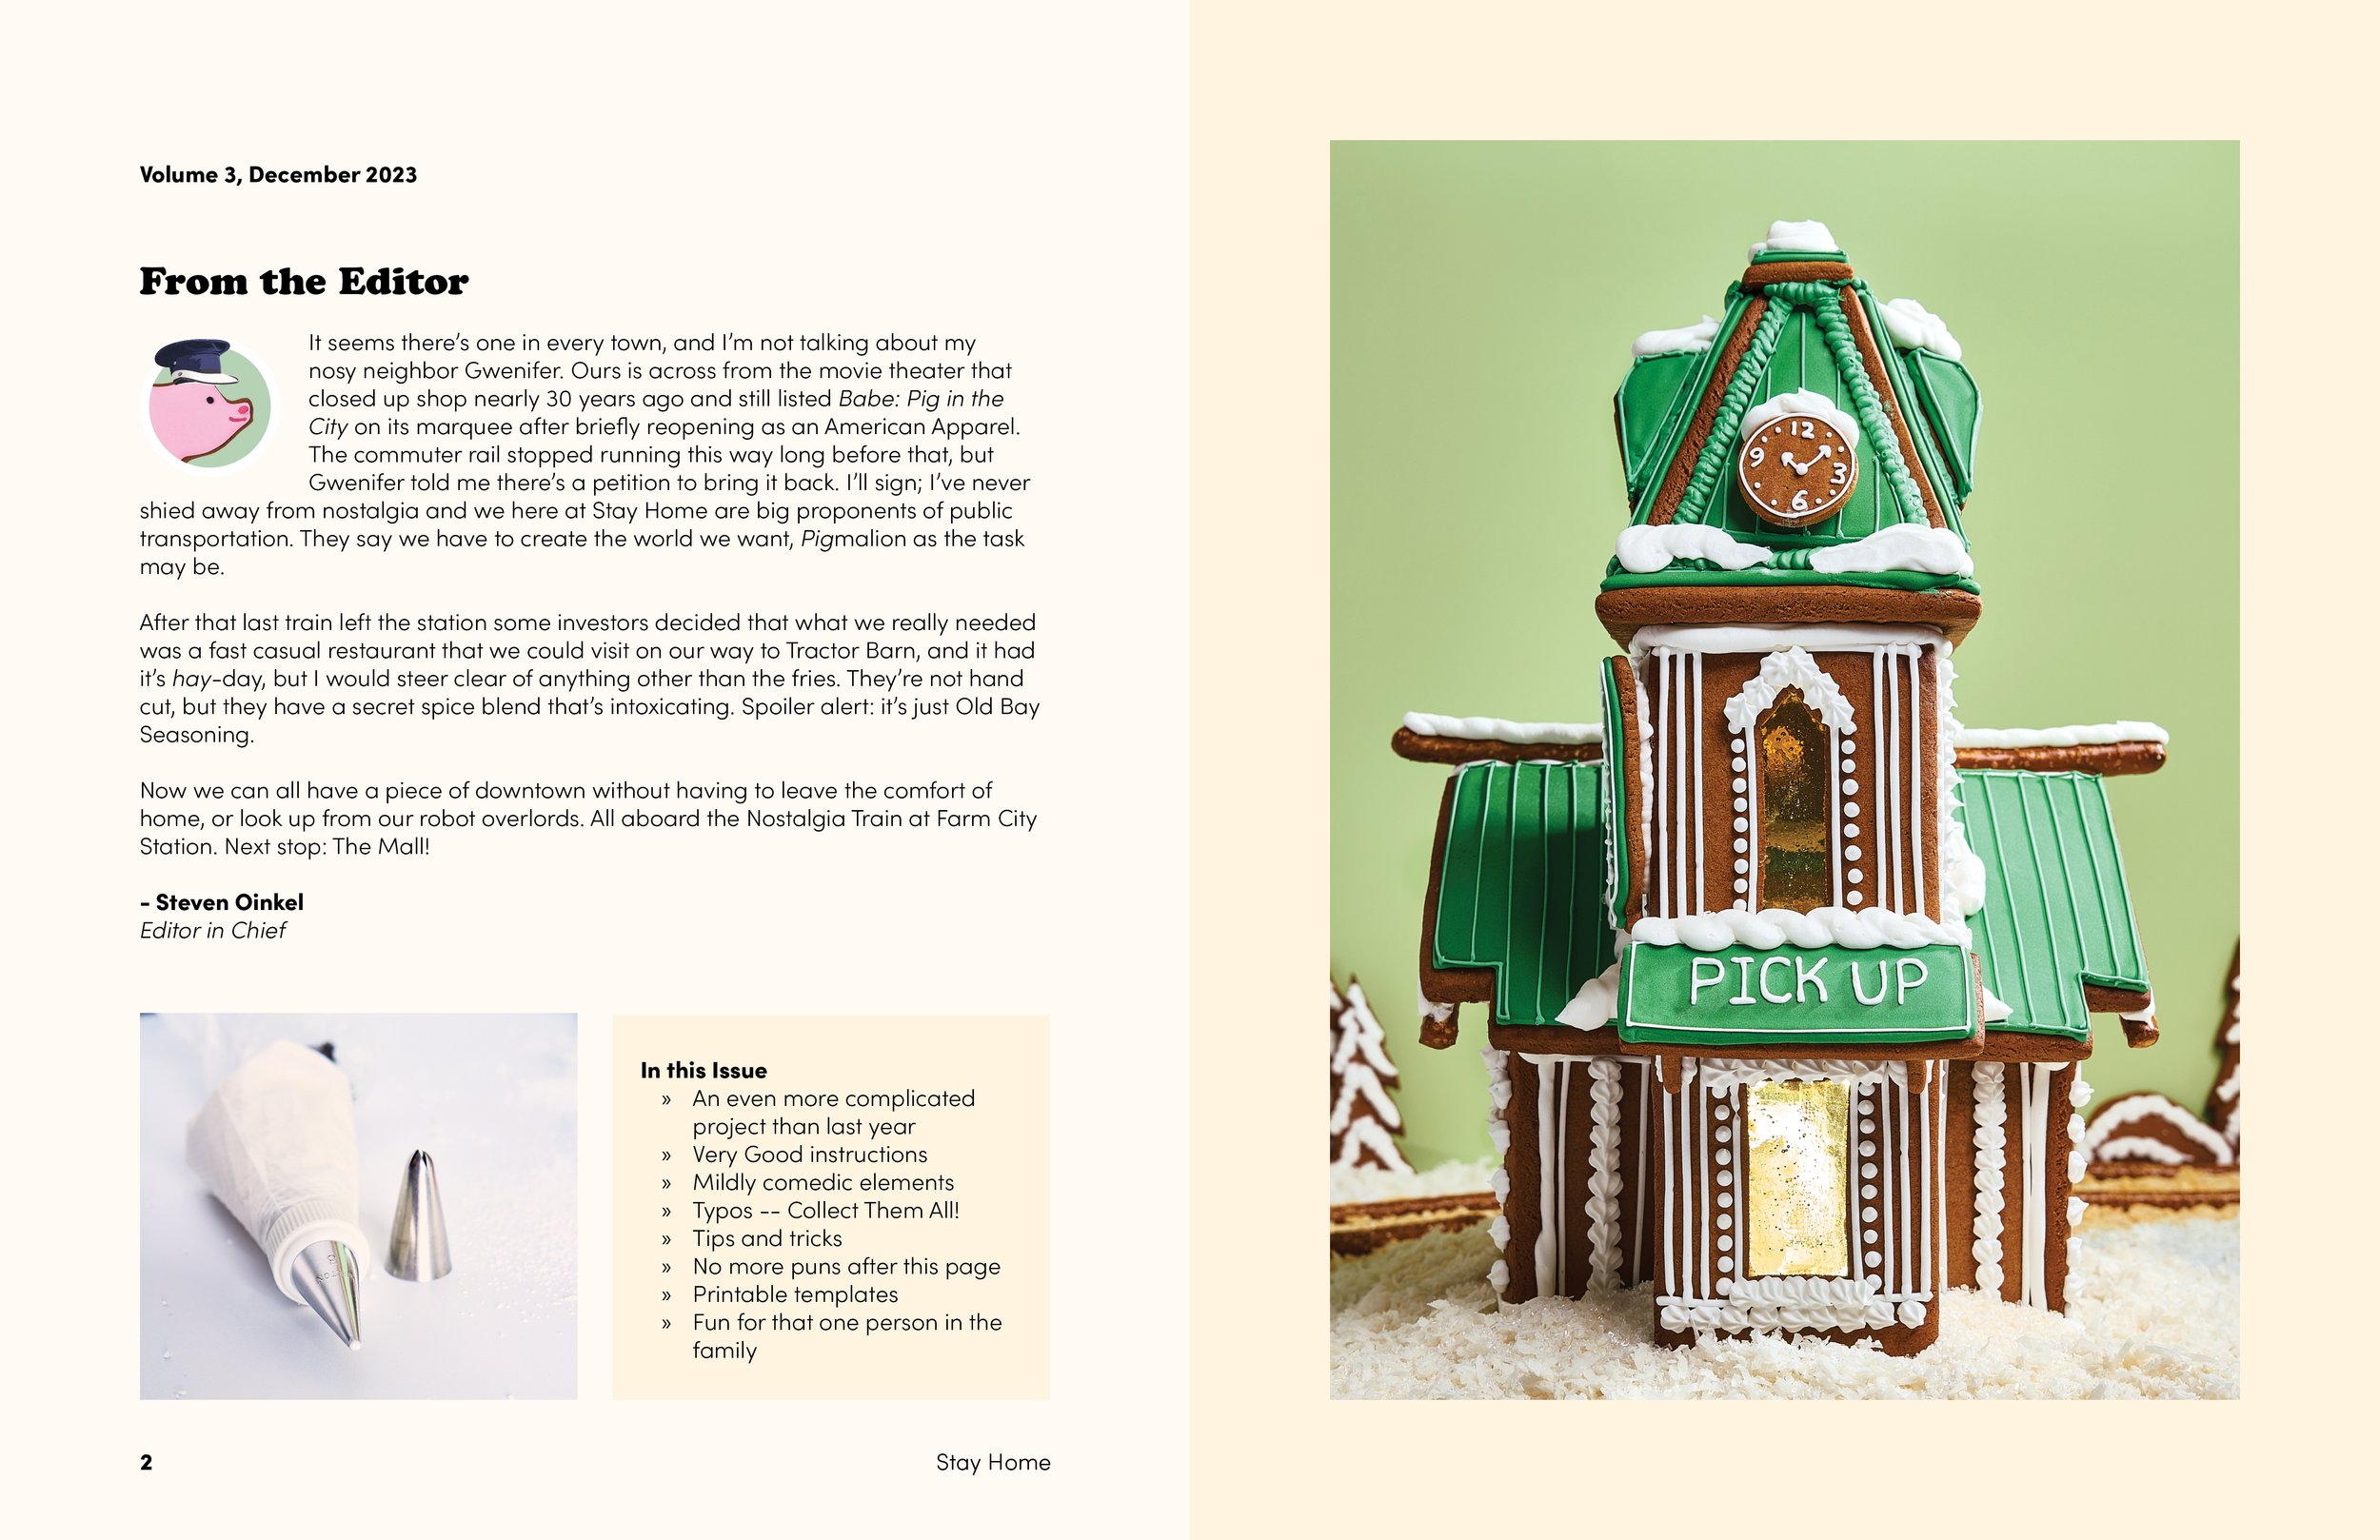
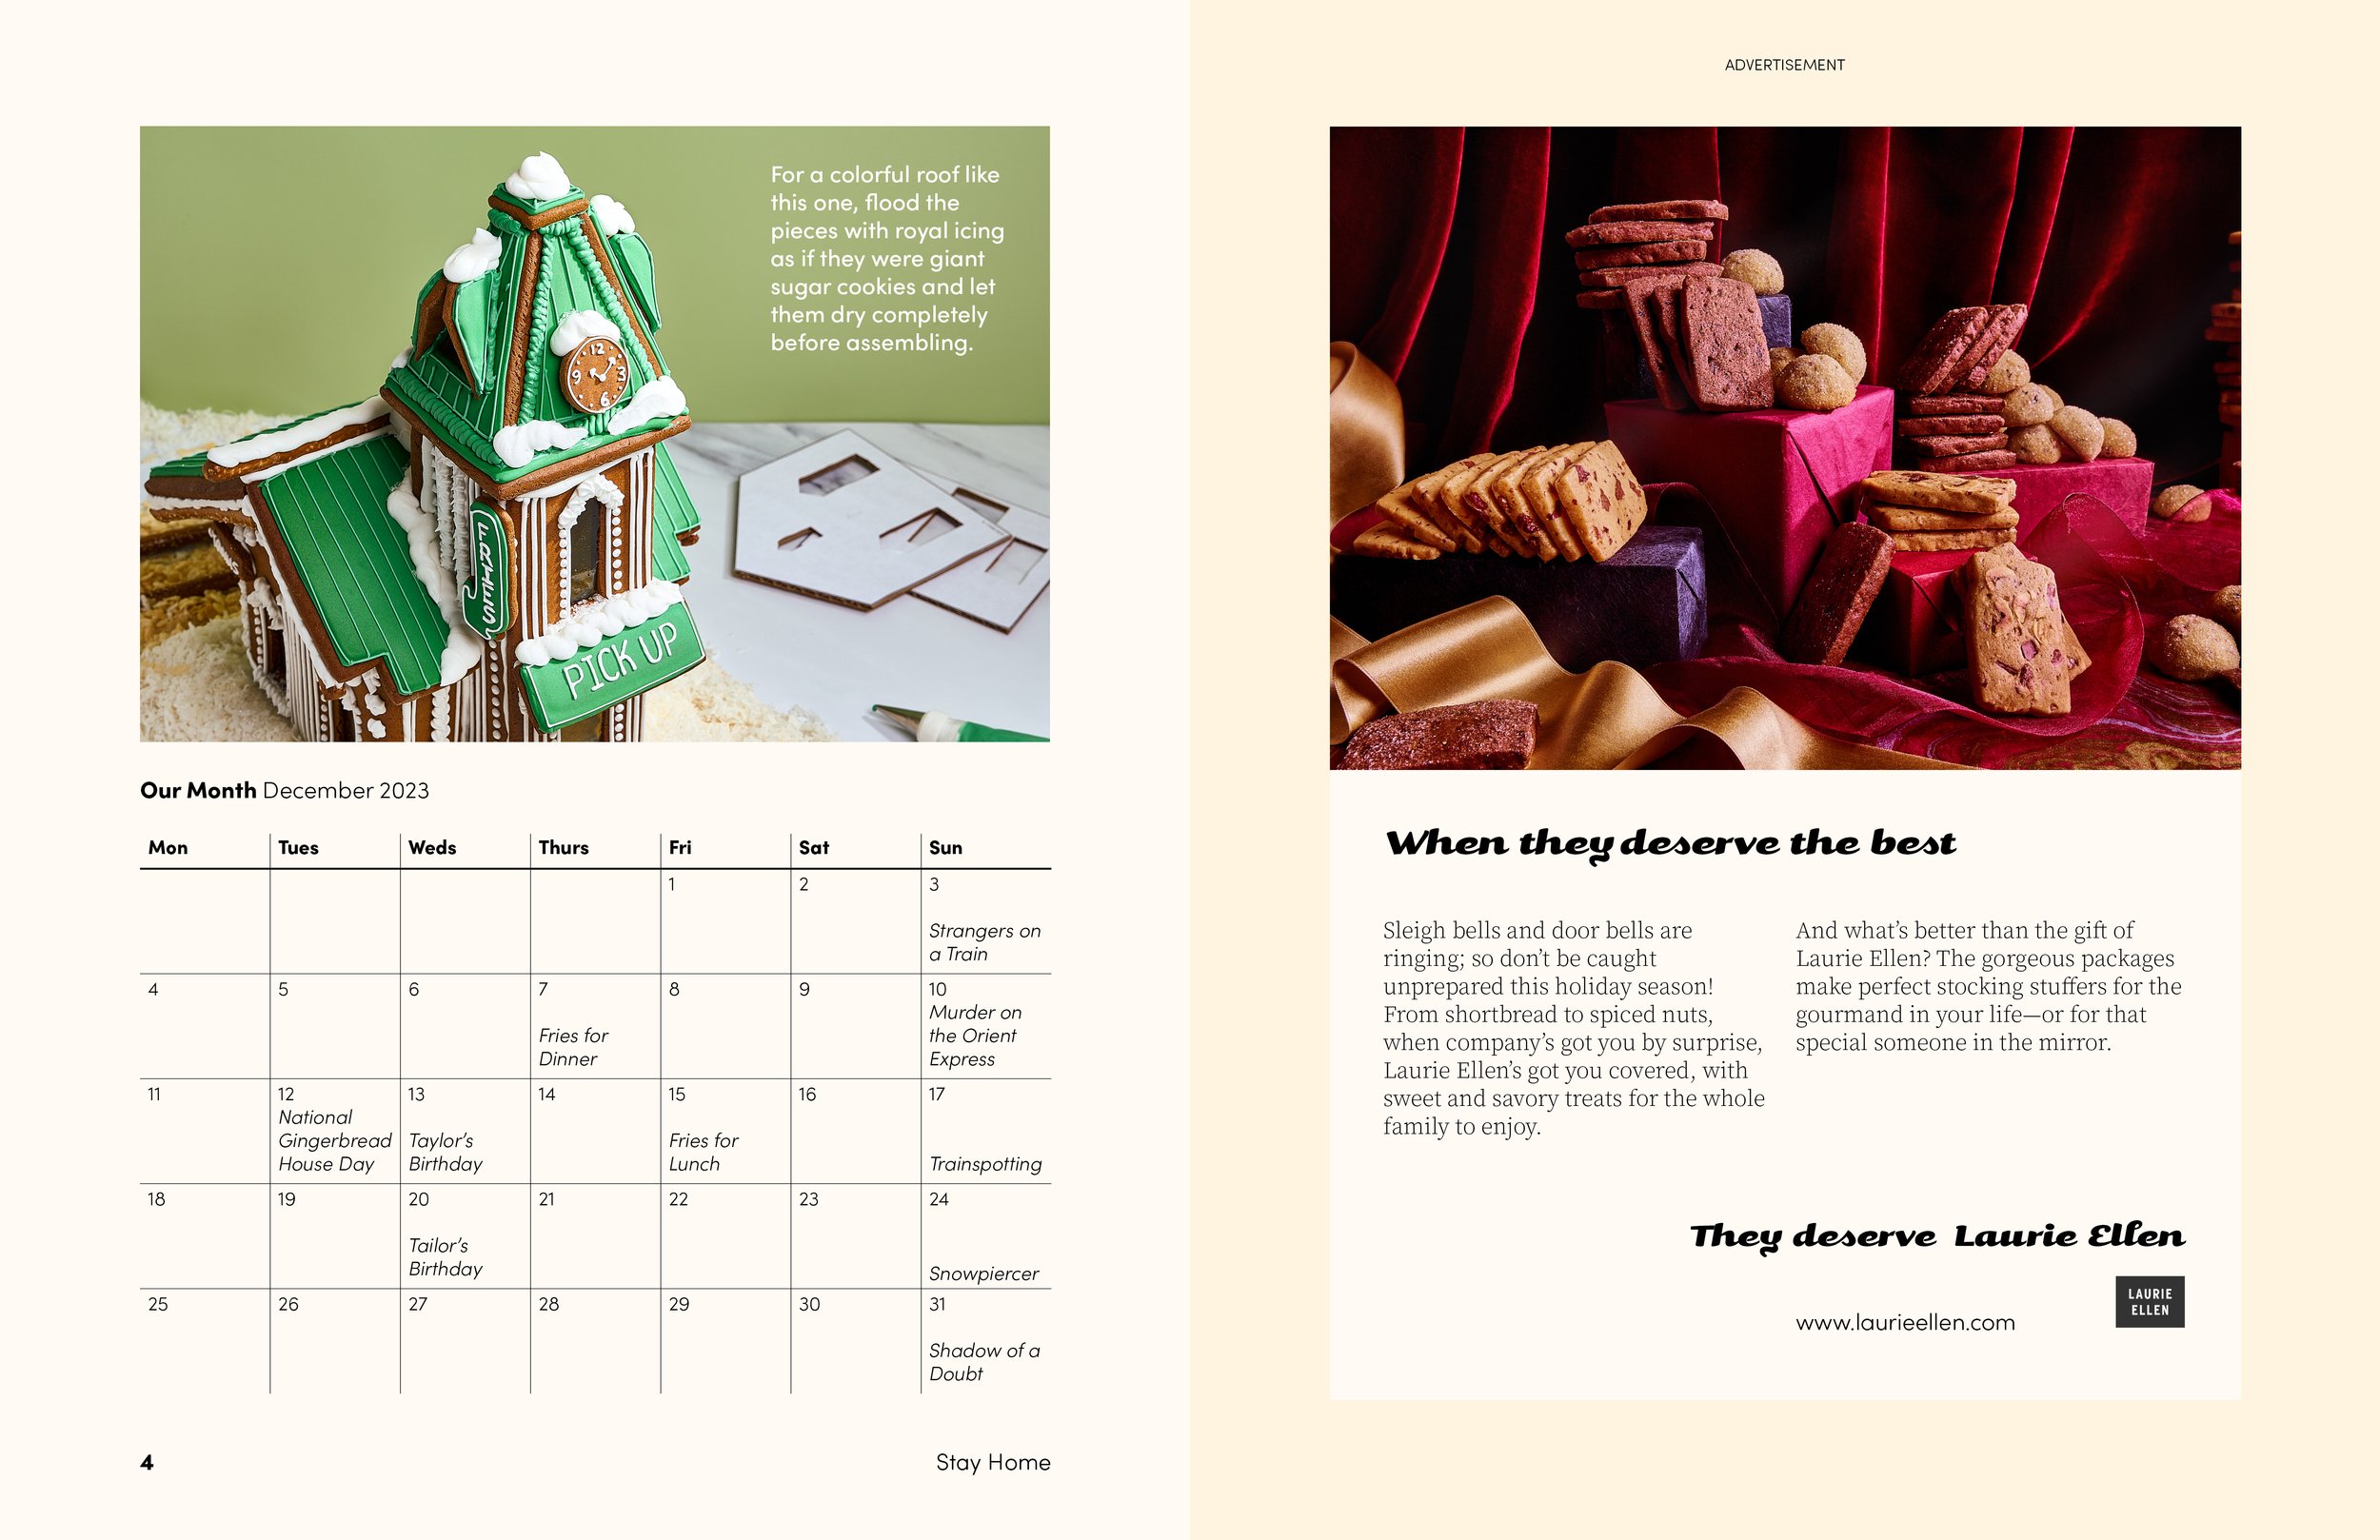
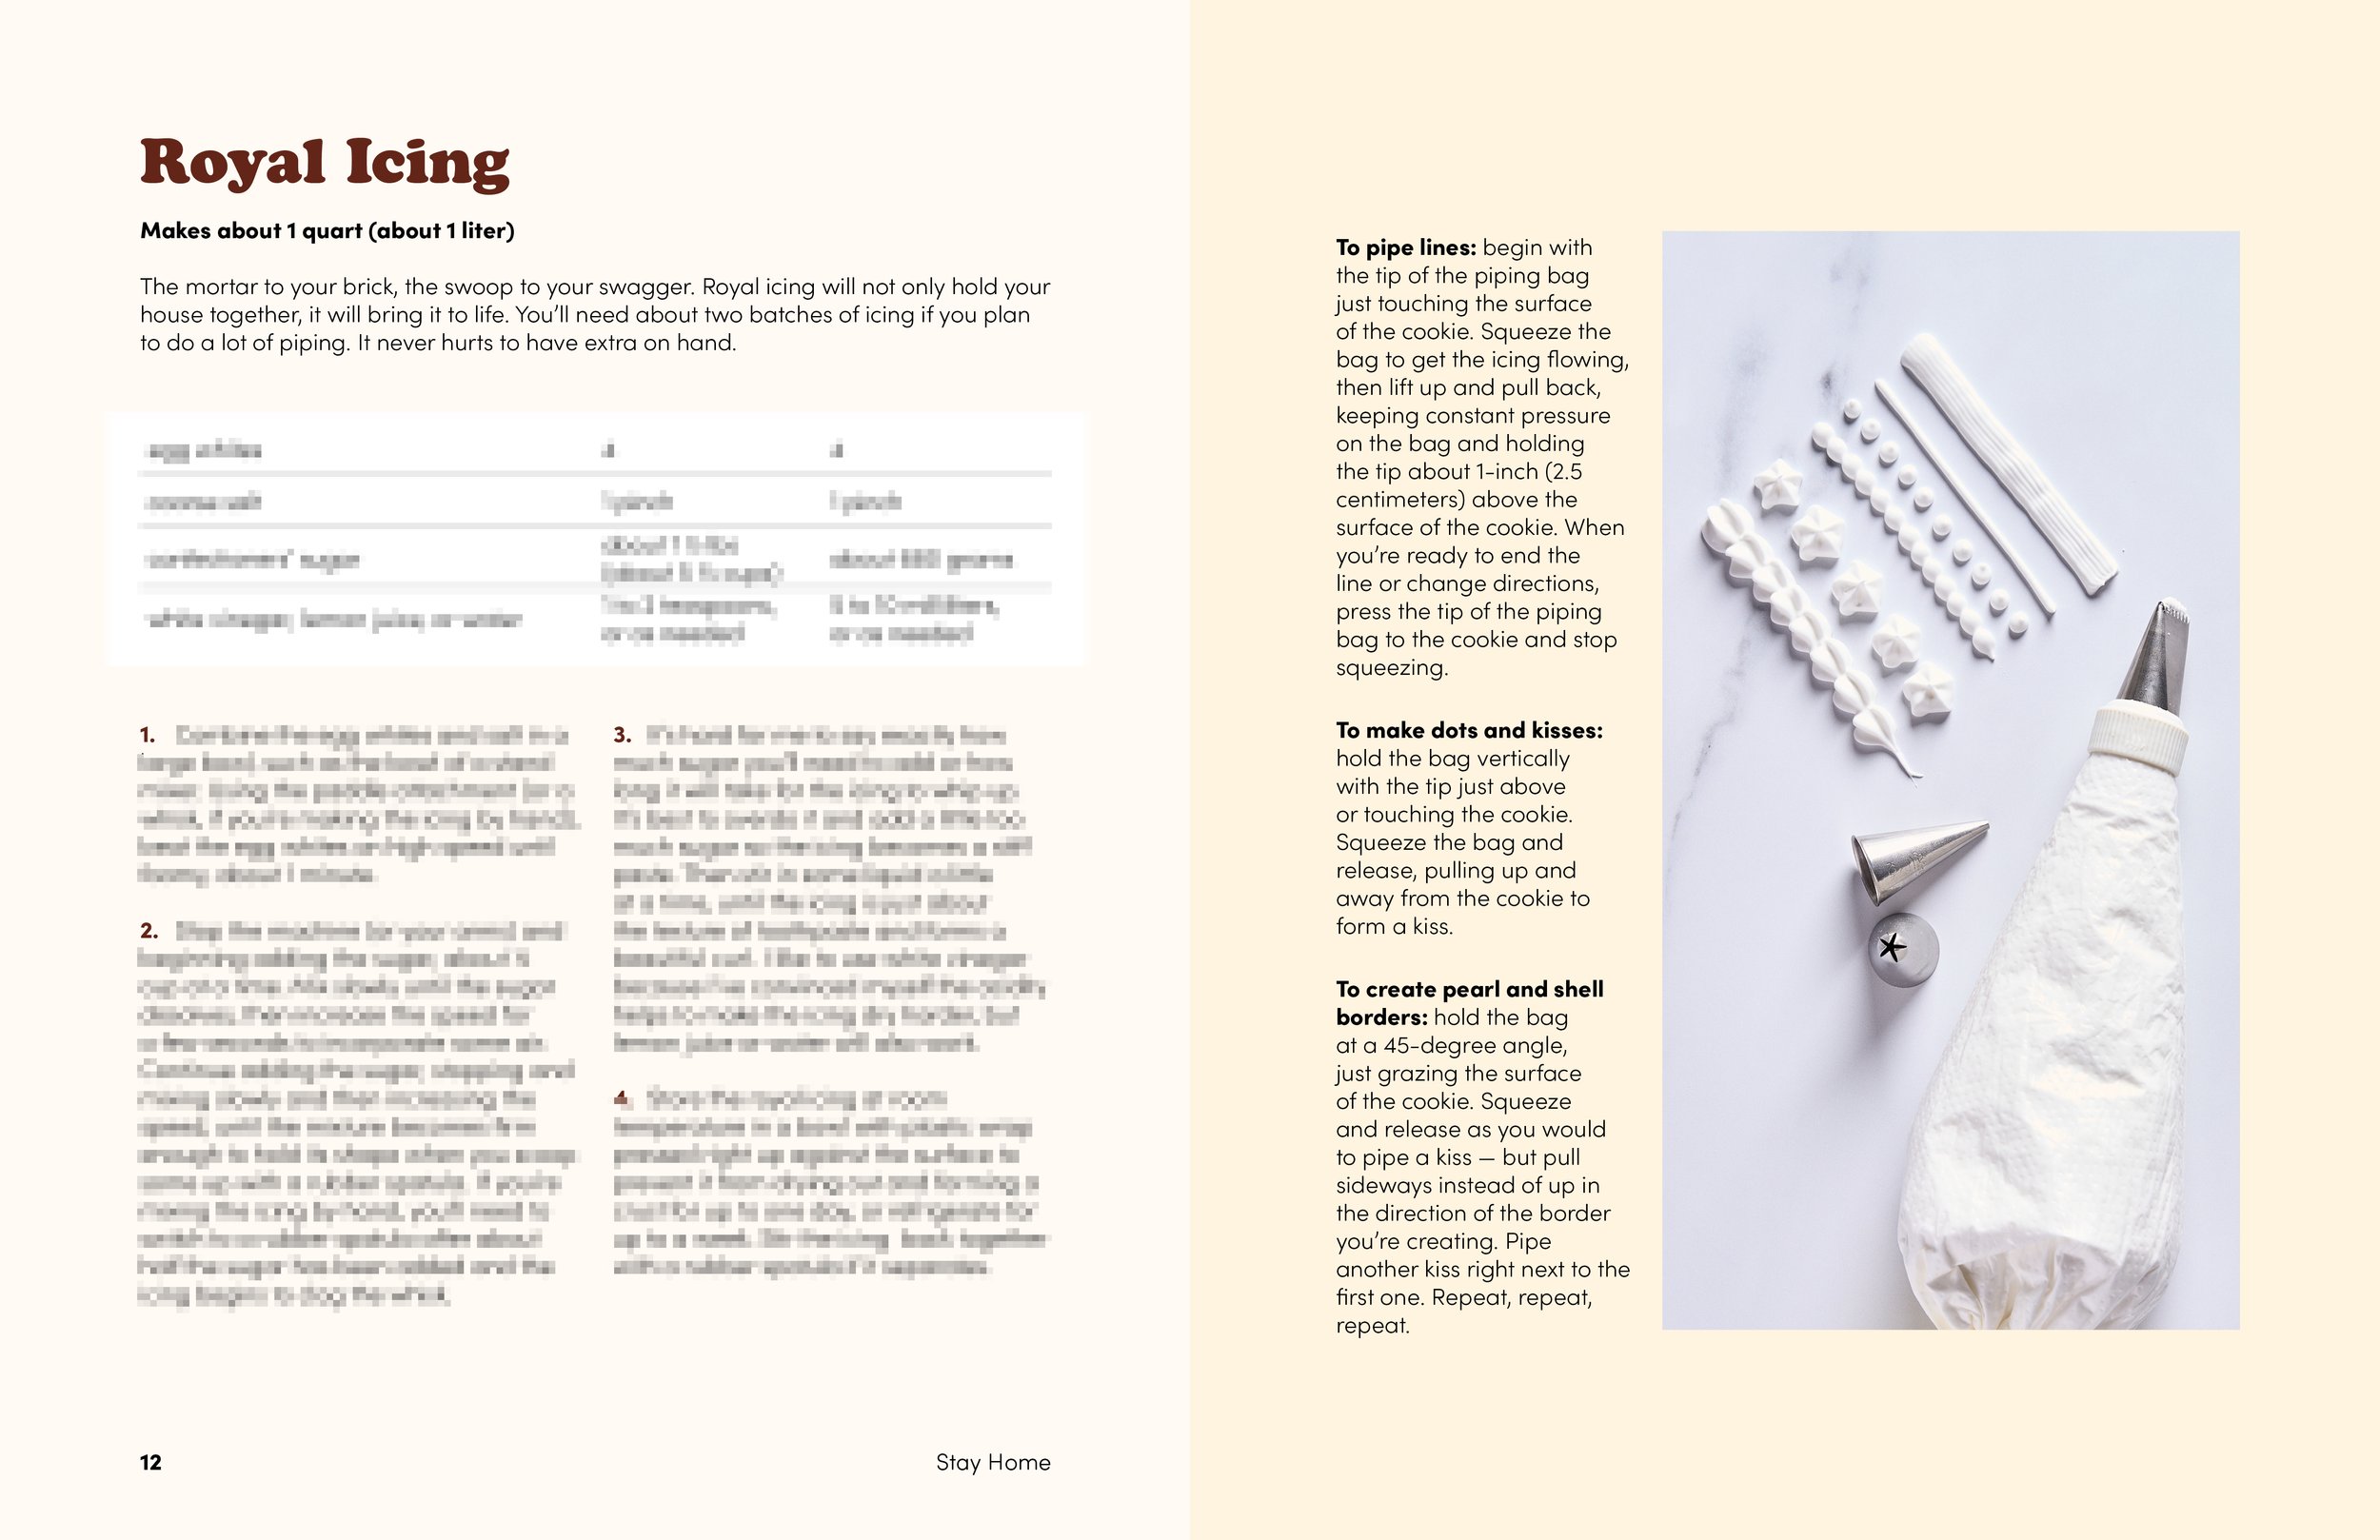
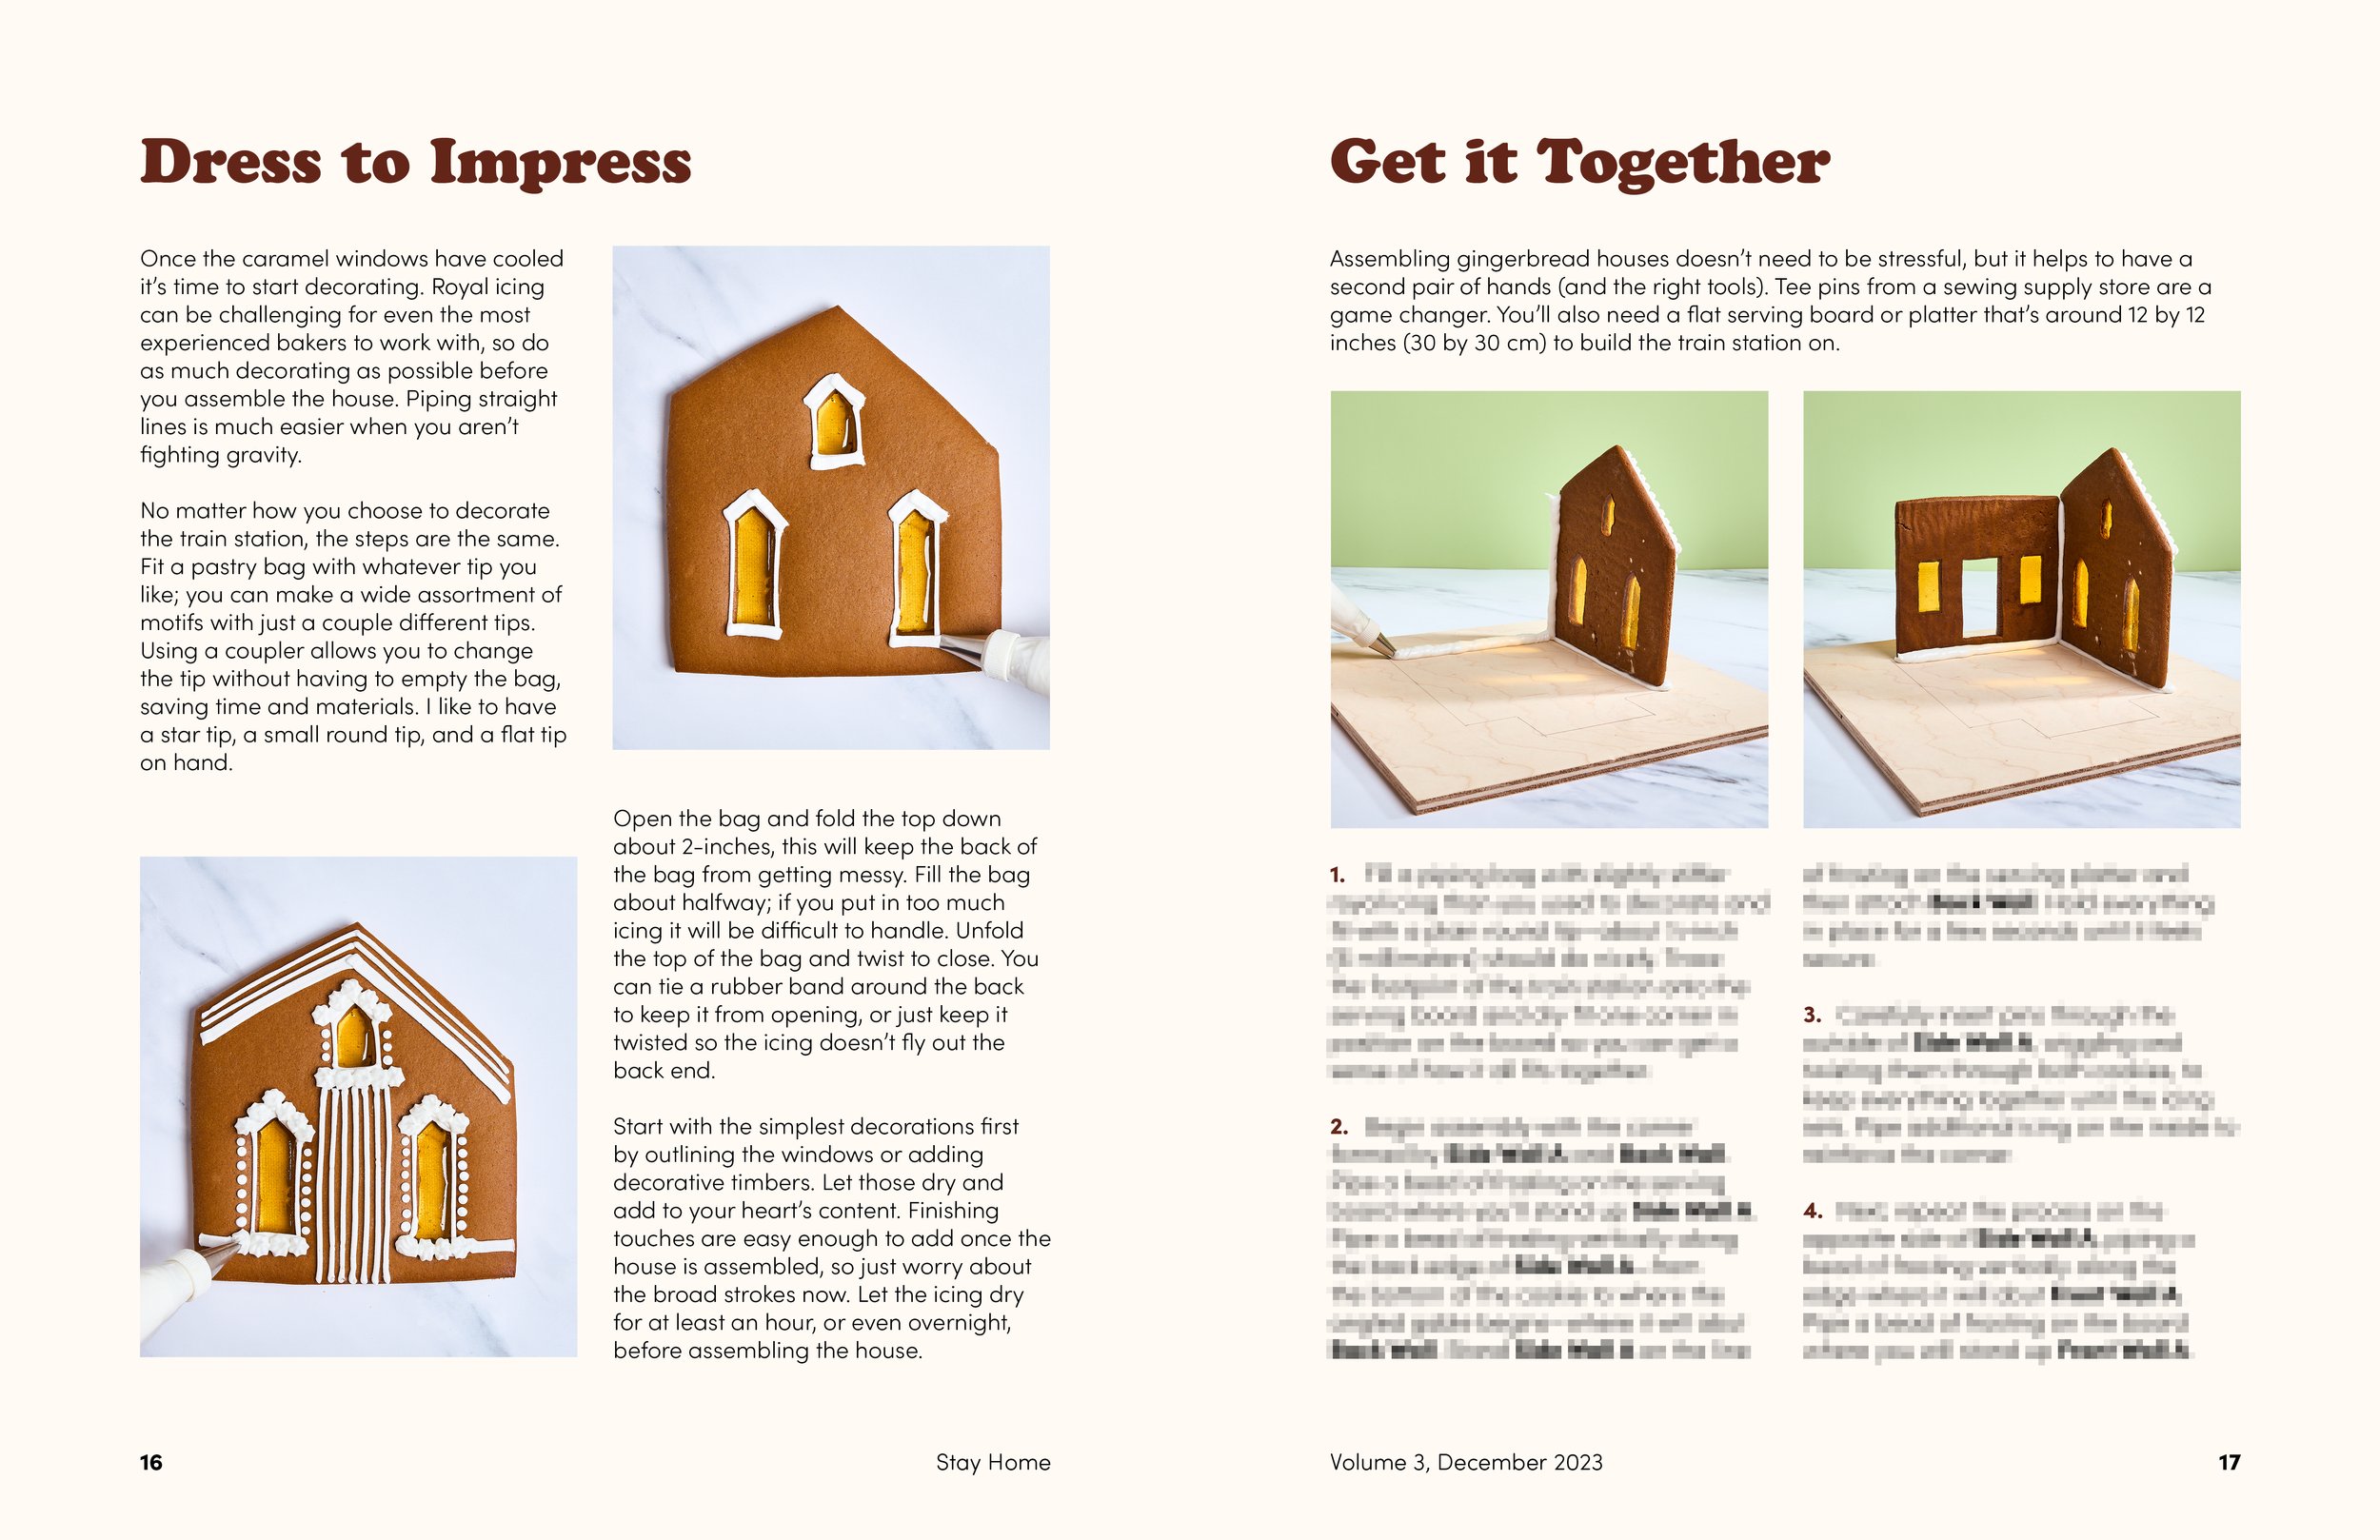
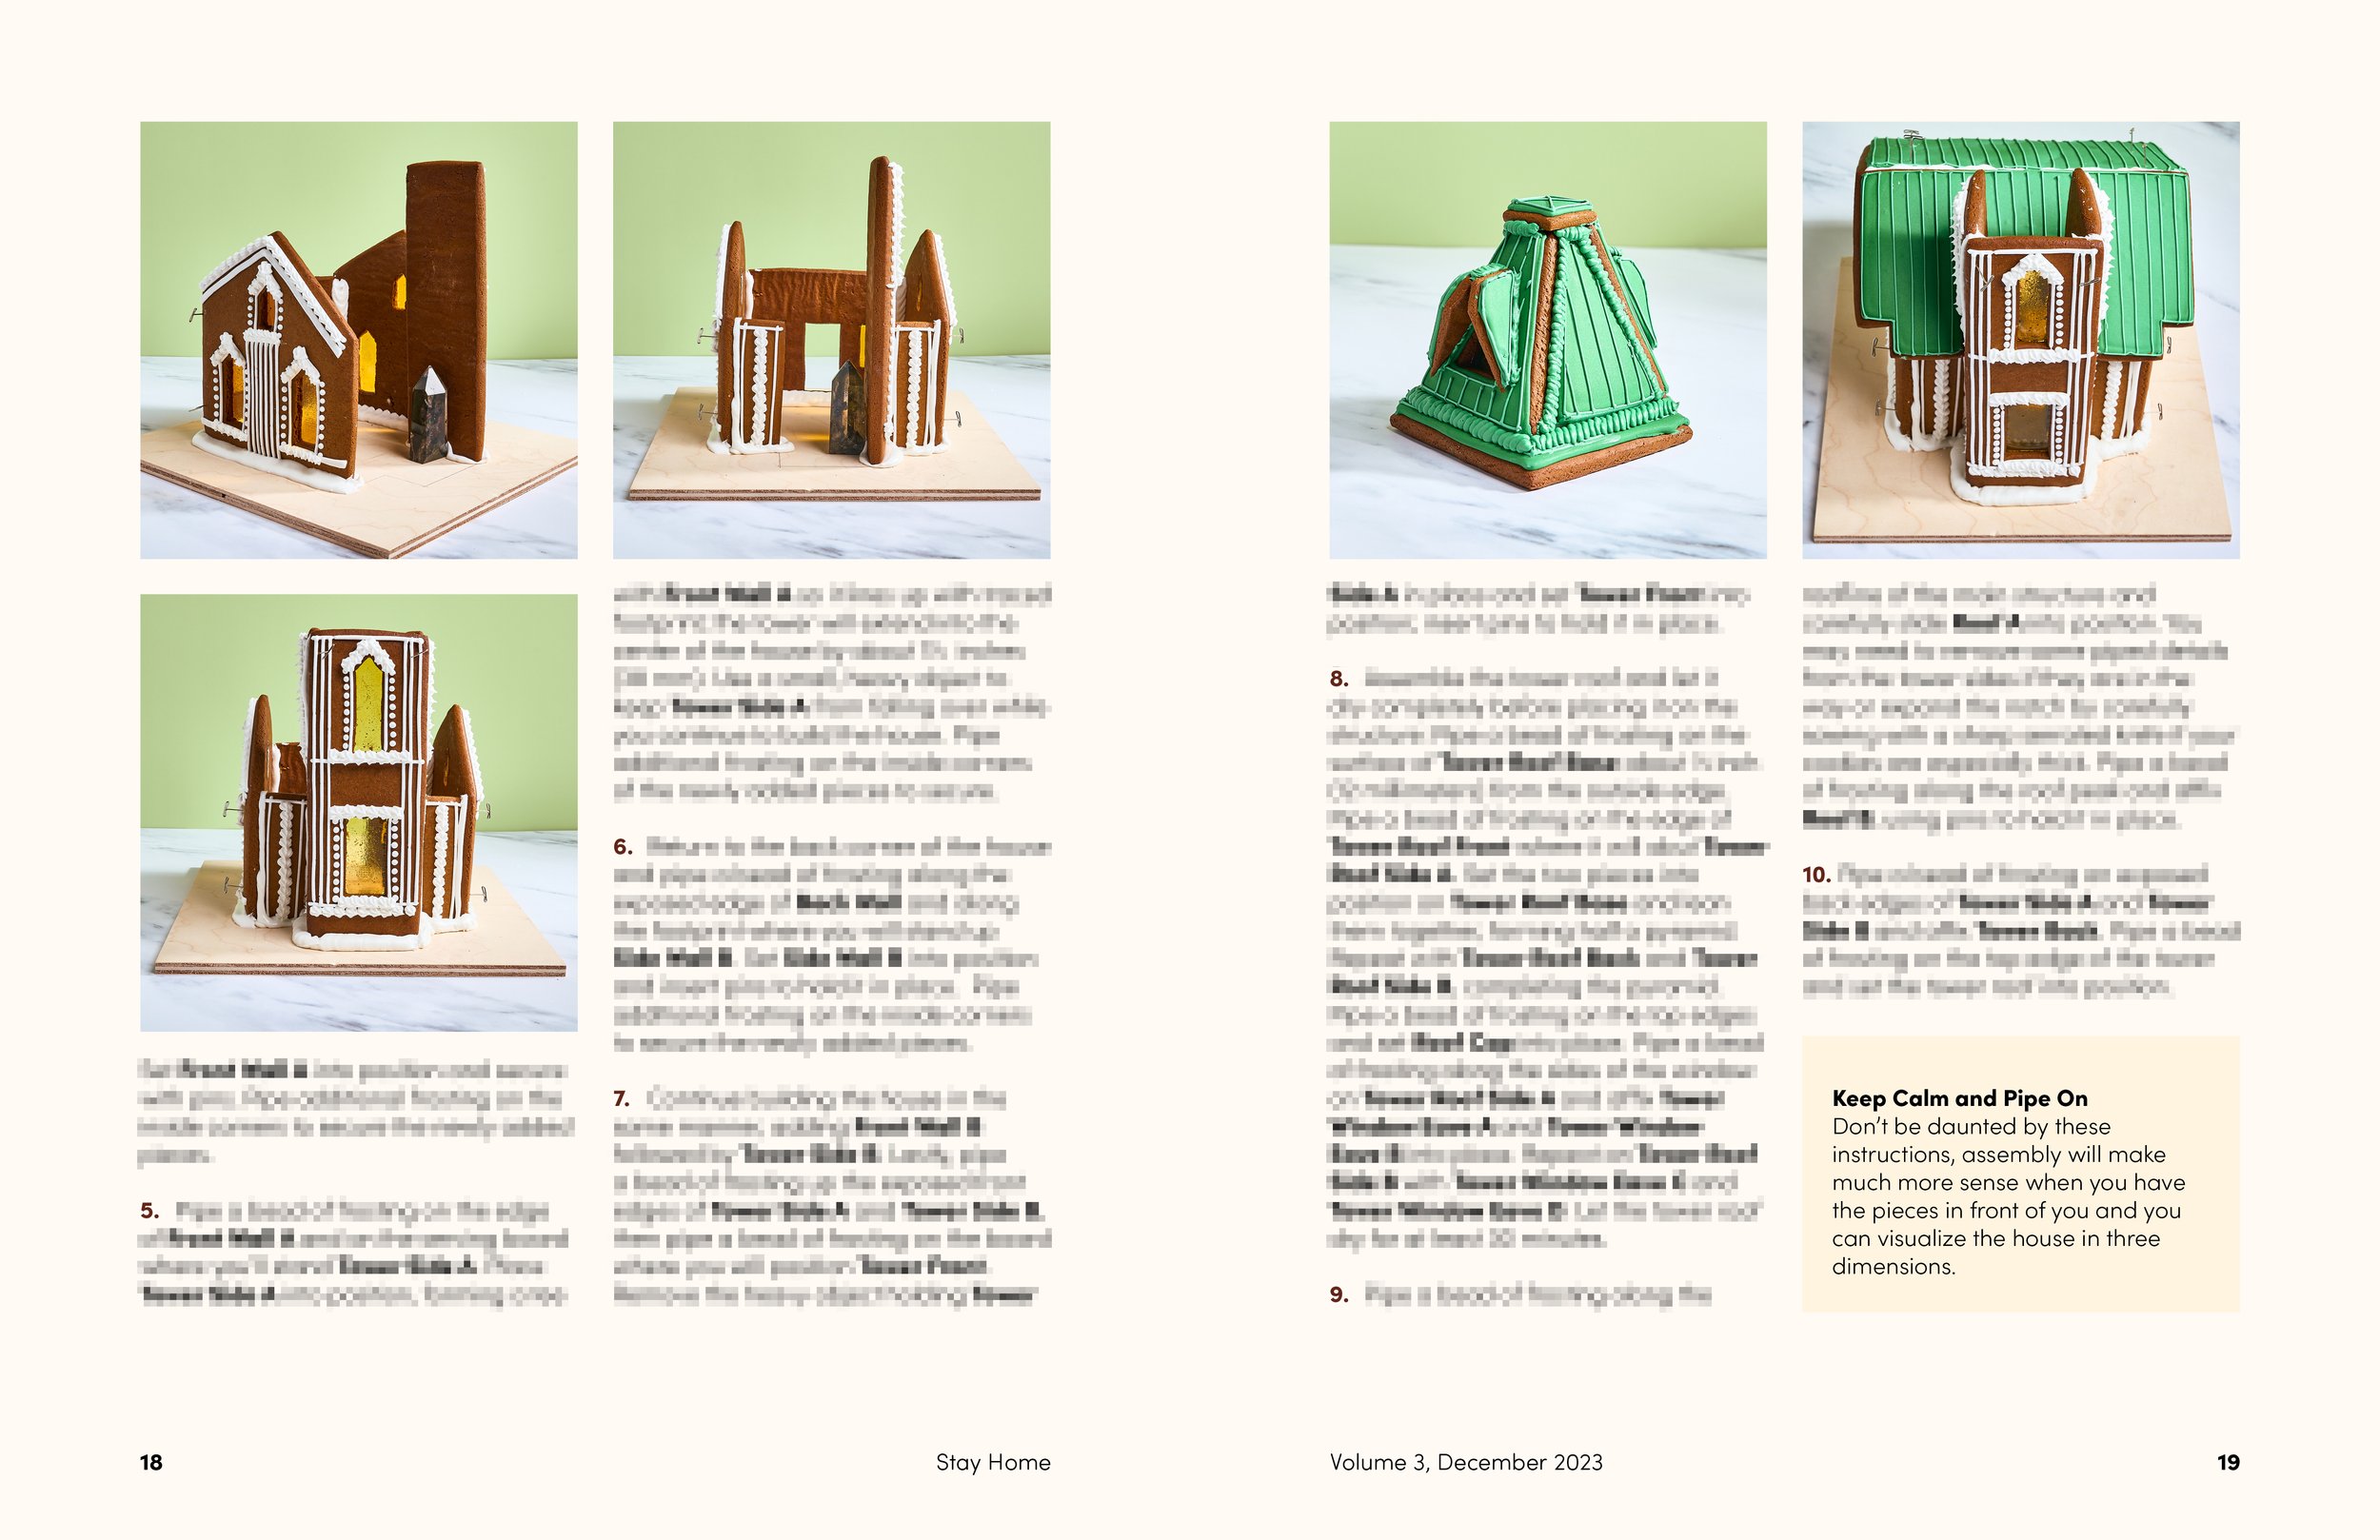
New for 2023! Stay Home is back with the third installment: A Train Station in a Small Town That Has Been Converted into a Restaurant (The Food Is Mediocre but the Fries Are Reliable).
All aboard the nostalgia train to nowhere! Get all the recipes and templates you need to build a gingerbread train station for the holidays in a cheeky lifestyle magazine. It's #choochoorific and fun for that one person in your family!
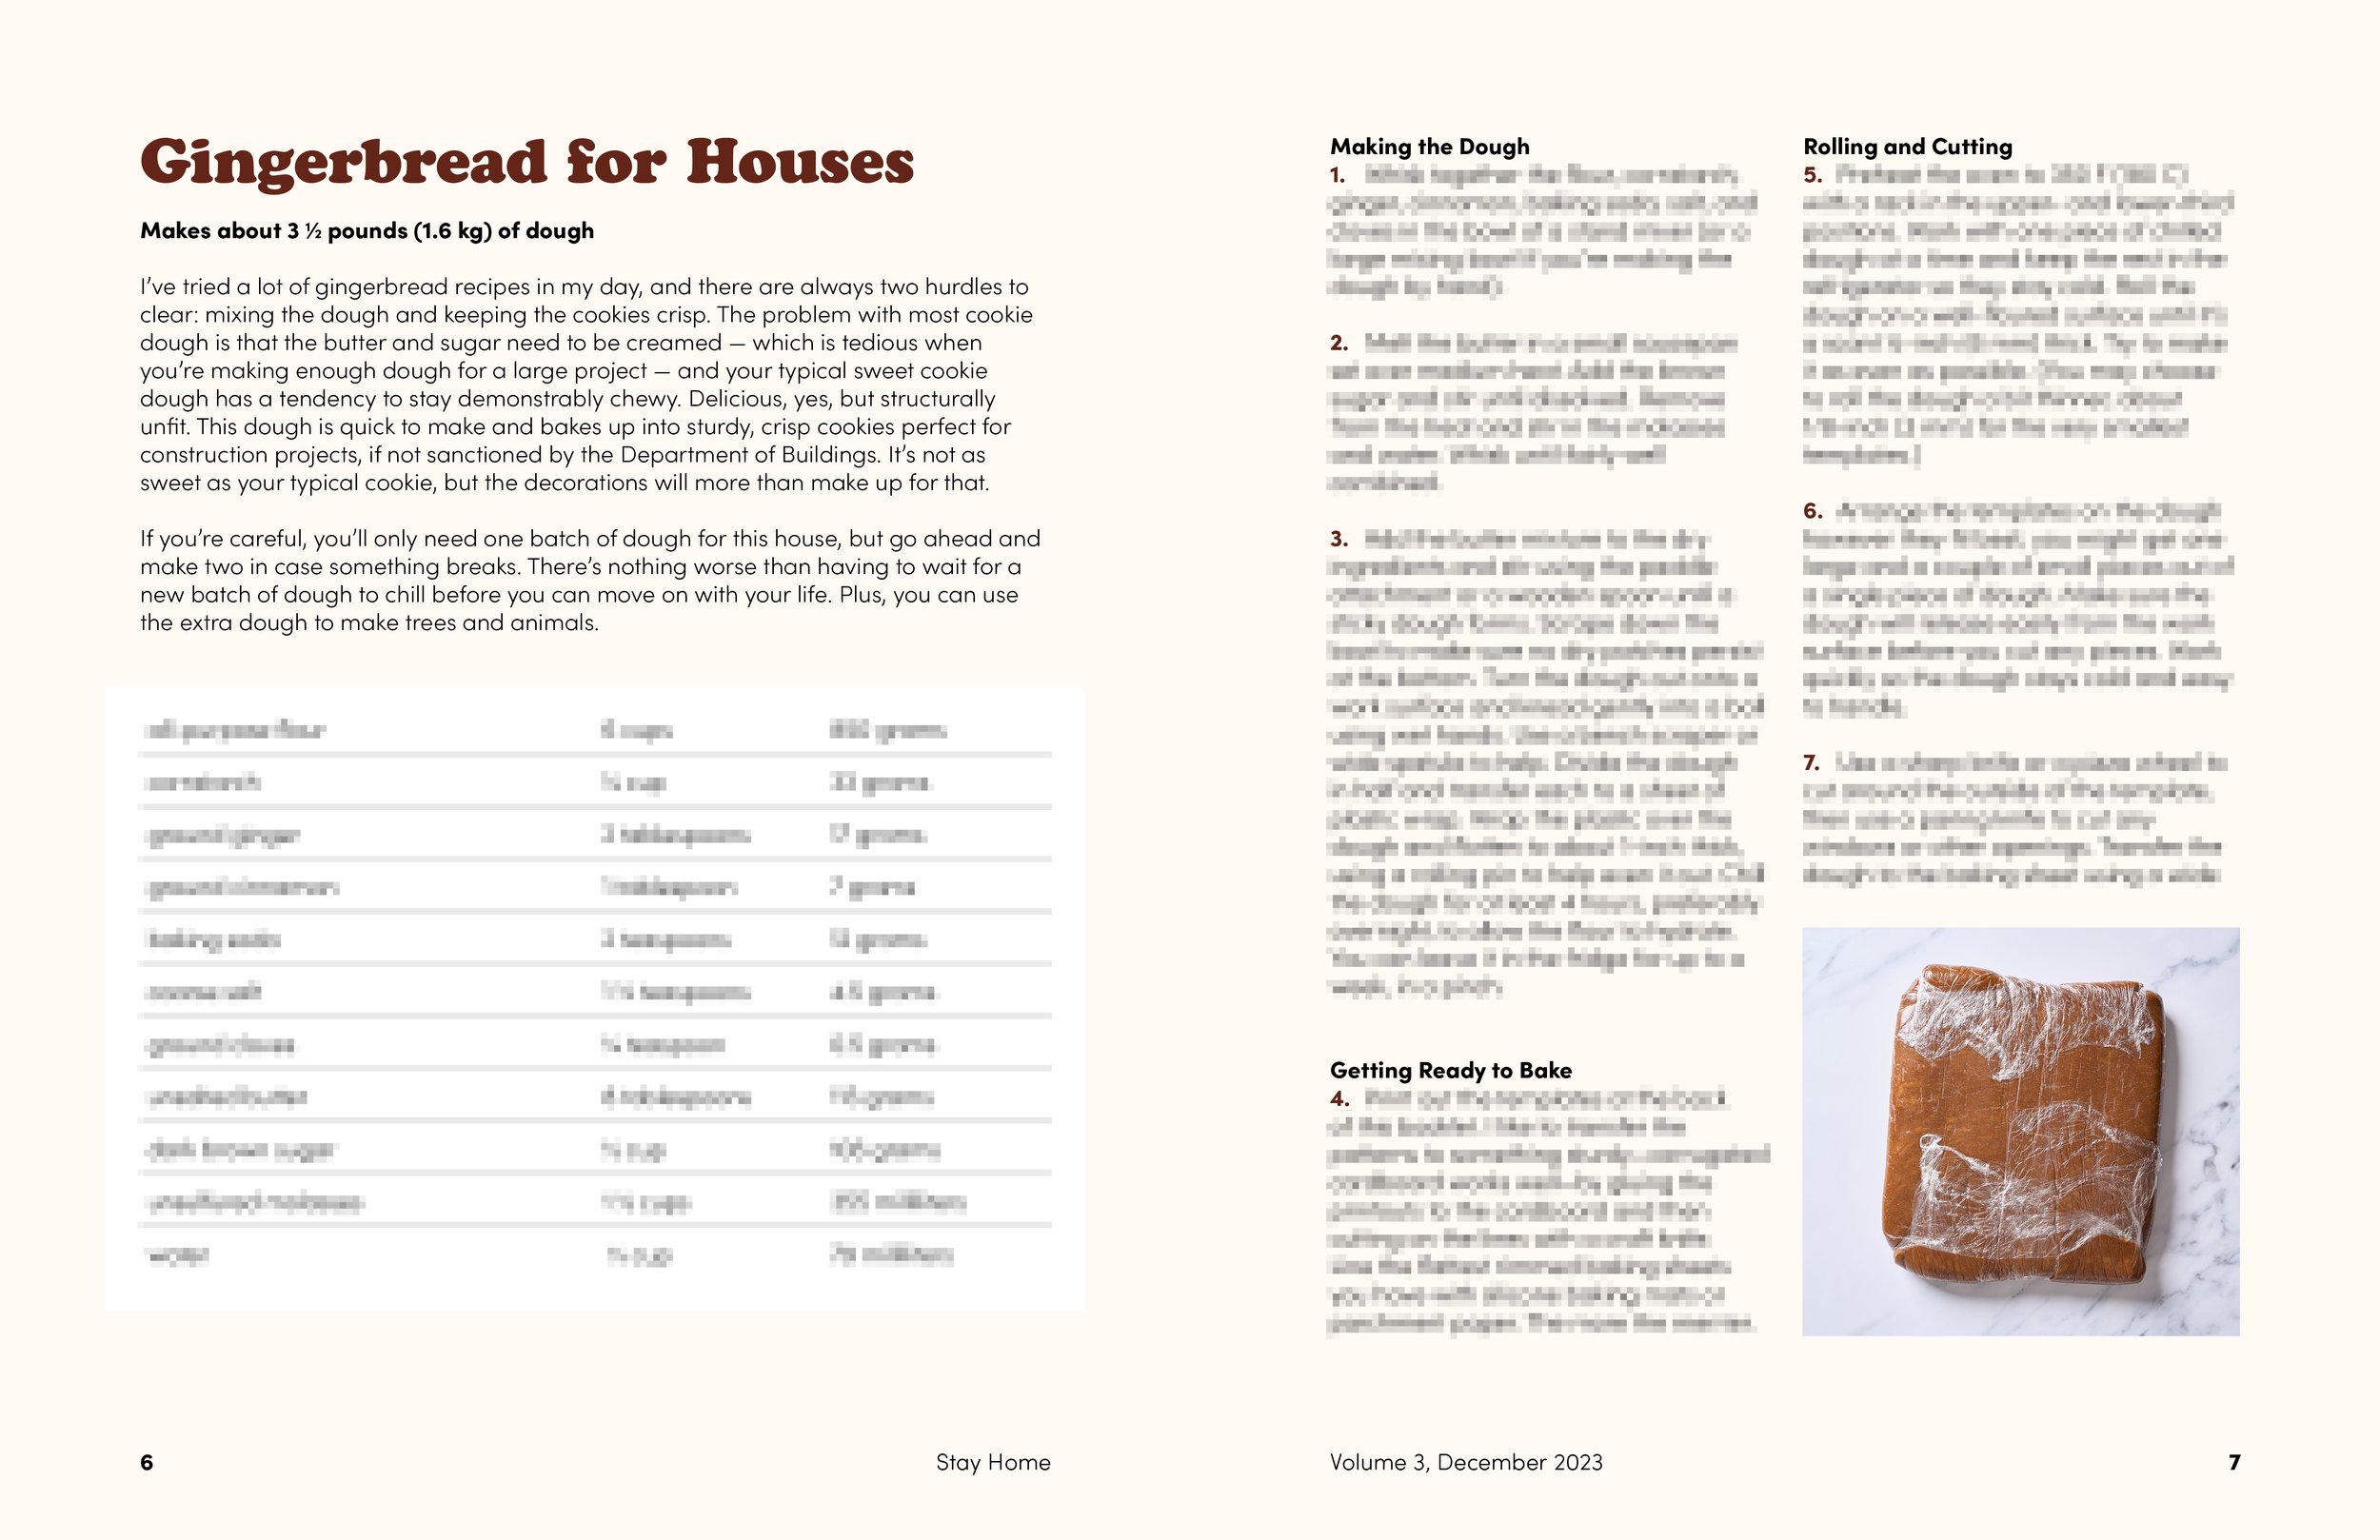
This digital zine contains 34 pages of recipes, photos, instructions, and templates for a perfect holiday project!
Inside this issue:
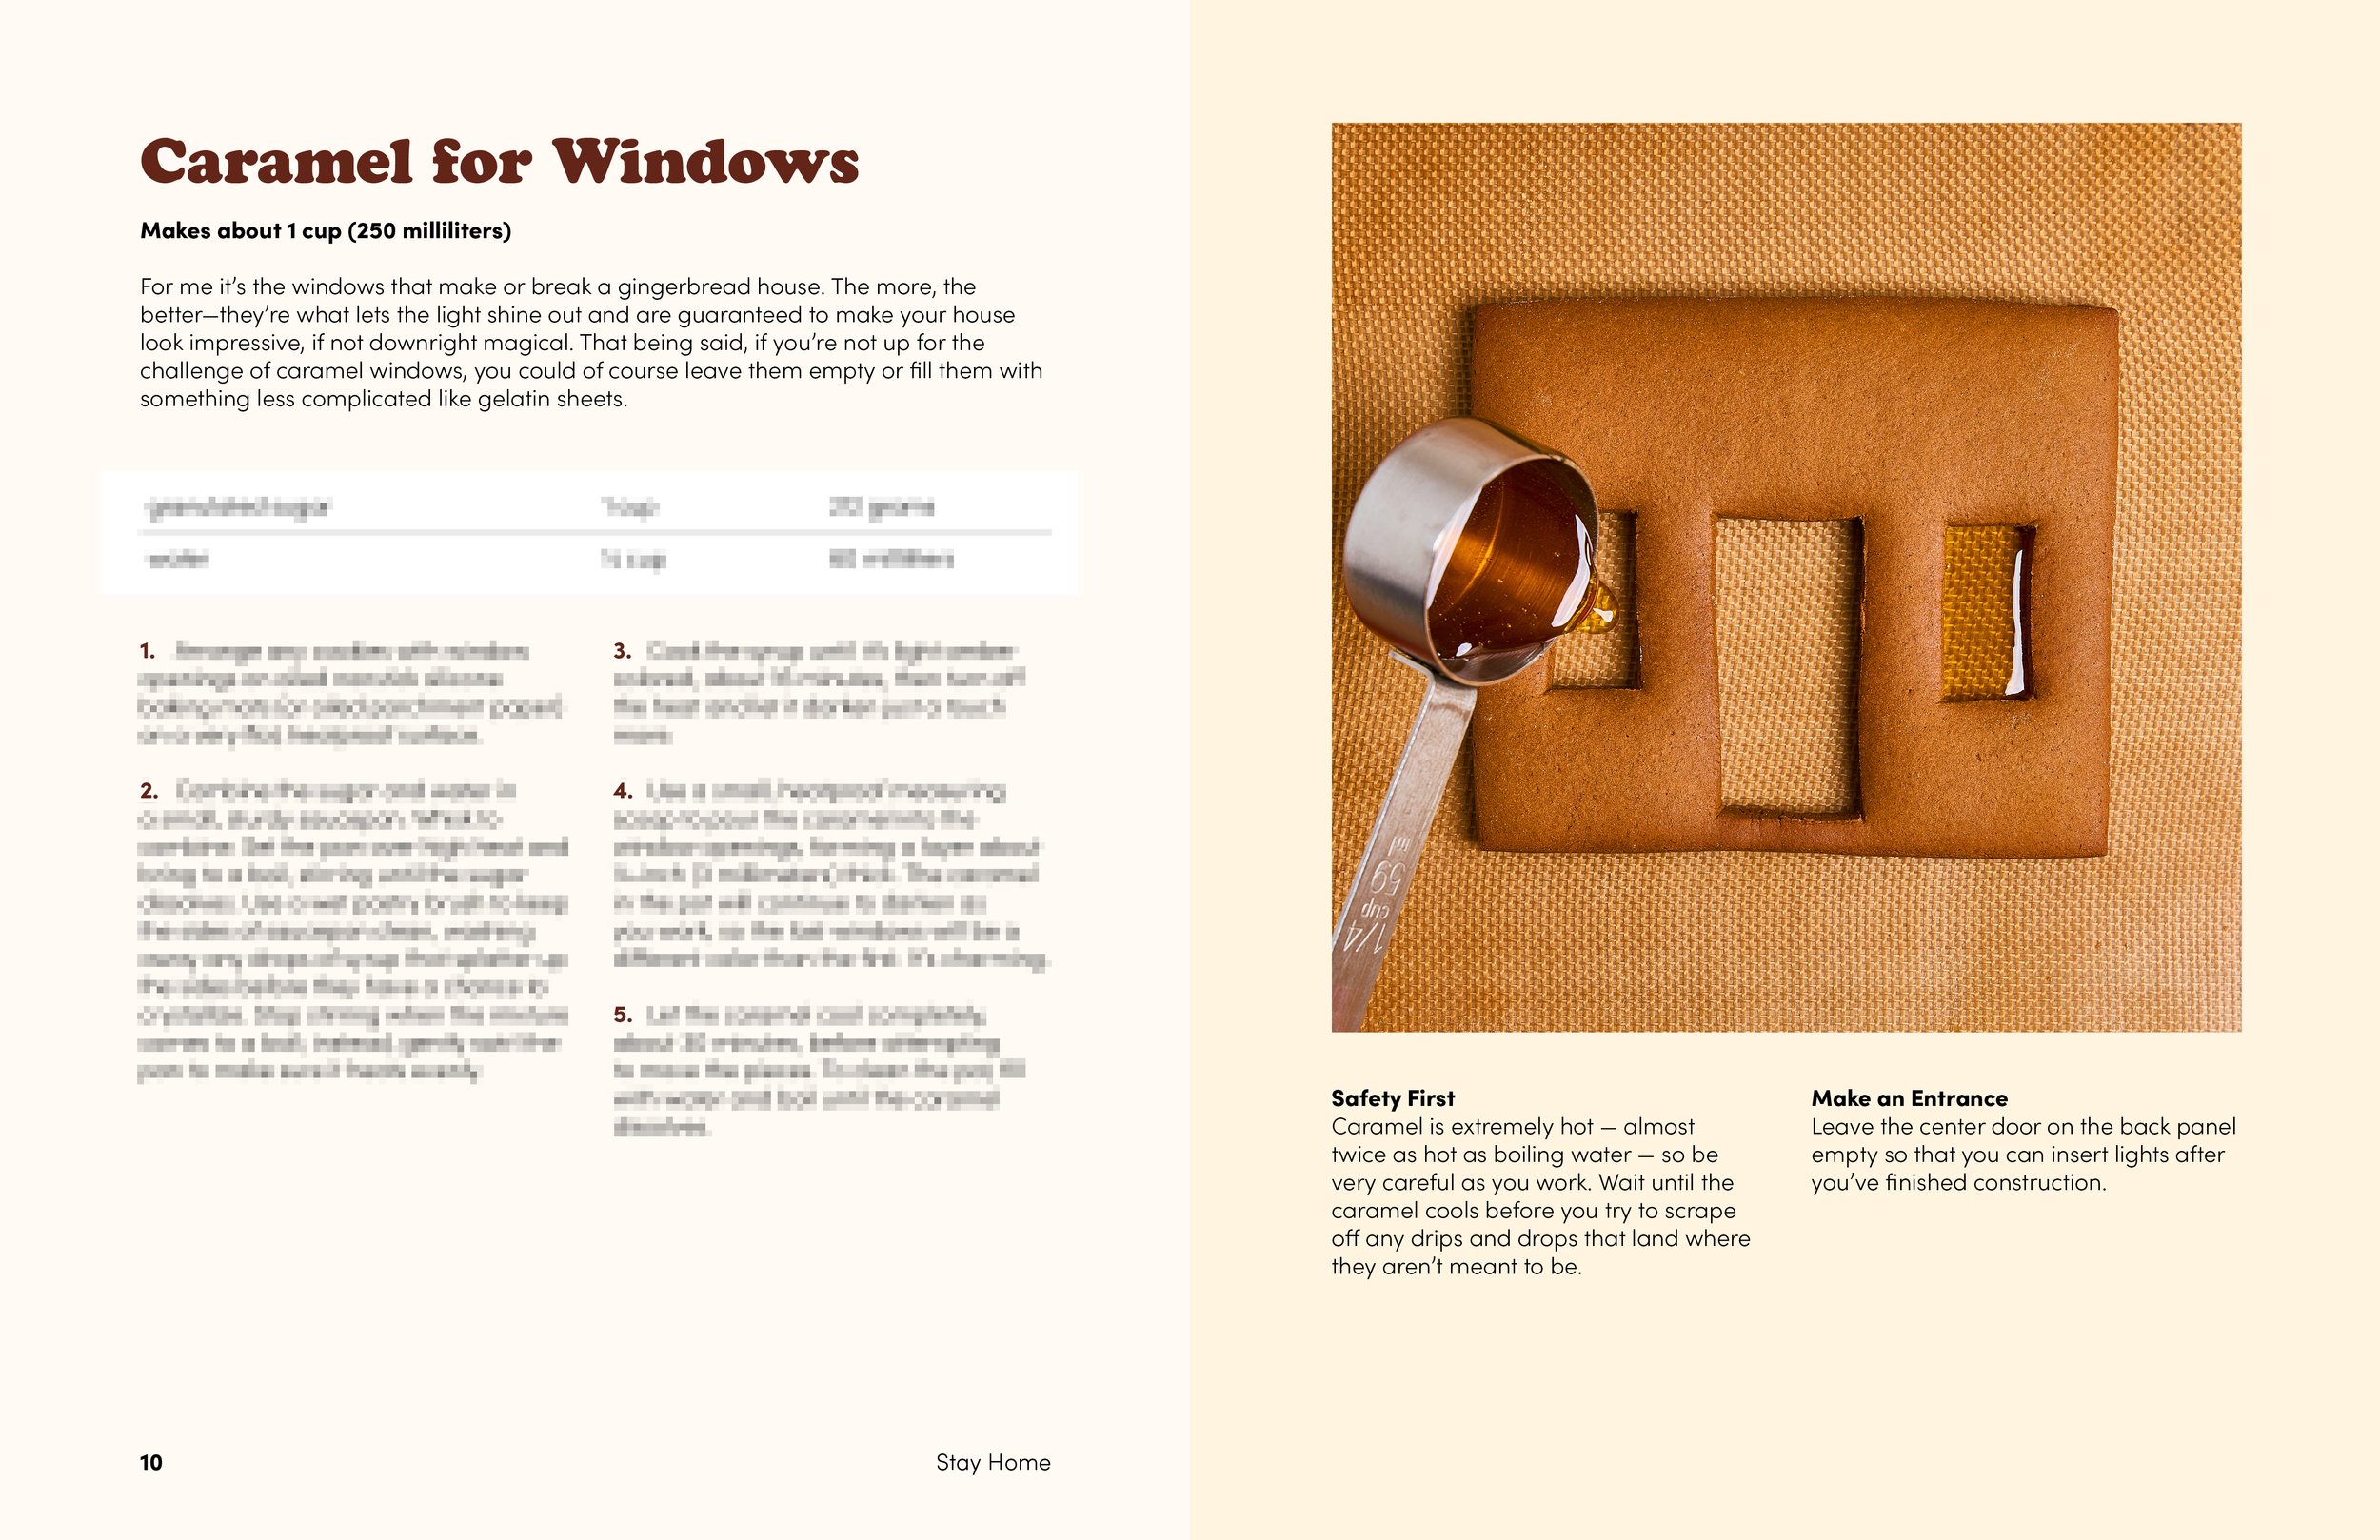
» Updated recipes for Gingerbread, Royal Icing, and Caramel windows
» Actual instructions
» Printable templates
» Tricks and tips
» Mildly comedic elements
» Tips and tricks
Recipes are provided in standard US and metric units.
Recipe: Sesame Rings
Sesame Rings that look like Taralli
Makes too many (about 7 dozen)
I would call them taralli but I think I strayed too far for these to be authentic. File under: recipes I made one time but haven’t thoroughly tested. Eddie and I can’t stop eating them and my notes are pretty thorough, but if you spot an error let me know!
310 grams warm water
21 grams fresh yeast (or 7 grams instant yeast)
50 grams tahini (Seed + Mill or Soom)
400 grams all purpose flour (King Arthur
125 grams semolina flour (Caputo’s Semola)
11 grams kosher salt (Diamond Crystal)
25 grams olive oil
about 1 cup sesame seeds
In a small measuring cup, crumble or sprinkle the yeast into the warm water and stir to dissolve. Let stand about 5 minutes until the yeast hydrates, then slowly whisk the yeasted water into the tahini. At first the tahini will thicken and become creamy, but as you continue adding water it will thin out again.
Combine both flours in the bowl of a stand mixer fitted with the dough hook attachment. Add the tahini mixture and stir until a rough dough forms. Add the salt. Knead on low speed (Kitchenaid speed 1) for 5 minutes until the dough is fairly, but not perfectly, smooth. Slowly drizzle in the olive oil and continue kneading until the dough comes back together, about 10 minutes. Turn the dough out onto a clean work surface and knead gently into a pretty smooth ball.
Place the dough in a large, oiled bowl and cover with a clean kitchen towel or plastic wrap. Set in a warm spot to rise for 1 hour until doubled.
Return the dough to a clean work surface and pat into a square about 12-inches across. Fold the top half down to meet the bottom and the left edge over to meet the right. Round into a ball once more, return to the oiled bowl, cover, and refrigerate overnight.
Preheat the oven to 375 degrees Fahrenheit and set a large pot of water to boil. Spread about half the sesame seeds on a rimmed baking sheet. Line a few rimmed baking sheets with silicone baking mats or parchment paper.
Turn the dough out onto a clean work surface, pat into a rectangle about the size of a sheet of paper, and cut into strips of dough about 3/4-inch wide (the exact size isn’t very important). Using the palms of your hands, roll and stretch the dough into long ropes that are as thin as you can get them without tearing. Somewhere between 1/4 and 1/2 inch should be good. You’ll need a lot of counter space to prep all the ropes at once, but you can work in batches. The thinner the ropes, the more delicate the crackers will be.
Working with one rope at a time, cut into strips about 6 inches long. The longer the strips, the bigger the rings will be. It’s up to you. Wrap a piece of dough around your fingers and pinch the ends together to seal, forming a ring. Set the completed rings on your work surface or a sheet pan. If you have a friend to help, you can start boiling the rings as you're making them, otherwise it’s probably easier to make all the rings at once before you move on to the next step.
Add about 5 or 6 rings to the boiling water, stretching to reshape them as you place them in the pot, and cook until they float, plus about 30 extra seconds for good luck. Using a spider or a slotted spoon, strain the rings out of the water and shake off the excess, then drop them into the sesame seeds. Transfer to the prepared baking sheets when they are cool enough to handle and replenish the sesame seeds on the baking tray as needed. You can crowd the baking sheets with rings, they don’t expand much in the oven.
Bake until golden brown, 35 to 40 minutes, then transfer to wire racks to cool completely. If your rings are brown but not completely cracker-dry, return them to the oven at 200 degrees Fahrenheit for about 30 minutes to dehydrate. Store in an airtight container.

It's a sticky situation →
Look, I don’t know what I’m doing over here but I got the itch to make some stickers and now they exist and it’s time to let you know, because maybe you want them in your life too. Maybe you have something that needs a sign of approval, or you need to cover up a mistake, or find a gift for someone who likes weird things, or figure out what to make for dinner. These stickers can do that! Except for the last one. Unless you like to eat vinyl.
Get them over on my Etsy shop
Recipe: Chocolate-Hazelnut Sandos
Chocolate-Hazelnut Sandos
Makes about 4 ½ dozen cookie sandwiches
If you ask me, there’s pretty much nothing better than the classic combination of hazelnut and chocolate. One of my nephews said these were the best cookies he’d ever tried. My niece doesn’t like hazelnuts.
For the cookies:
355 g all-purpose flour
150 g granulated sugar
1 tsp coarse salt (preferably Diamond Crystal Kosher Salt)
1 tsp ground cinnamon
¾ tsp baking powder
2 tbsp cocoa powder
2 tbsp hot water
128 g toasted skinned hazelnuts
15 g cocoa nibs
226 g cold unsalted butter cut into pieces
2 tsp vanilla
1 yolk
For the chocolate filling:
4 tbs cocoa powder
7g powdered milk (optional)
4 tbs hot water
113 g unsalted butter, softened
1 tsp vanilla
¼ tsp coarse salt (preferably Diamond Crystal Kosher Salt)
200 g confectioners’ sugar
In a large bowl, whisk together the flour, sugar, salt, cinnamon, and baking powder.
In a small bowl, bloom the cocoa powder in hot water and whisk to combine.
In a food processor, pulse the hazelnuts, cocoa nibs, and a scoop of the flour mixture until coarsely ground. Add the remaining flour mixture and pulse until finely ground. Add the butter and pulse until the texture of coarse meal. Add the vanilla, cocoa mixture, and yolk, and pulse until a dough just starts to come together.
Transfer the dough to a clean work surface and knead gently into a ball, then divide in two. Flatten each half into a disc, wrap in plastic and chill 45 minutes or overnight.
Preheat the oven to 350 F (325 F Convection) with racks in the upper- and lower-third positions.
Working with one disc of dough at a time, roll between parchment sheets to a scant ¼-inch thick. Use a 1 ¾-inch round cutter to punch rounds. Gather the scraps into a ball and reroll.
Place the cookies on lined baking sheets, about 1-inch apart, and bake 18-20 minutes until firm to the touch and the edges are just beginning to turn golden. Transfer to wire racks to cool completely.
Meanwhile, make the filling: In a small bowl, bloom the cocoa powder and powdered milk (if using) with the hot water and whisk to combine. Combine the cocoa mixture with the butter, vanilla, and salt in a large bowl and beat with an electric mixer until combined. Add the confectioners’ sugar a little at a time and beat until light and fluffy. Transfer to a piping bag with a round tip.
Pipe a generous teaspoon of filling onto the underside of half the cookies and sandwich with the remaining cookies. Drizzle with melted milk chocolate, to garnish.
Store in a cool place for up to 2 days or refrigerate for up to a week. Bring to room temperature before serving.
Let's Stay Home and Build a House vol. 2
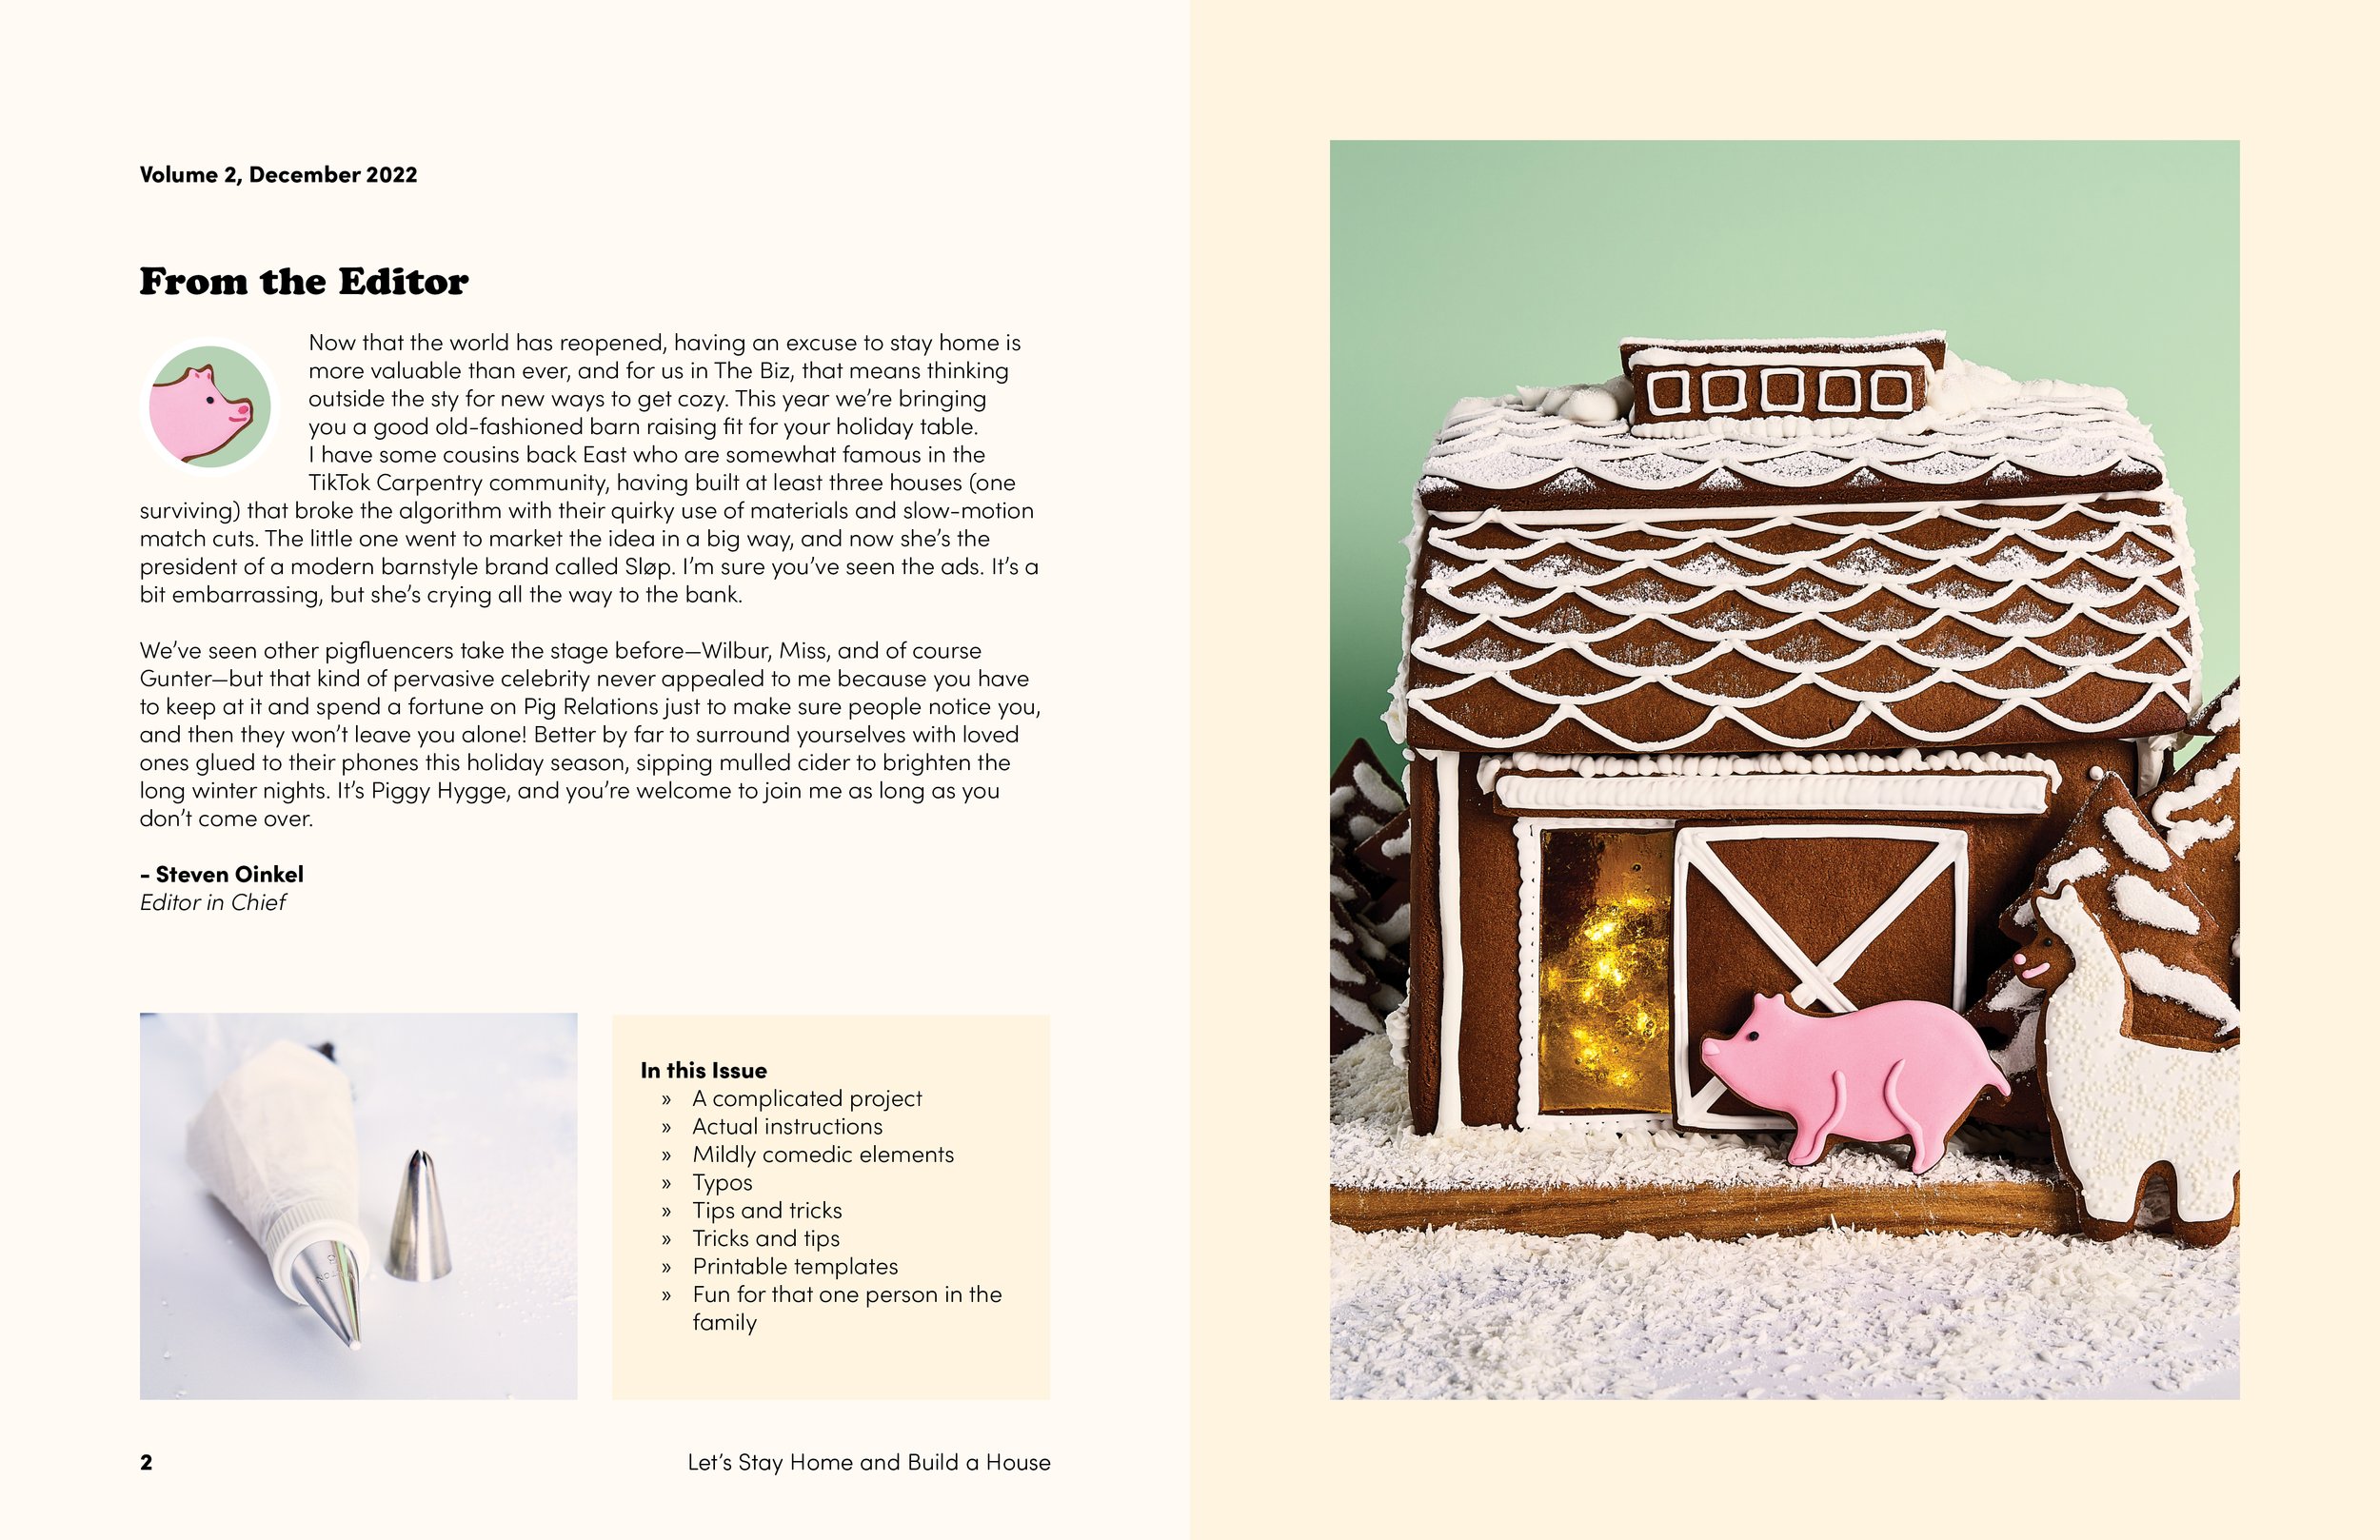
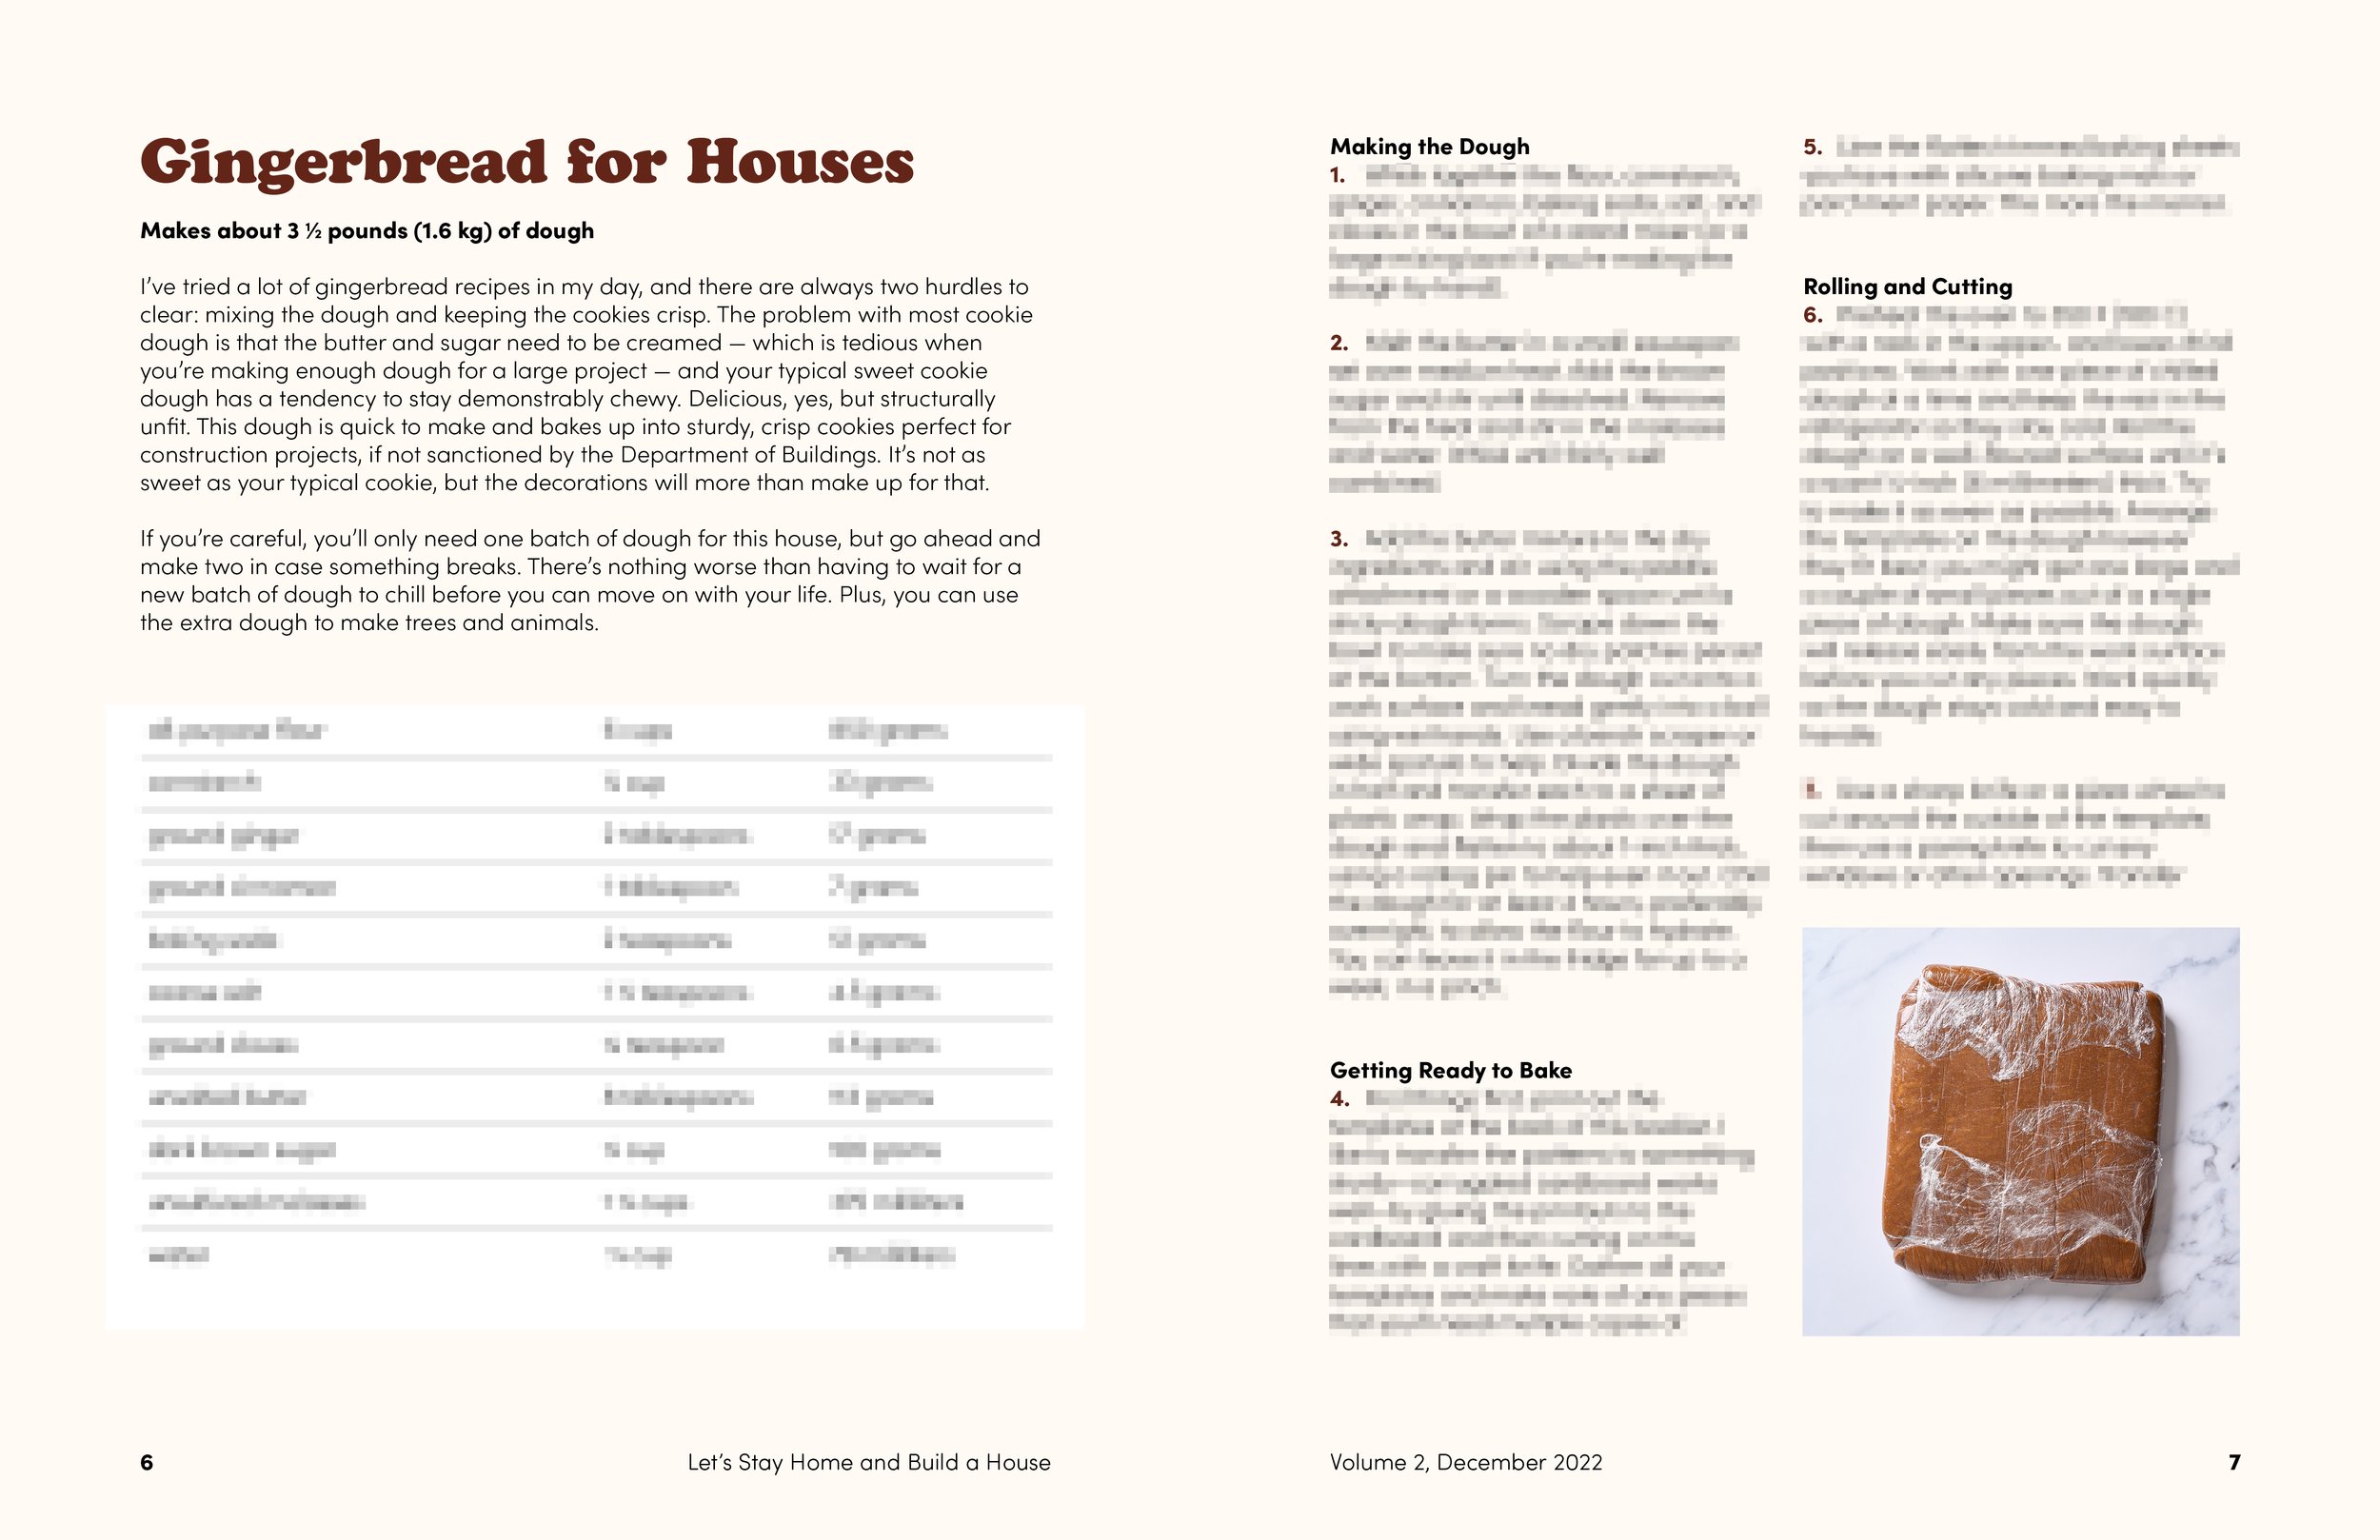
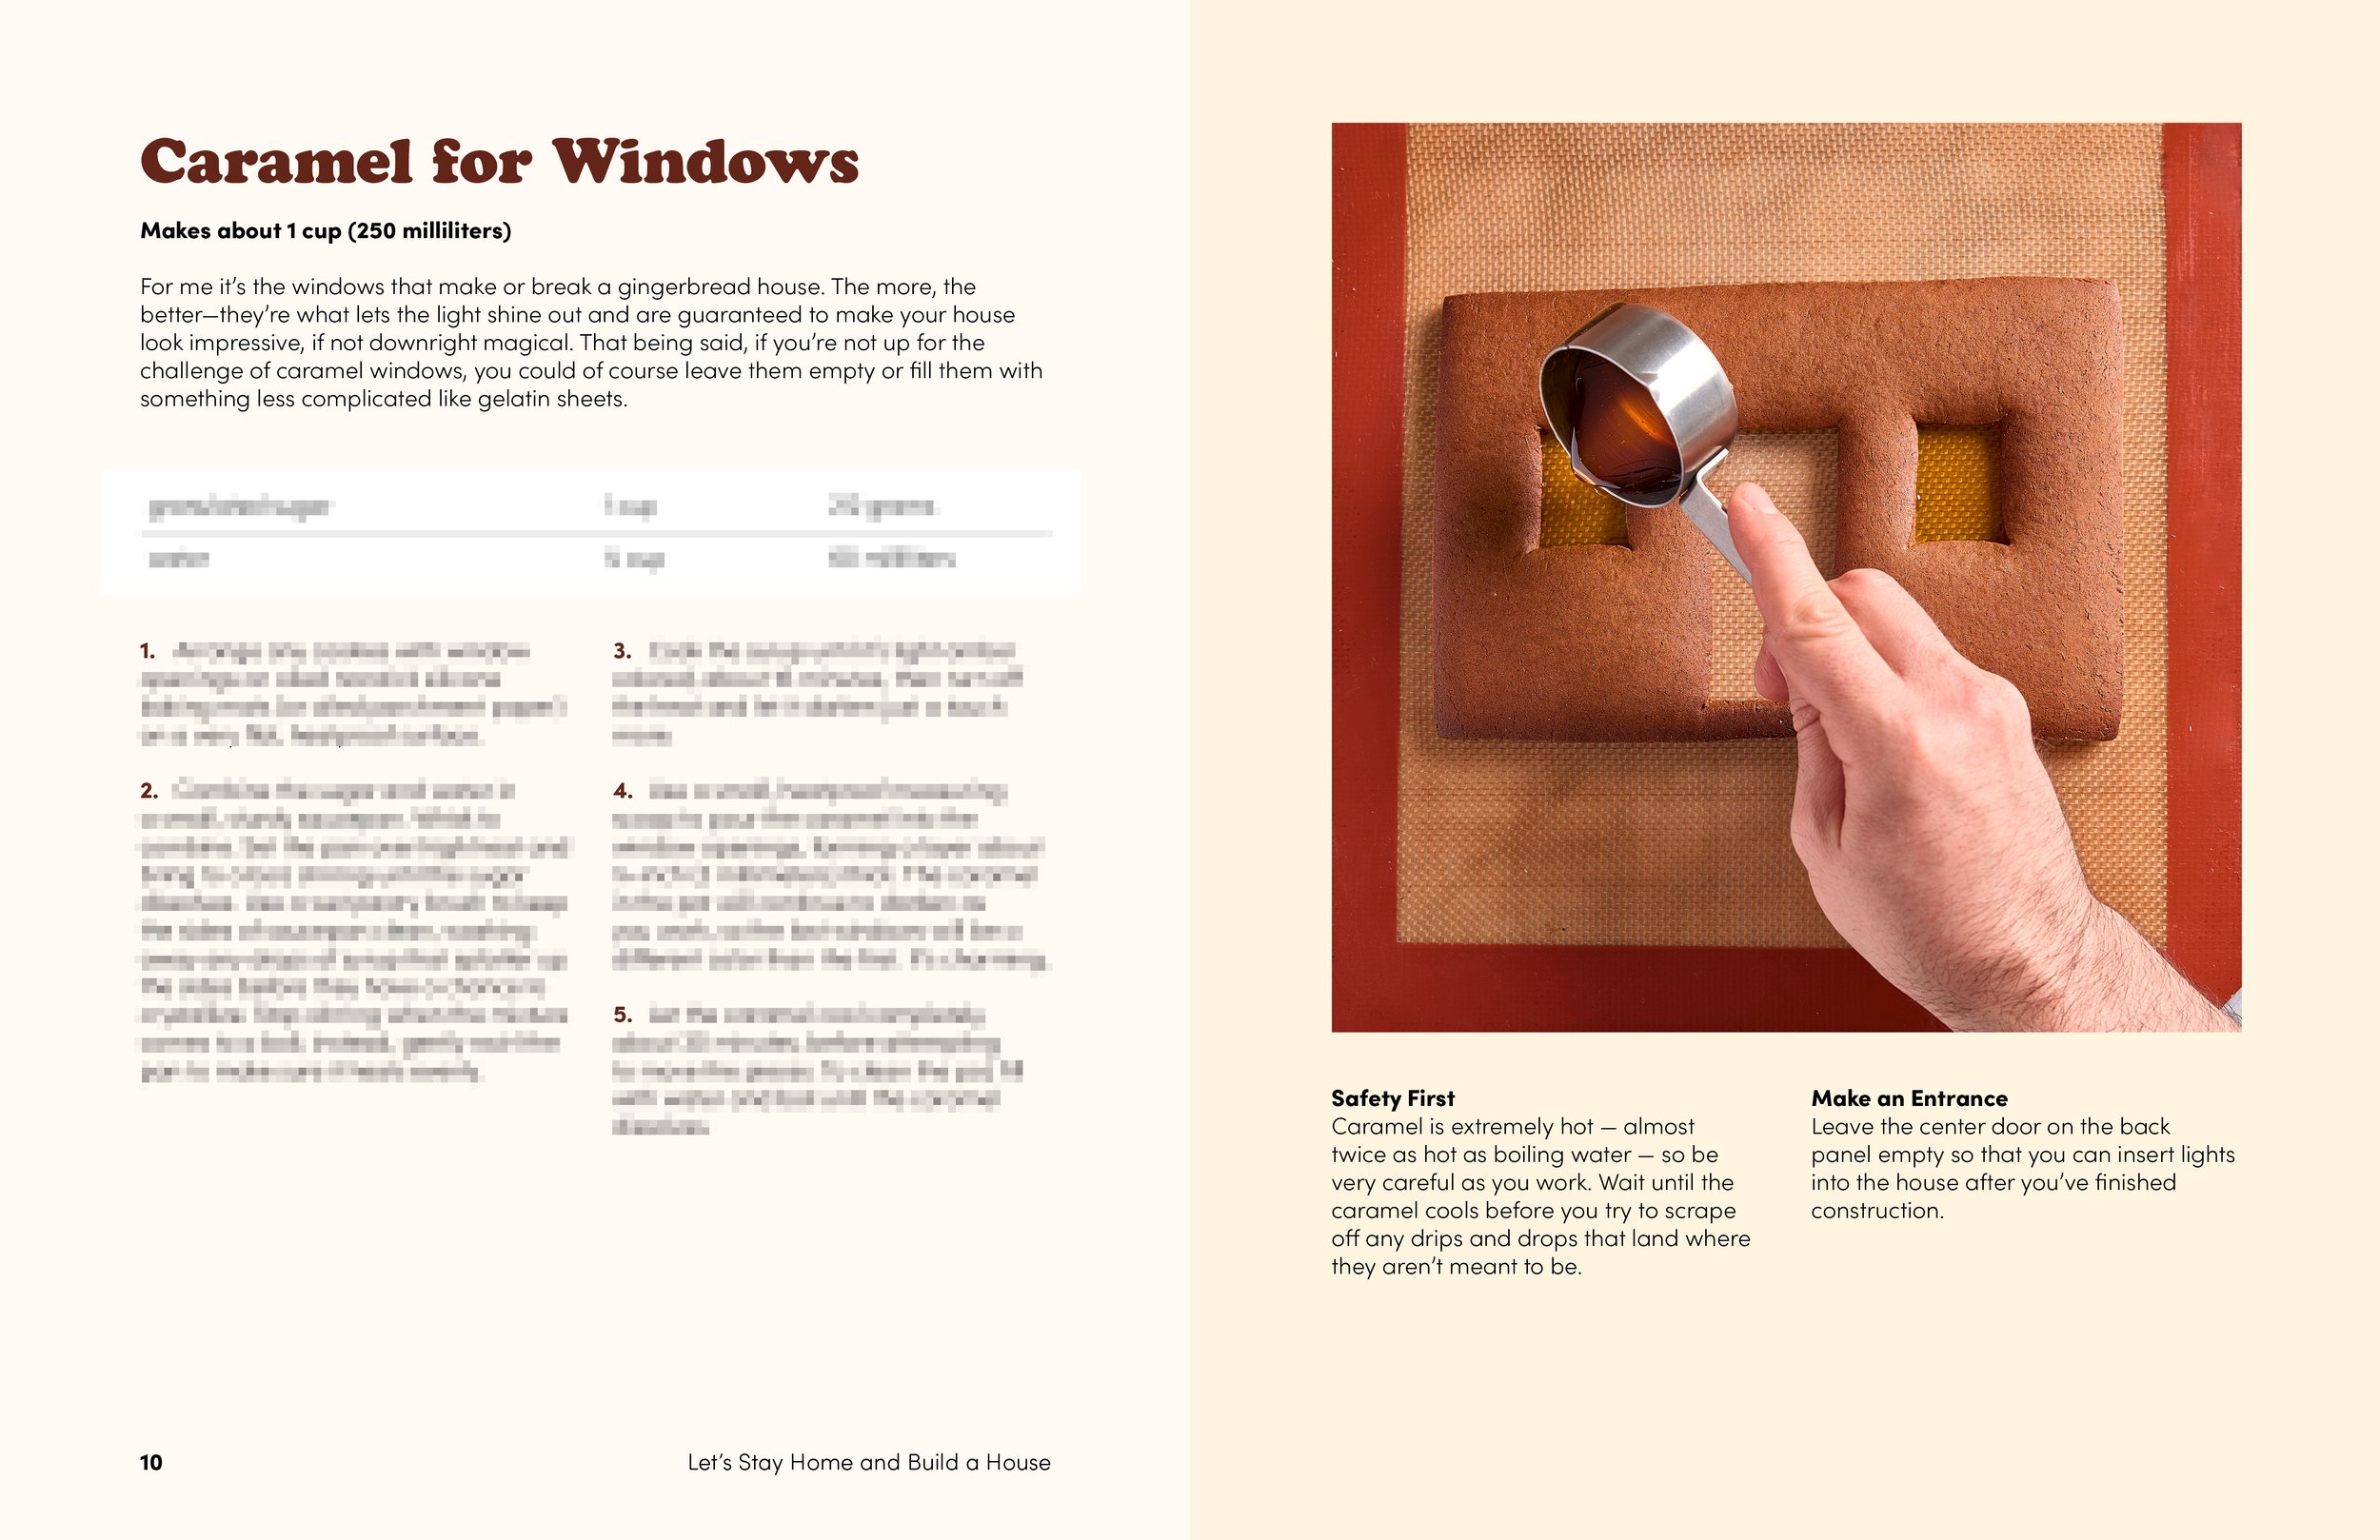
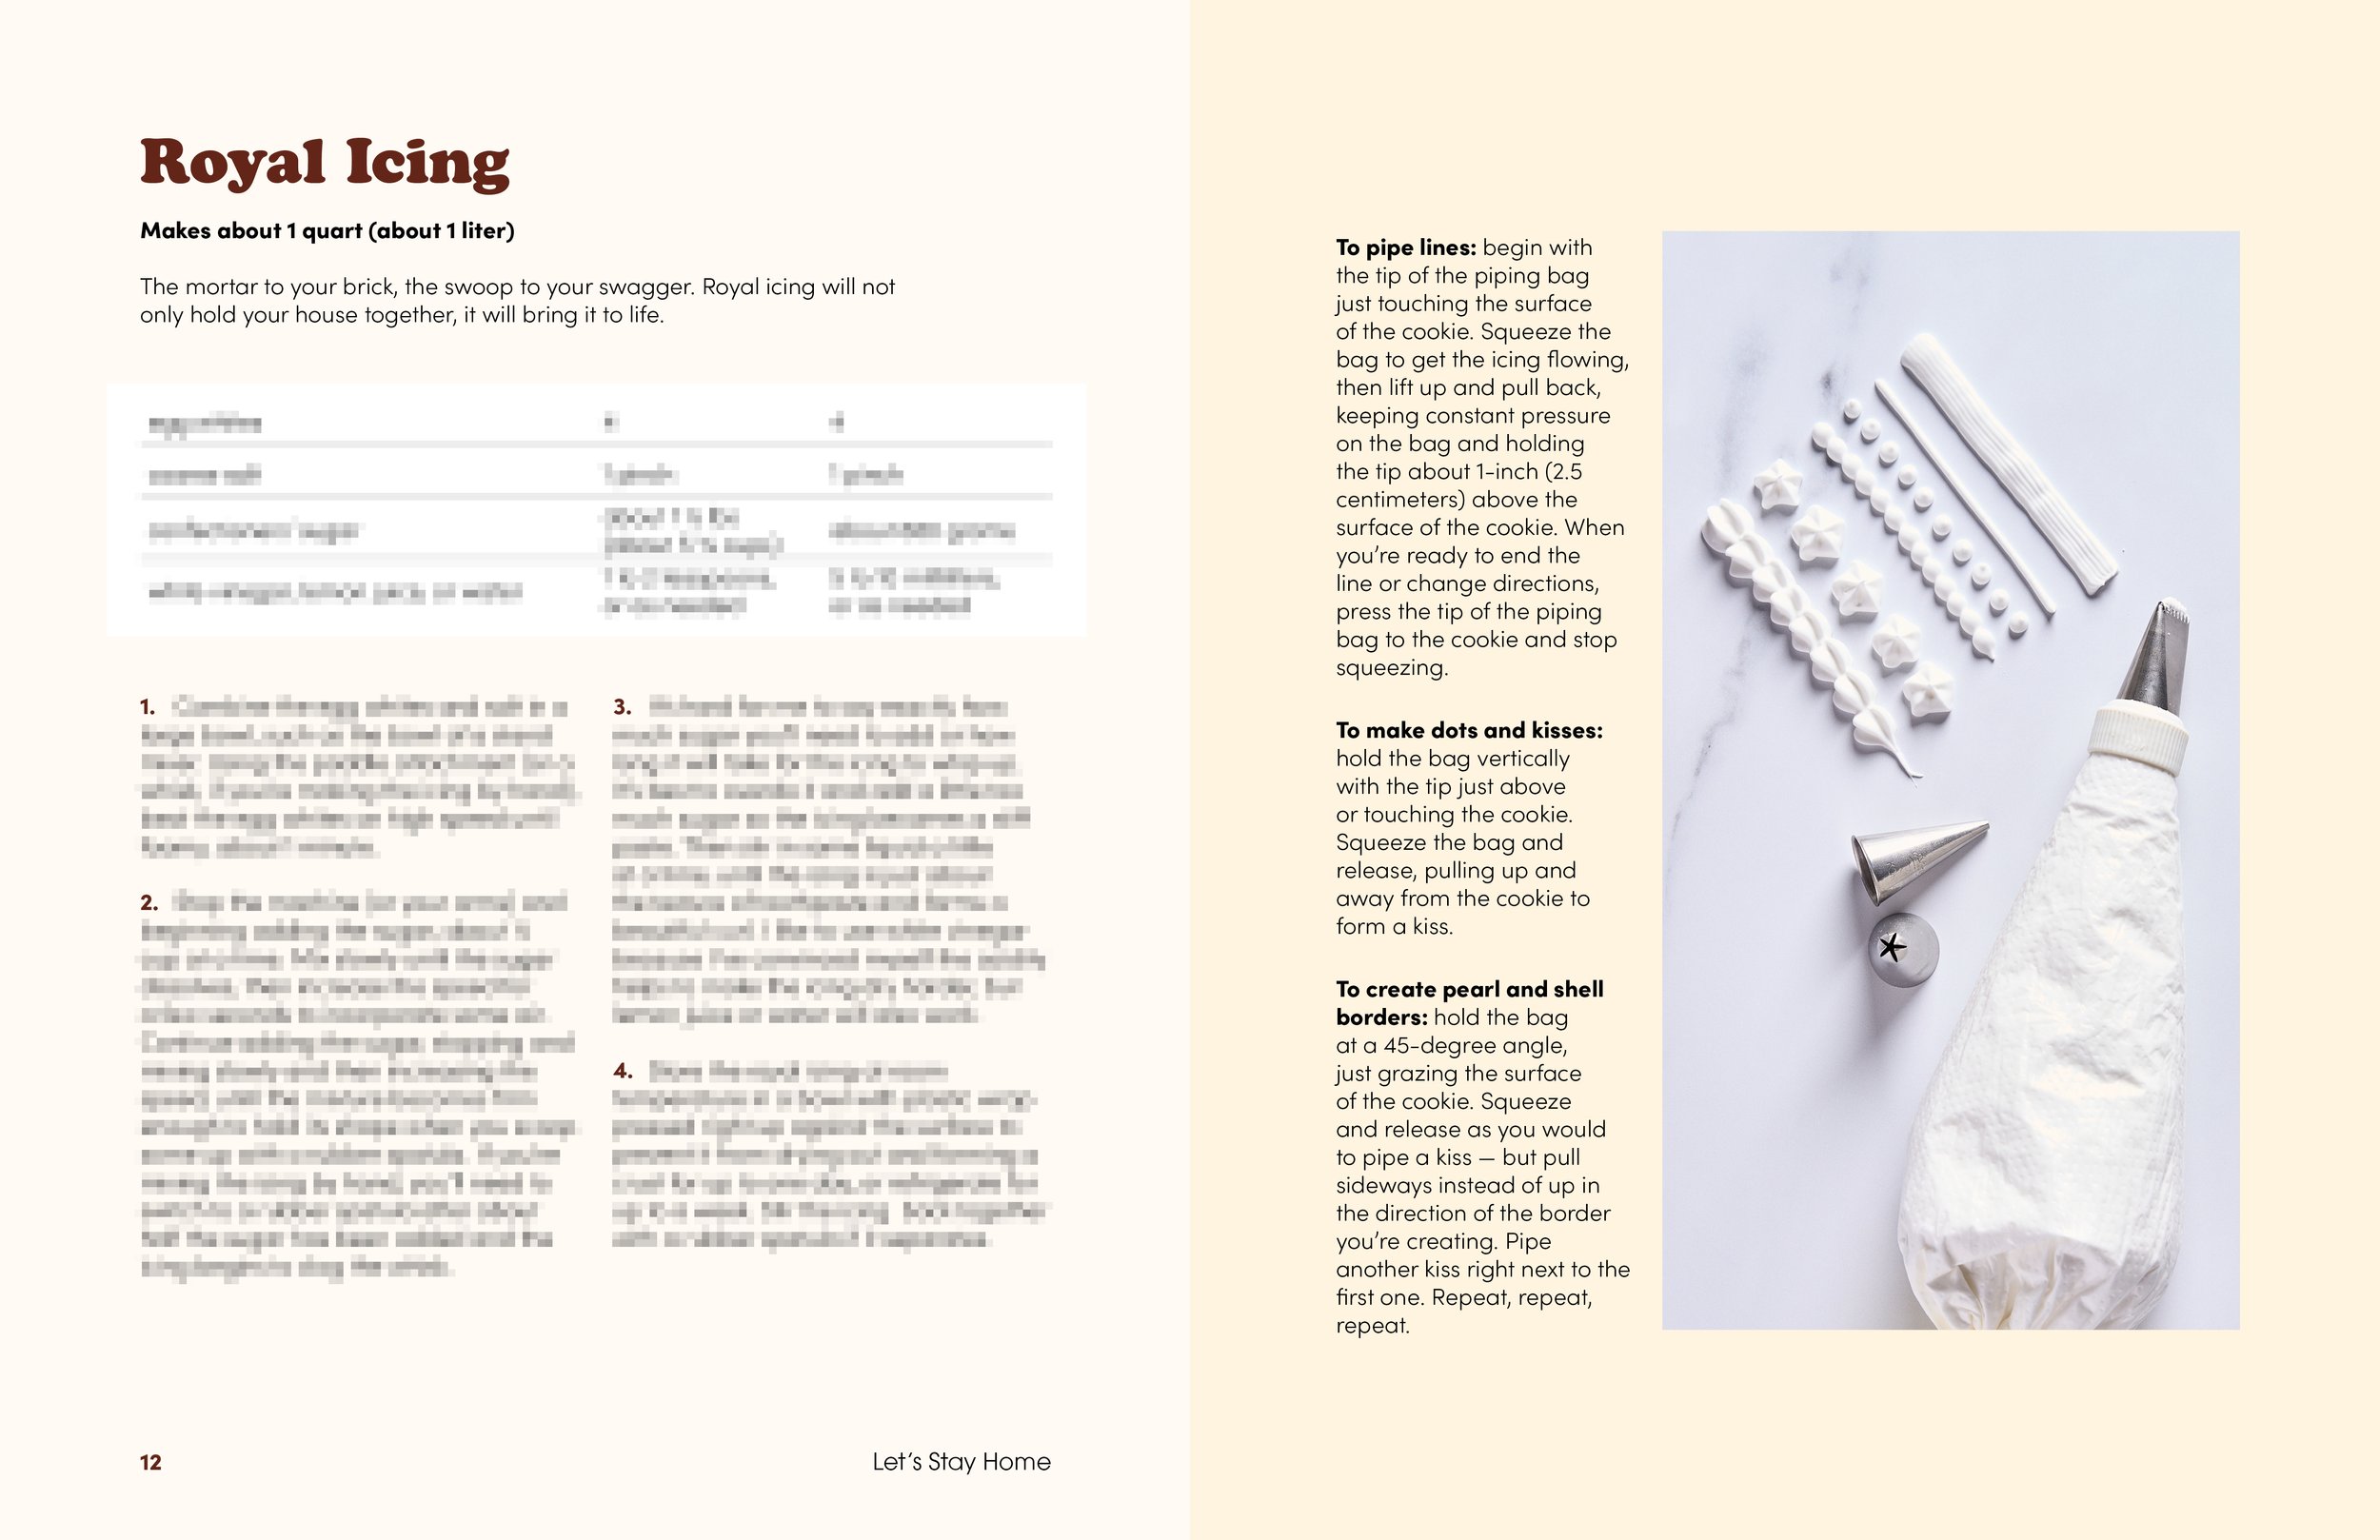
Back by popular demand, it's Let's Stay Home and Build a House volume 2! Wait, is it... a zine?
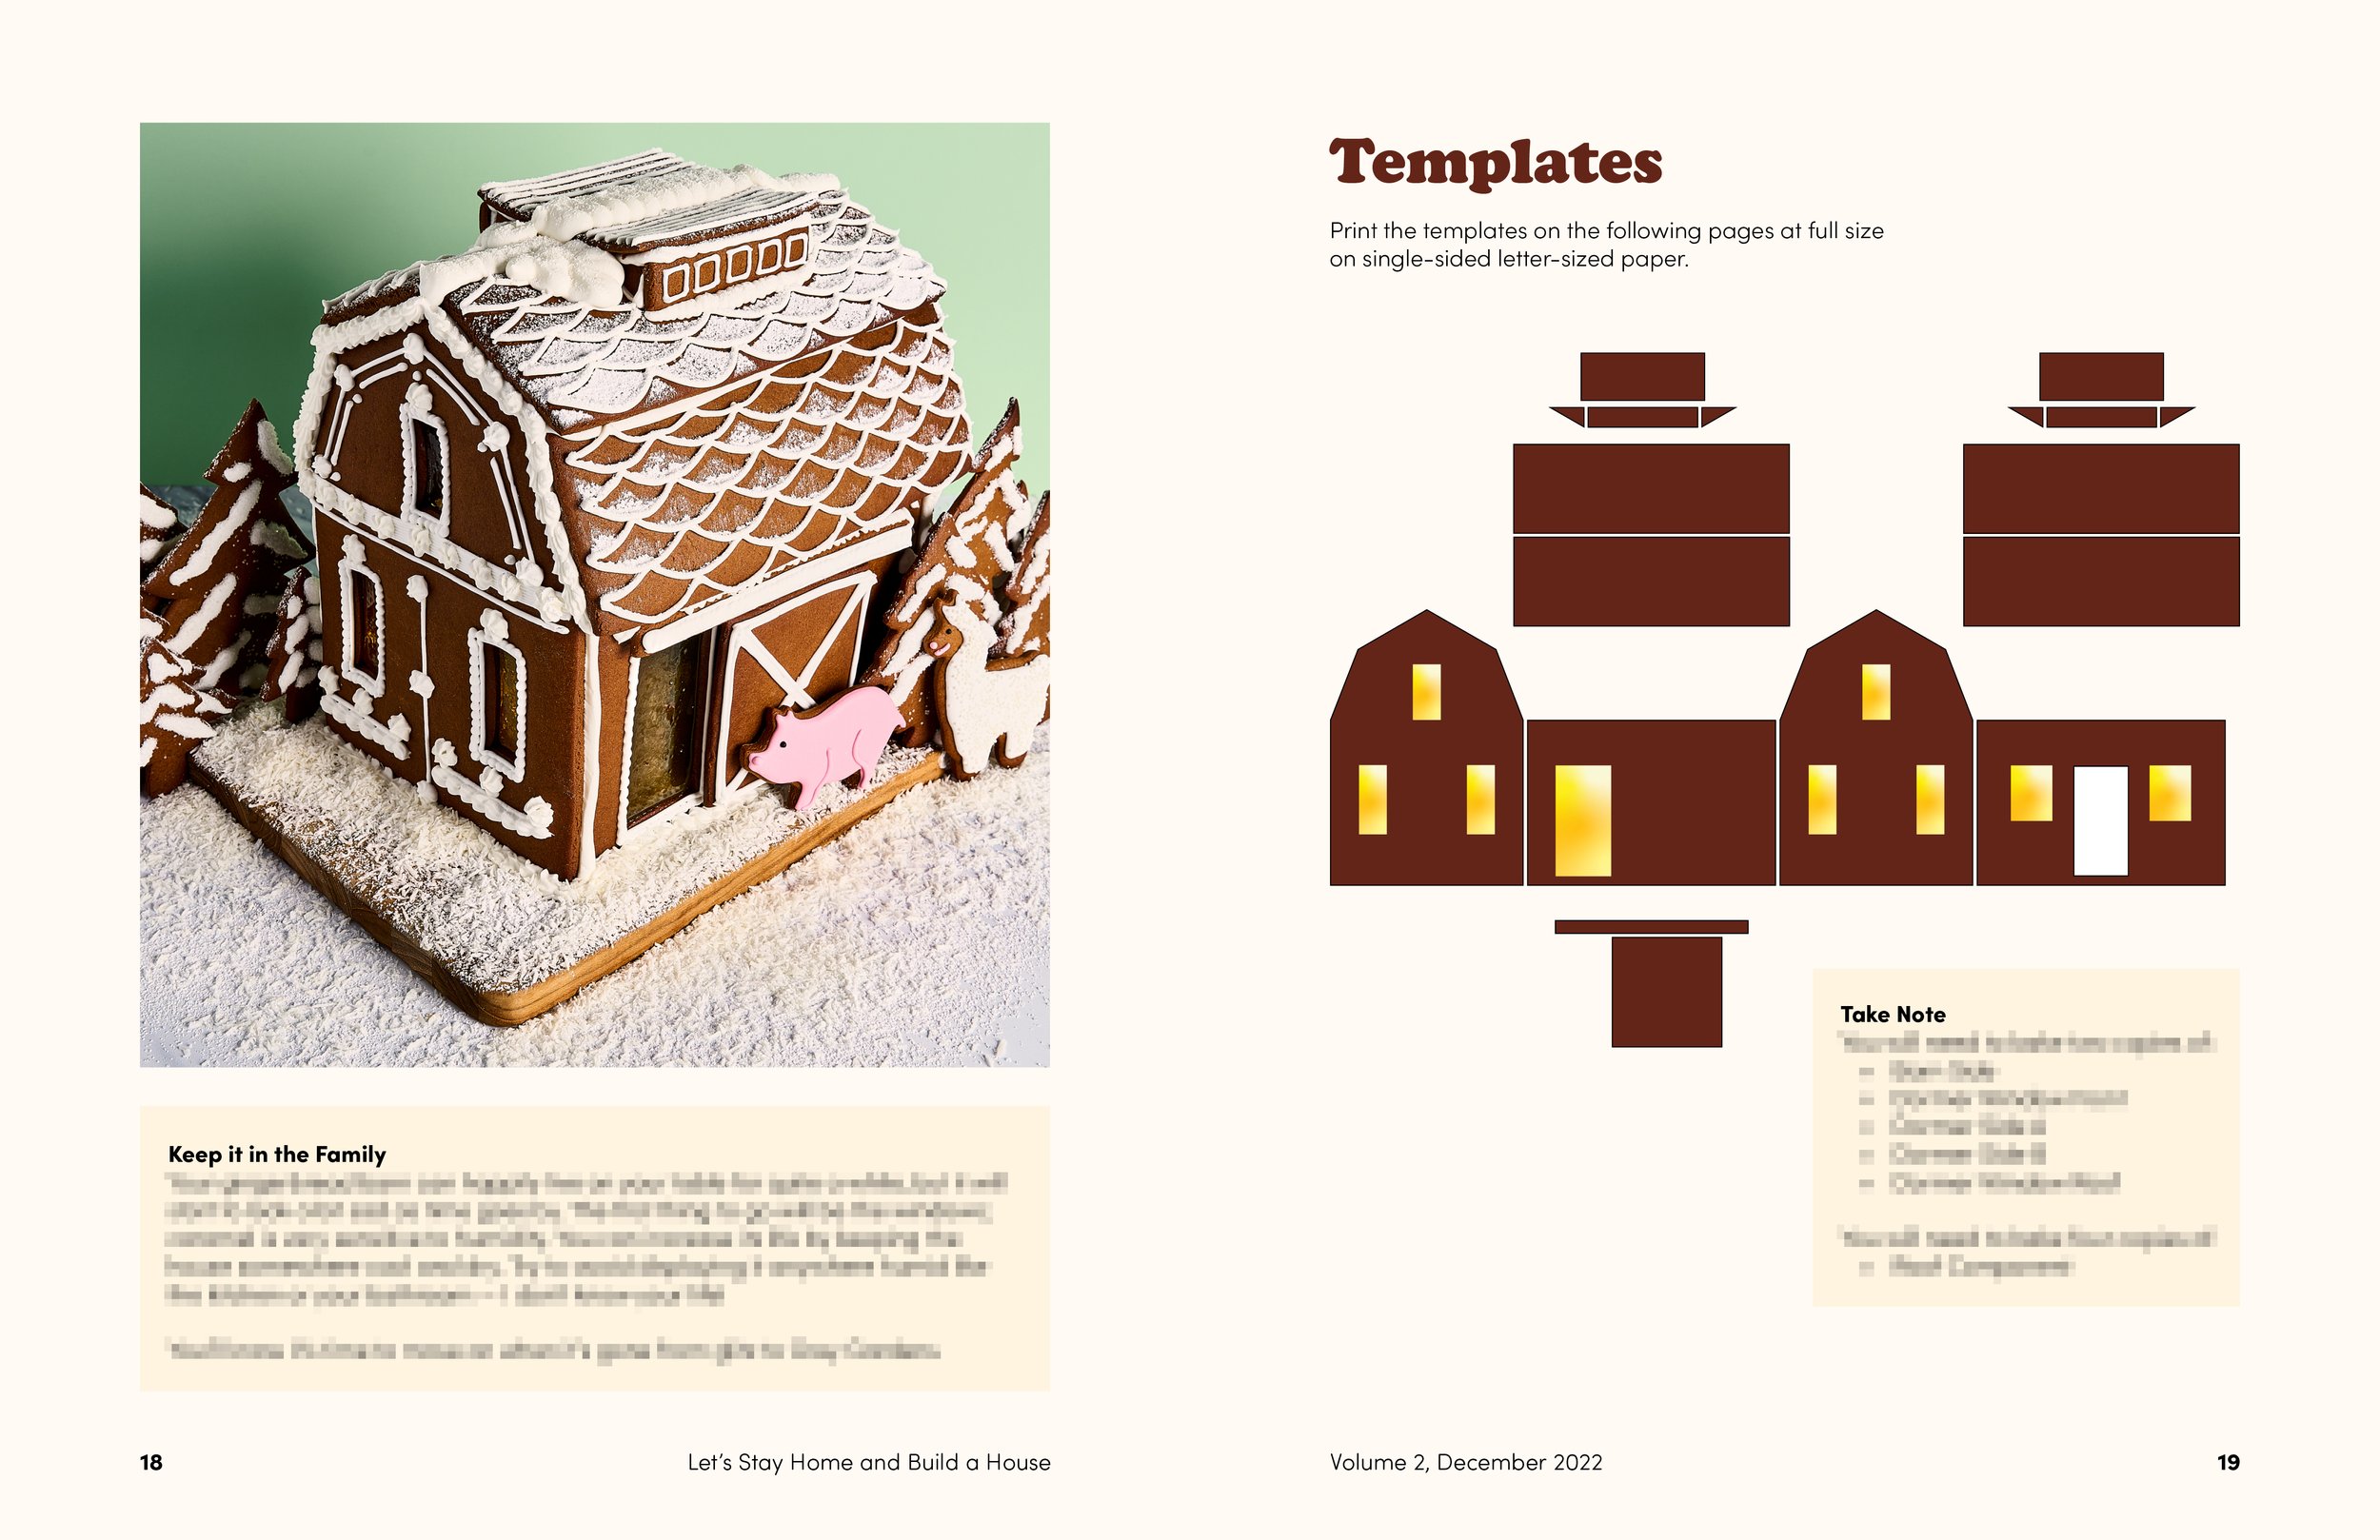
Get all the recipes and templates you need to build a gingerbread barn for the holidays in a cheeky lifestyle magazine edited by Steven Oinkel, named 2022's pigfluencer of the year by Sløp Holdings LLC. It's #piggyhygge and fun for that one person in your family!
Inside this issue:
» My tried and true recipes for Gingerbread, Royal Icing, and Caramel windows
» Actual instructions
» Printable templates
» Tricks and tips
» Mildly comedic elements
» Tips and tricks
Recipes are provided in standard US and metric units.
Catch me on Martha's Holidays this December on Roku where I make a much less sane barn with Martha Stewart herself.
Share your barn! #piggyhygge
Laurie Ellen Holiday 2022
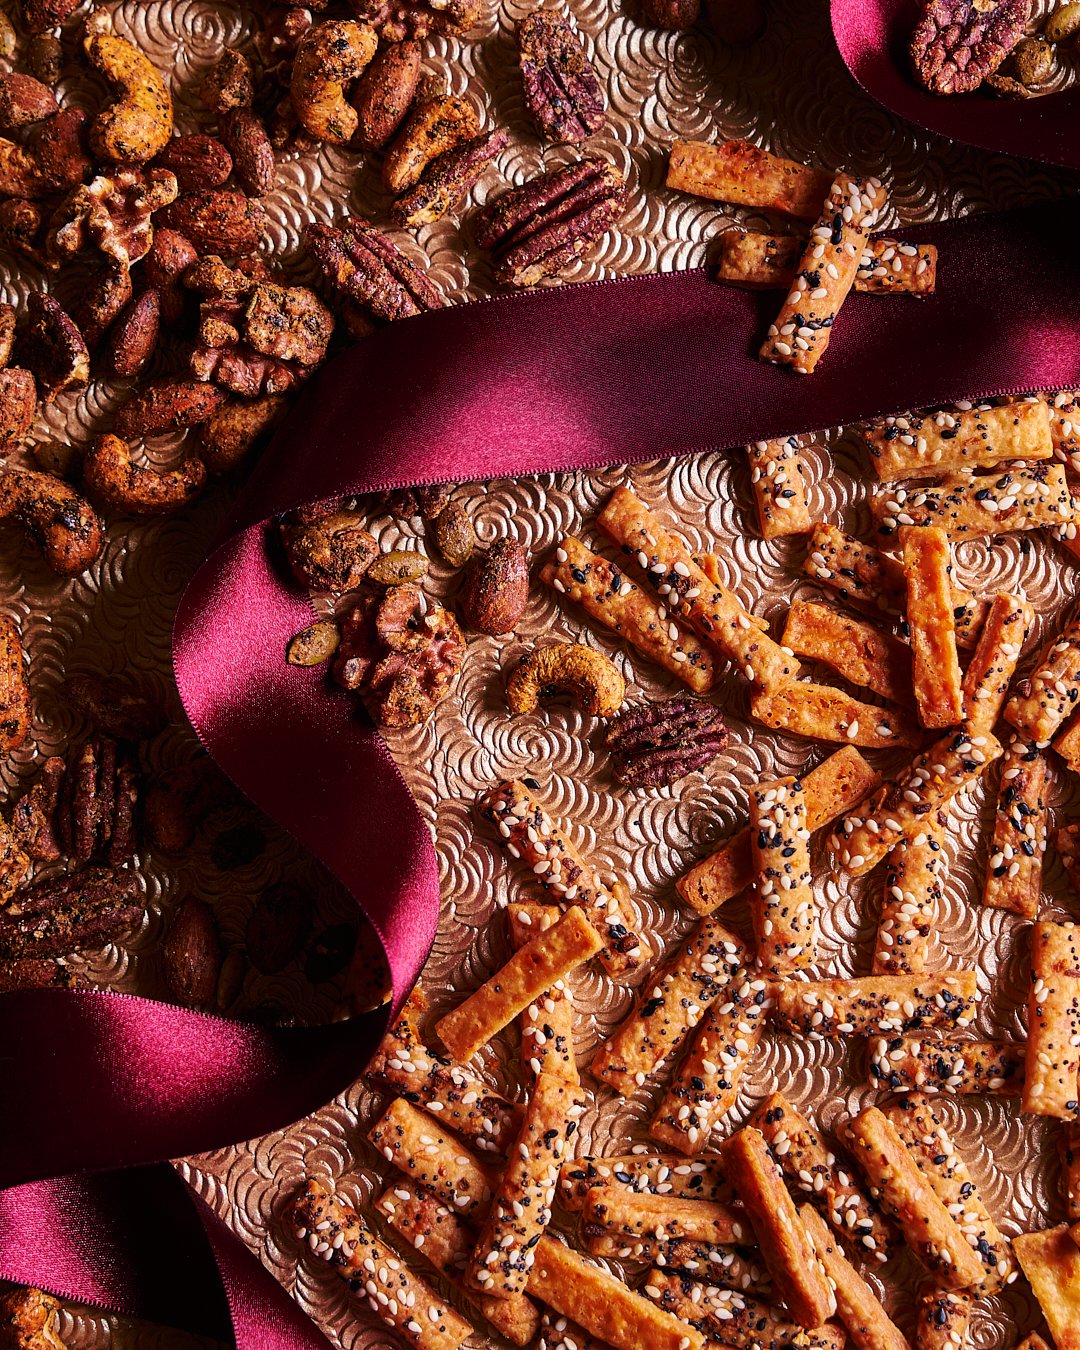
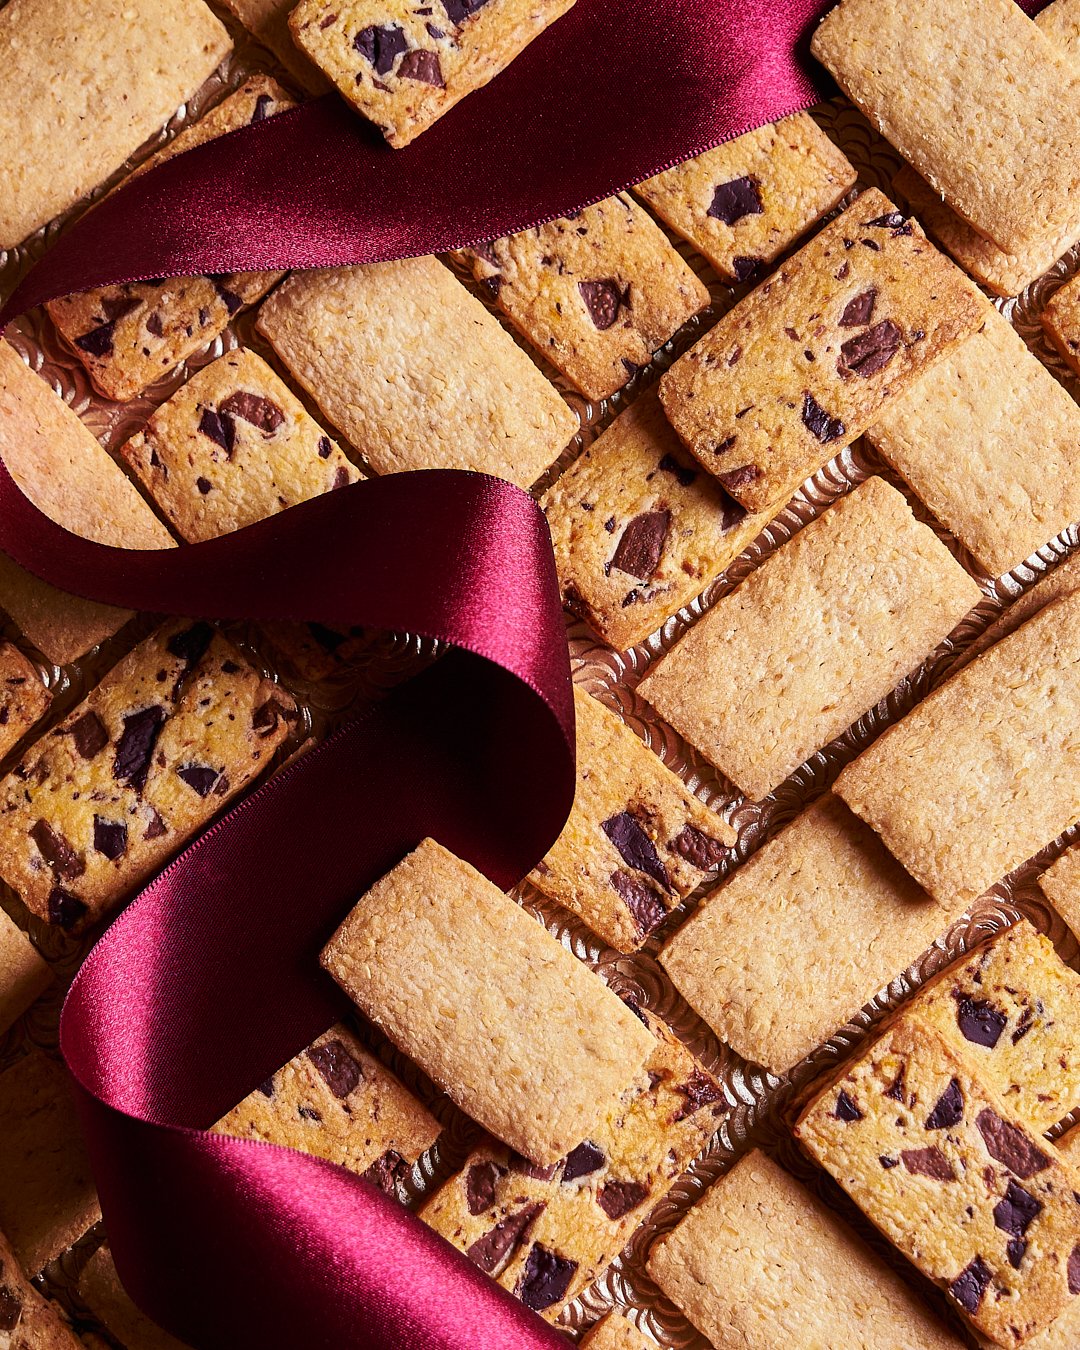
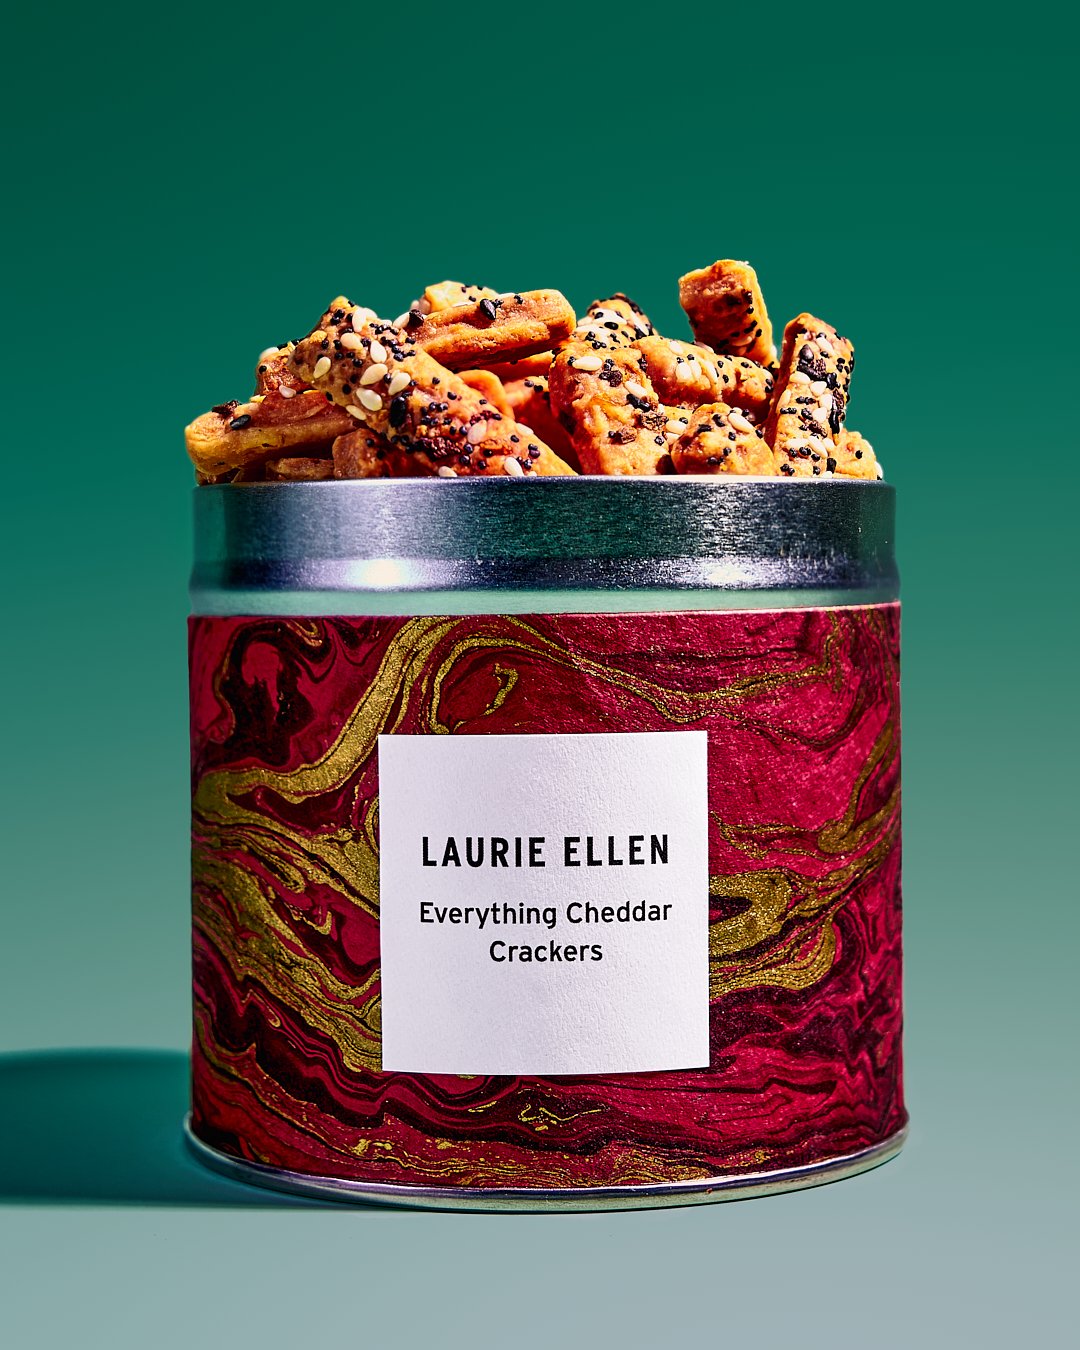
It turns out that degree in 17th century Dutch art comes in handy once in a while. But more importantly, the www.laurieellen.com holiday shop is open! Get your treats now!
Food styling: Laurie Ellen Pellicano
Photo: Jason Schreiber
Laurie Ellen Thanksgiving 2022
Head over to www.laurieellen.com to get your Thanksgiving treats now!
Hazelnut Banana Bread
Hazelnut Banana Bread by Jason Schreiber.
HAZELNUT BANANA BREAD
Originally published in FRUIT CAKE: RECIPES FOR THE CURIOUS BAKER
MAKES 8 TO 10 SERVINGS
The bananas and plantains for this recipe need to be soft, dark, and basically mushade, because that’s when they are the sweetest and most full of flavor. The plantains, which are starchier than your typical banana, don’t break down completely, forming little pockets of intense banana flavor scattered throughout the loaf.
The original recipe from FRUIT CAKE uses walnuts instead of hazelnuts. Both versions are delicious.
Pan Goo (below), for greasing the pan
2 (240 grams) large, very ripe, very mushy bananas
2 (450 grams) large, very ripe, very soft sweet plantains
¾ cup (160 grams) granulated sugar
1 ¼ cups (178 grams) all-purpose flour
1 ¼ teaspoons (3.8 grams) coarse salt
1 teaspoon (2.5 grams) ground cinnamon
¾ teaspoon (4.5 grams) baking soda
1 pinch ground mace
4 tablespoons (57 grams) unsalted butter
½ cup (4 ounces, 113 grams) cream cheese
2 teaspoons (10 milliliters) pure vanilla extract
2 large eggs
1 cup (128 grams) toasted hazelnuts (optional)
1. Preheat the oven to 350°F (180°C) with a rack in the center position. Brush a standard 8 ½ x 4 ½-inch loaf pan with Pan Goo.
2. In a large bowl, mash the bananas and plantains together until the bananas have almost totally disintegrated and the plantains have broken into pieces about the size of modest grapes. Add the sugar and continue mashing it all together until the sugar more or less dissolves. Set this mixture aside to macerate for about 15 minutes.
3. In a small bowl, whisk together the flour, salt, cinnamon, baking soda, and mace.
4. In a small saucepan, melt the butter, then remove it from the heat. Using a rubber spatula, stir the cream cheese into the butter until it’s mostly dissolved, then whisk to combine. Whisk in the vanilla and eggs, one at a time, until the mixture has lightened to the consistency of melted ice cream.
5. Stir the wet mixture into the banana mixture with a rubber spatula. Add the dry mixture and gently fold it all together as you might pancake batter, being careful not to overwork it or leave any dry pockets behind. Store in the nuts, if using, and then pour the batter into the prepared pan. It will be almost completely full.
6. Bake the loaf until it’s deep golden brown, springs back to the touch, and a cake tester inserted into the center comes out clean, 80 to 85 minutes.
7. Transfer the pan to a wire rack. Let the loaf rest in the pan for just about 15 minutes, then unmold it onto the rack until—here comes the hard part—it’s completely cool.
STORAGE
You can probably keep the loaf in an airtight container for 4 to 5 days, but good luck with that.
PAN GOO
¼ cup (62 mL) neutral oil, such as safflower
⅓ cup (47 g) all-purpose flour.
In a small container with a lid, whisk the oil and flour together until combined. Brush onto baking pans in place of parchment paper or cooking spray. Keep it in the fridge for a couple of weeks. A month seems like maybe too long
From FRUIT CAKE: Recipes for the Curious Baker (William Morrow, 2020).
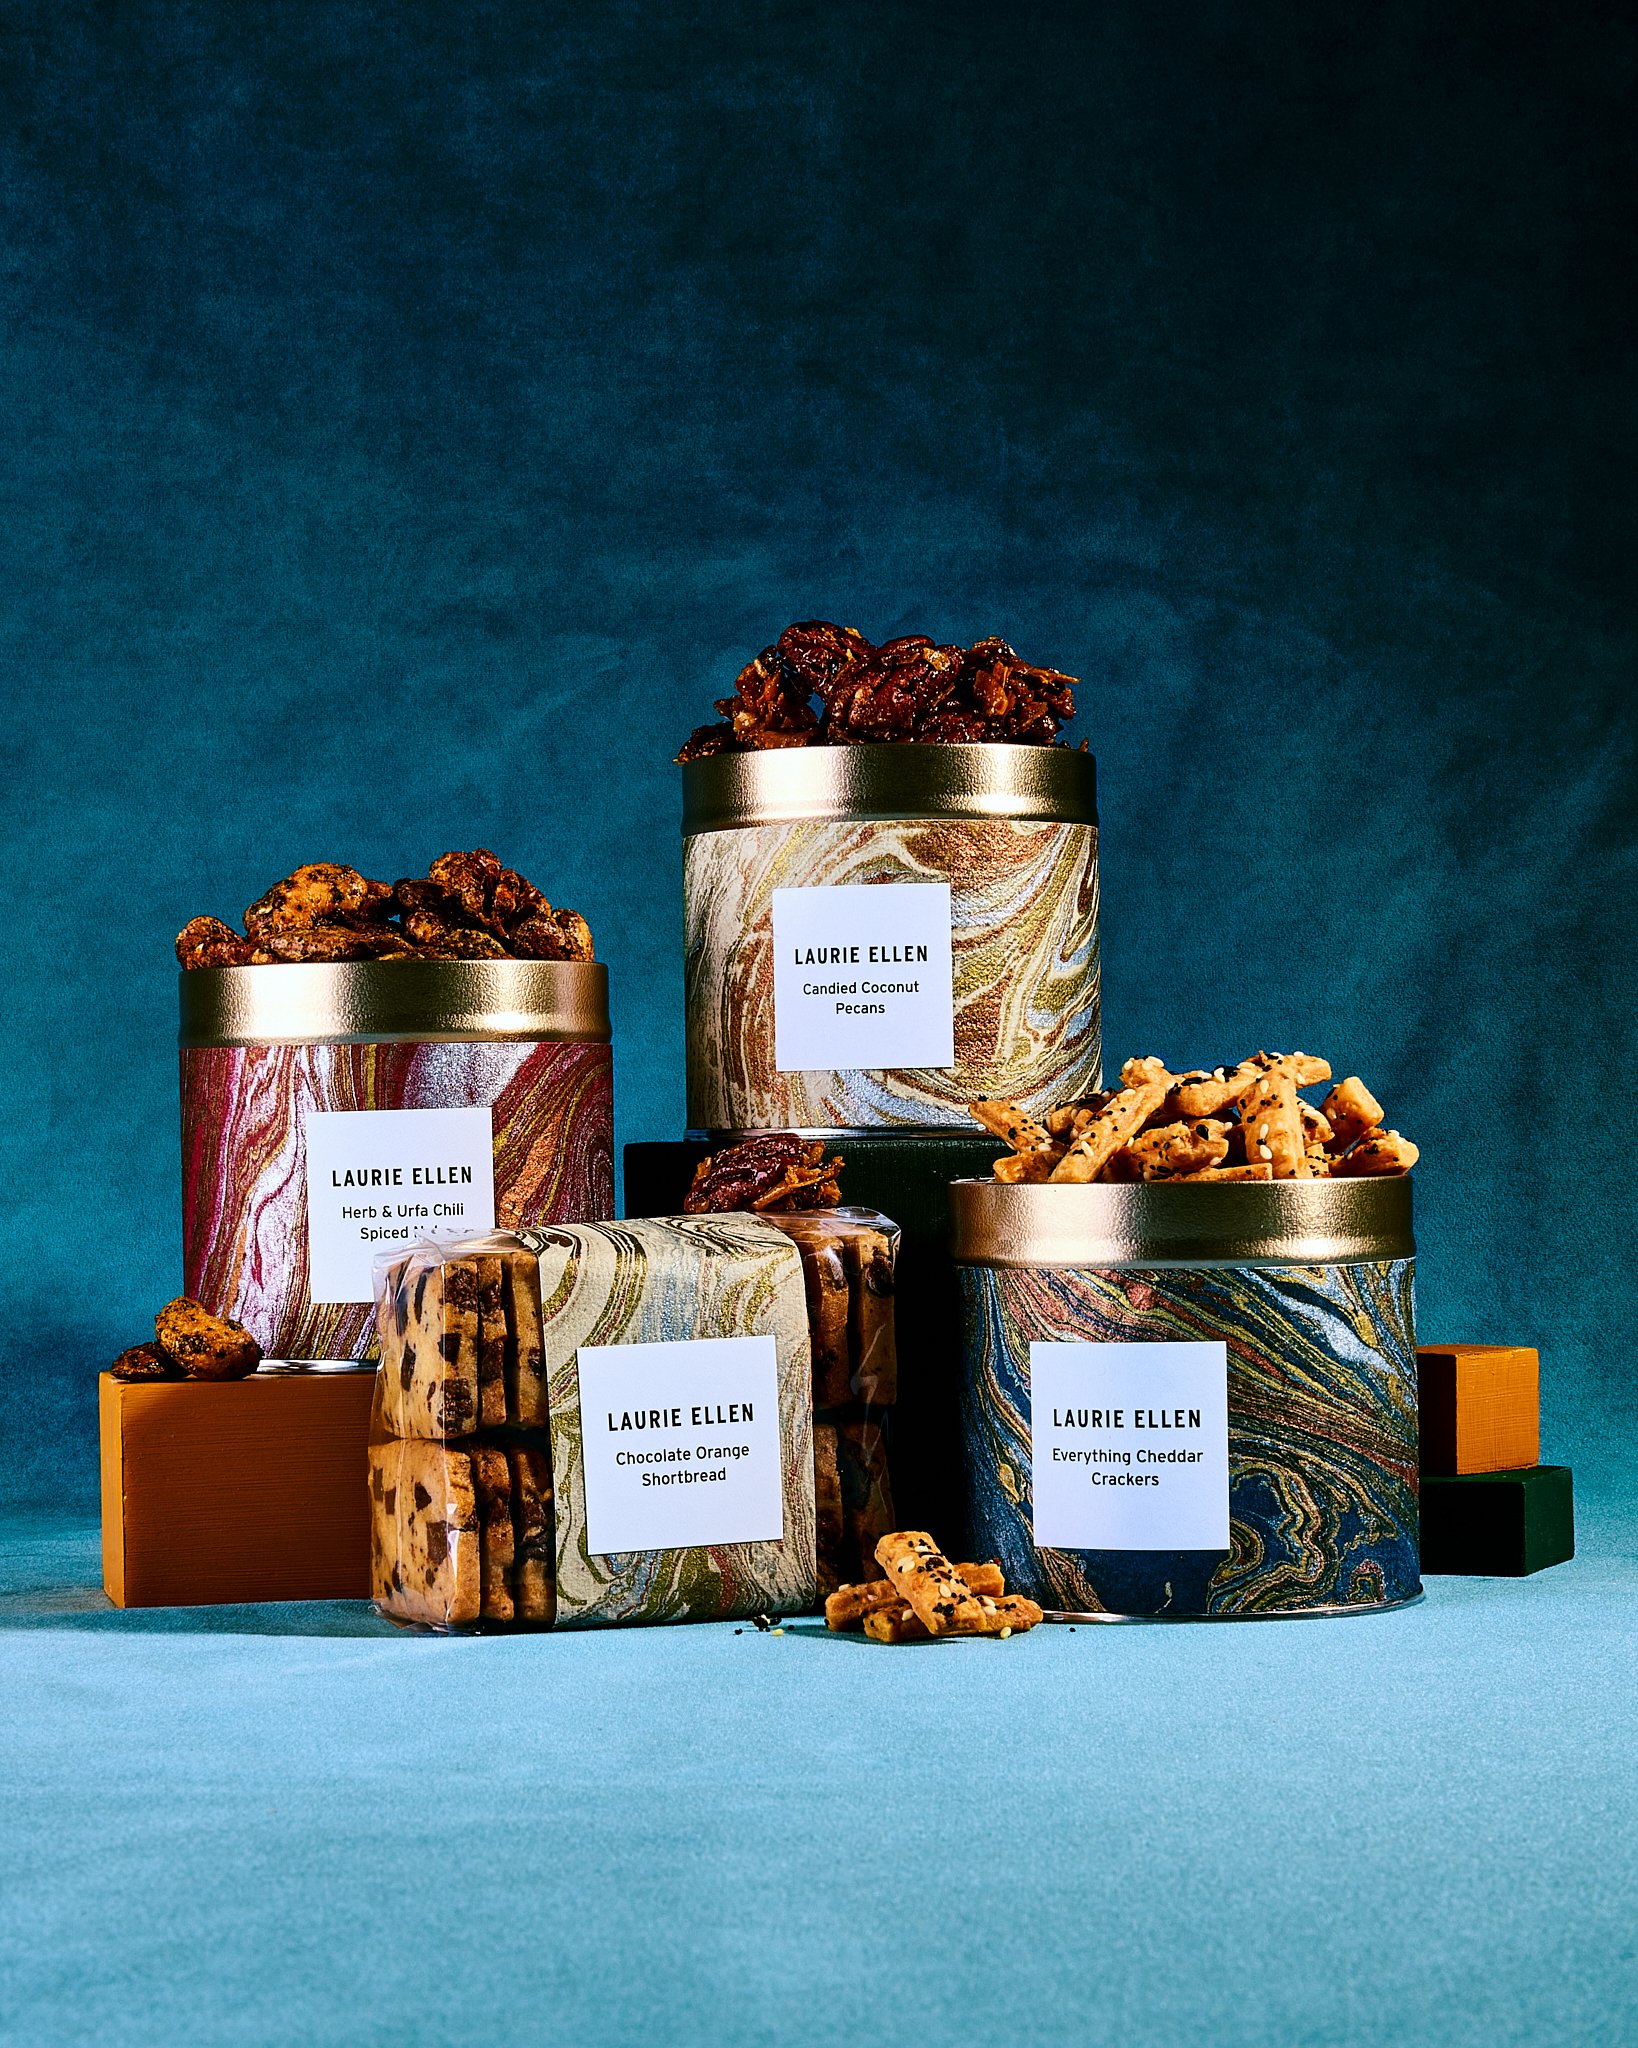
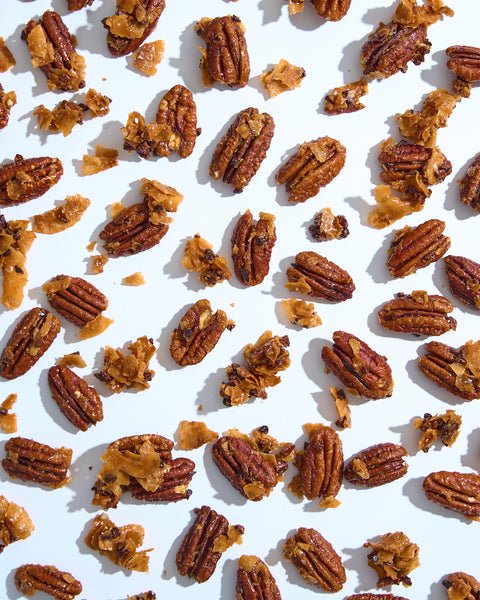
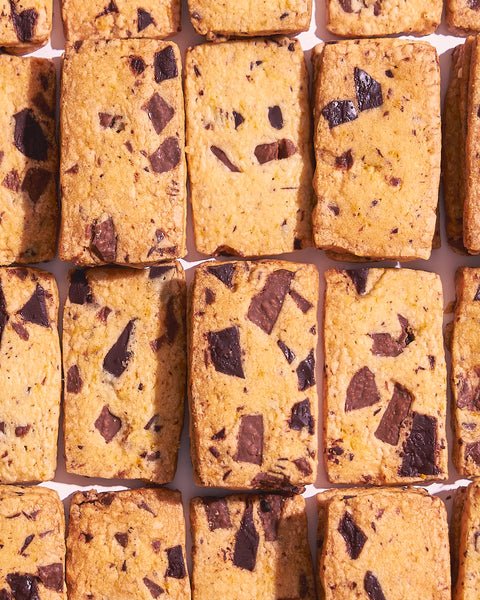
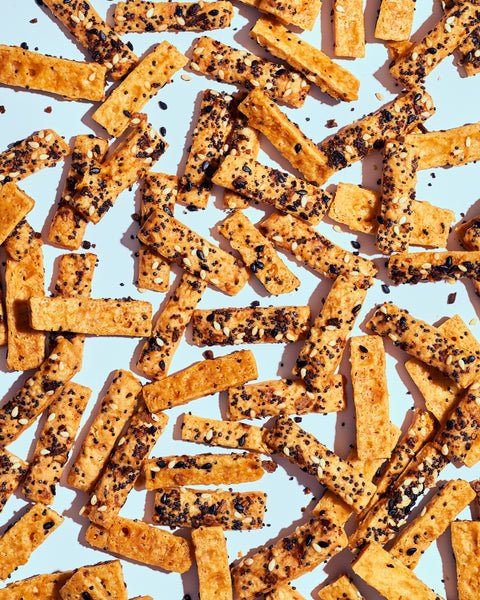
Laurie Ellen Winter 2022 Collection
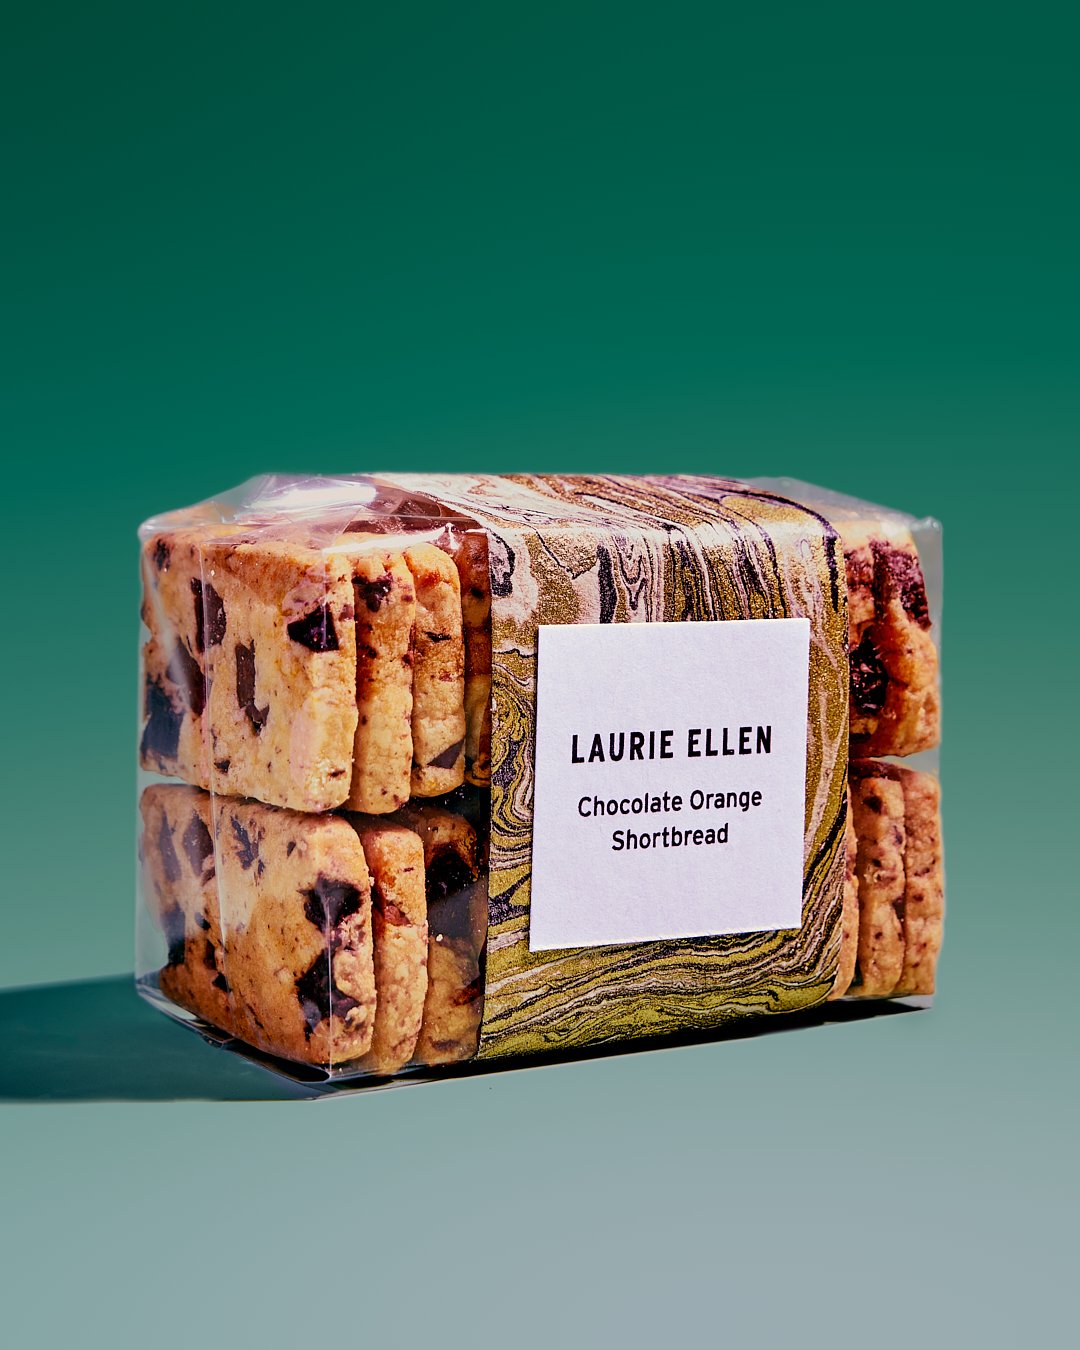
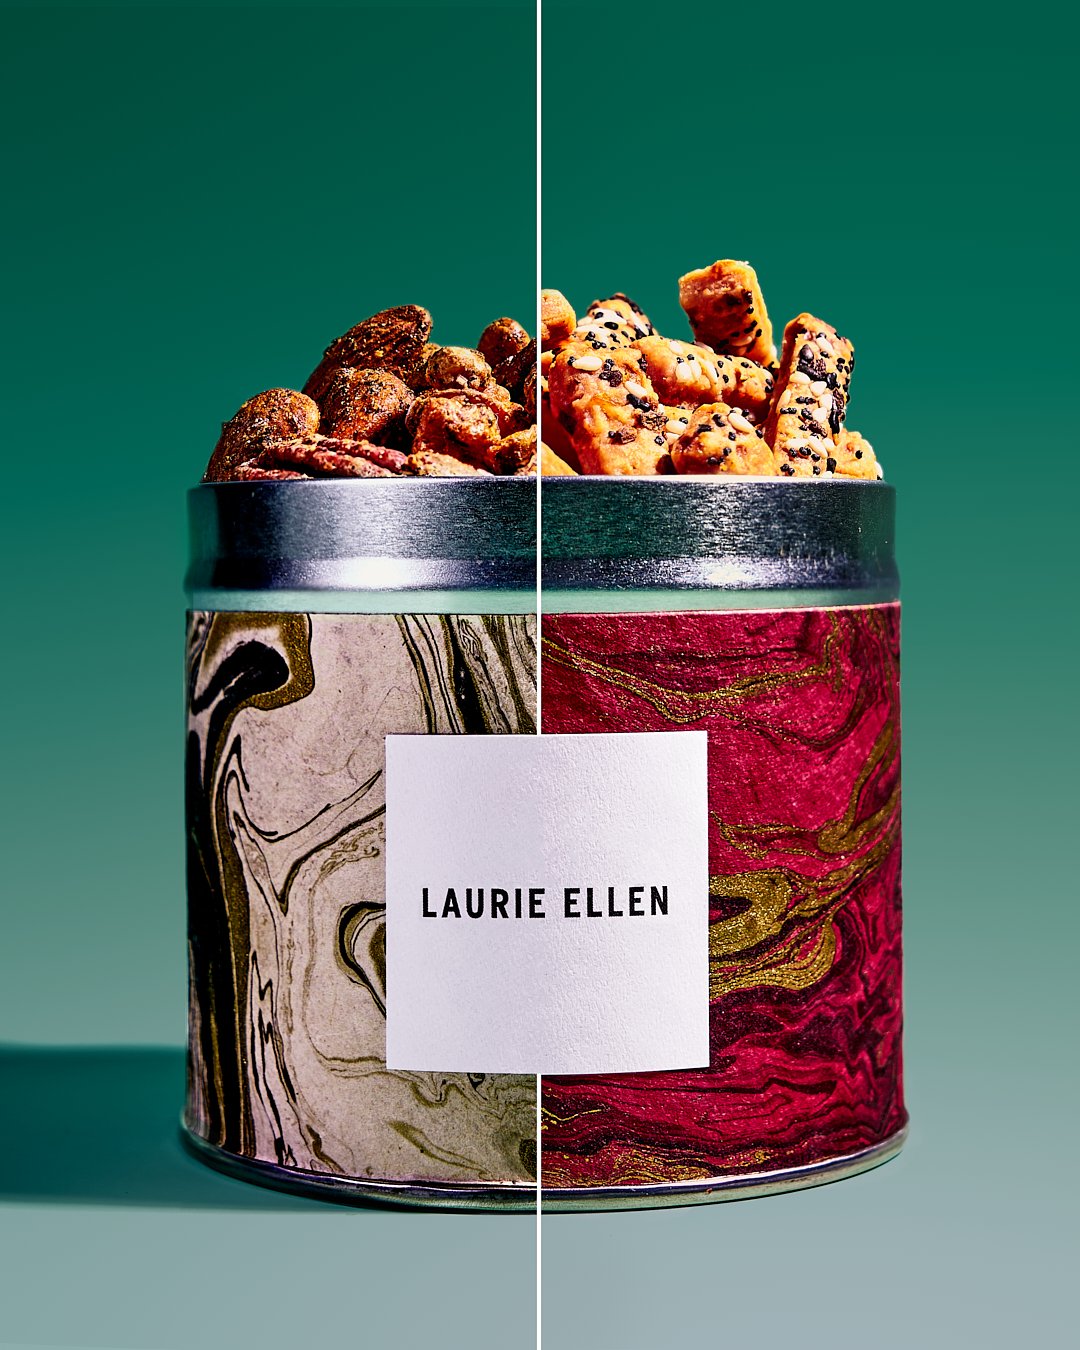
My second favorite thing to do with Laurie Ellen’s treats is to photograph them. (My favorite is to eat them.) Head over to www.laurieellen.com to shop her 2022 Winter Collection while supplies last!
Looking to make an easier gingerbread house than this one?
Looking for an easy gingerbread house to make this holiday season? Get my recipe and instructions in the Delish Holiday Baking Quarterly