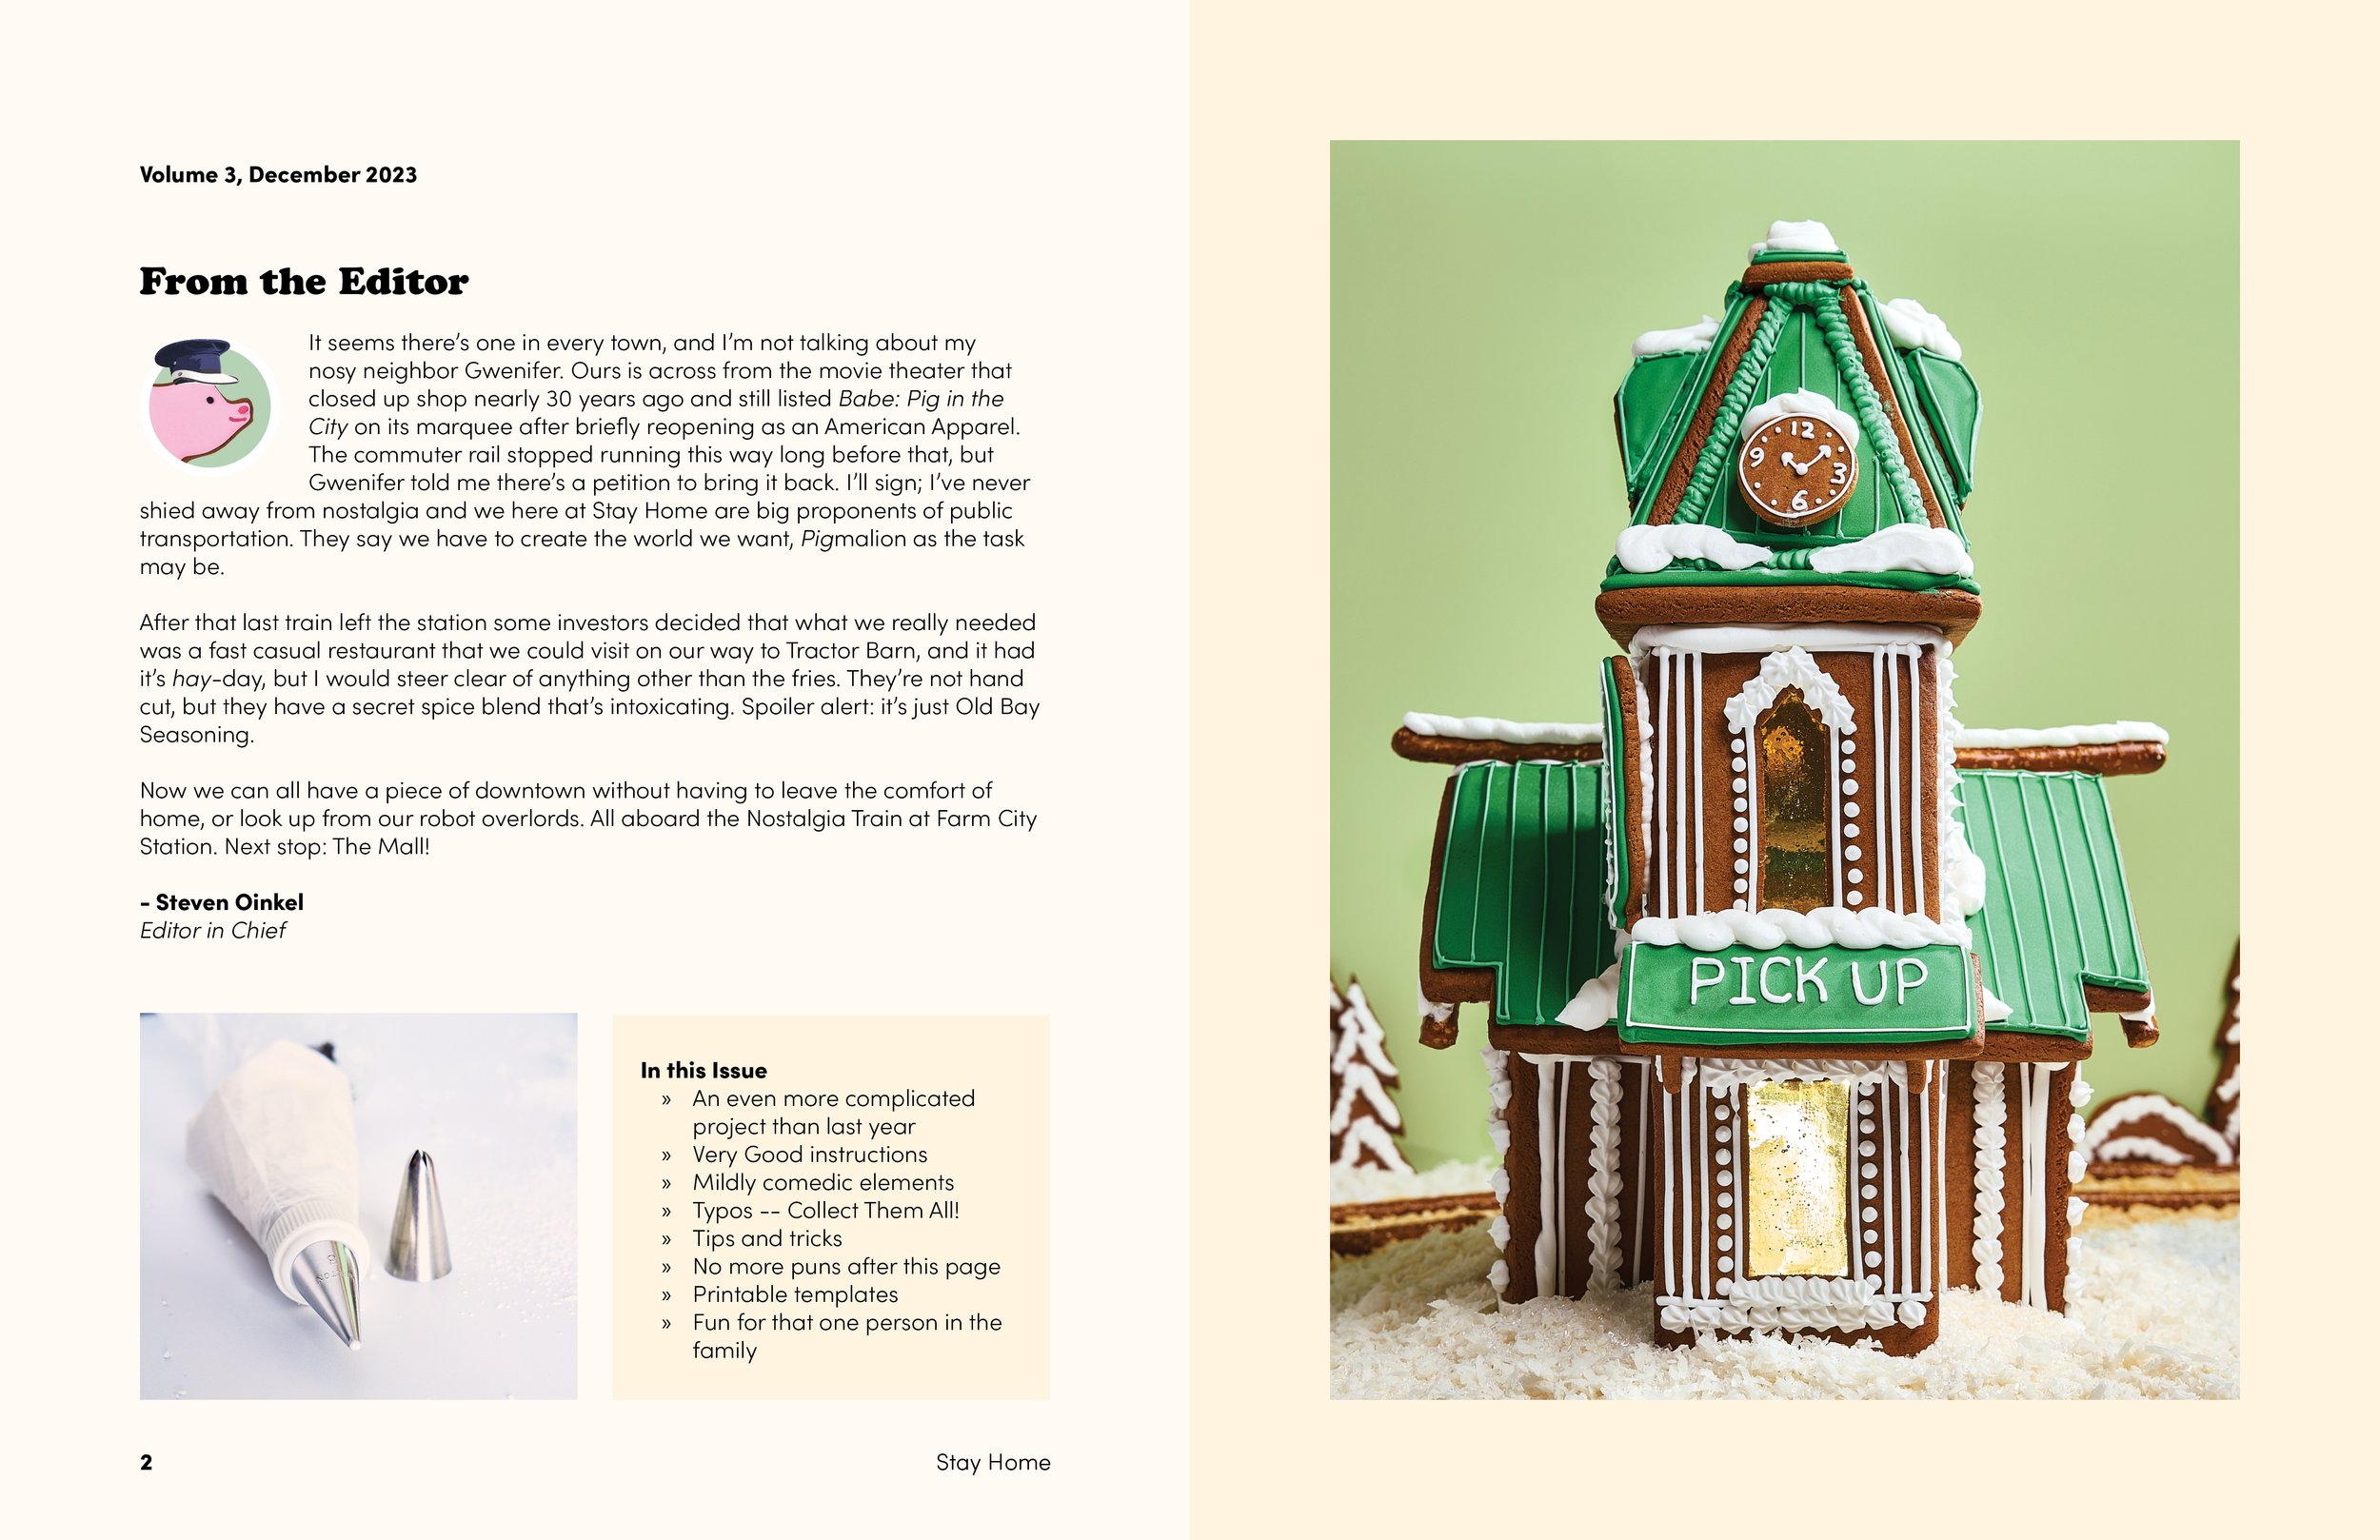
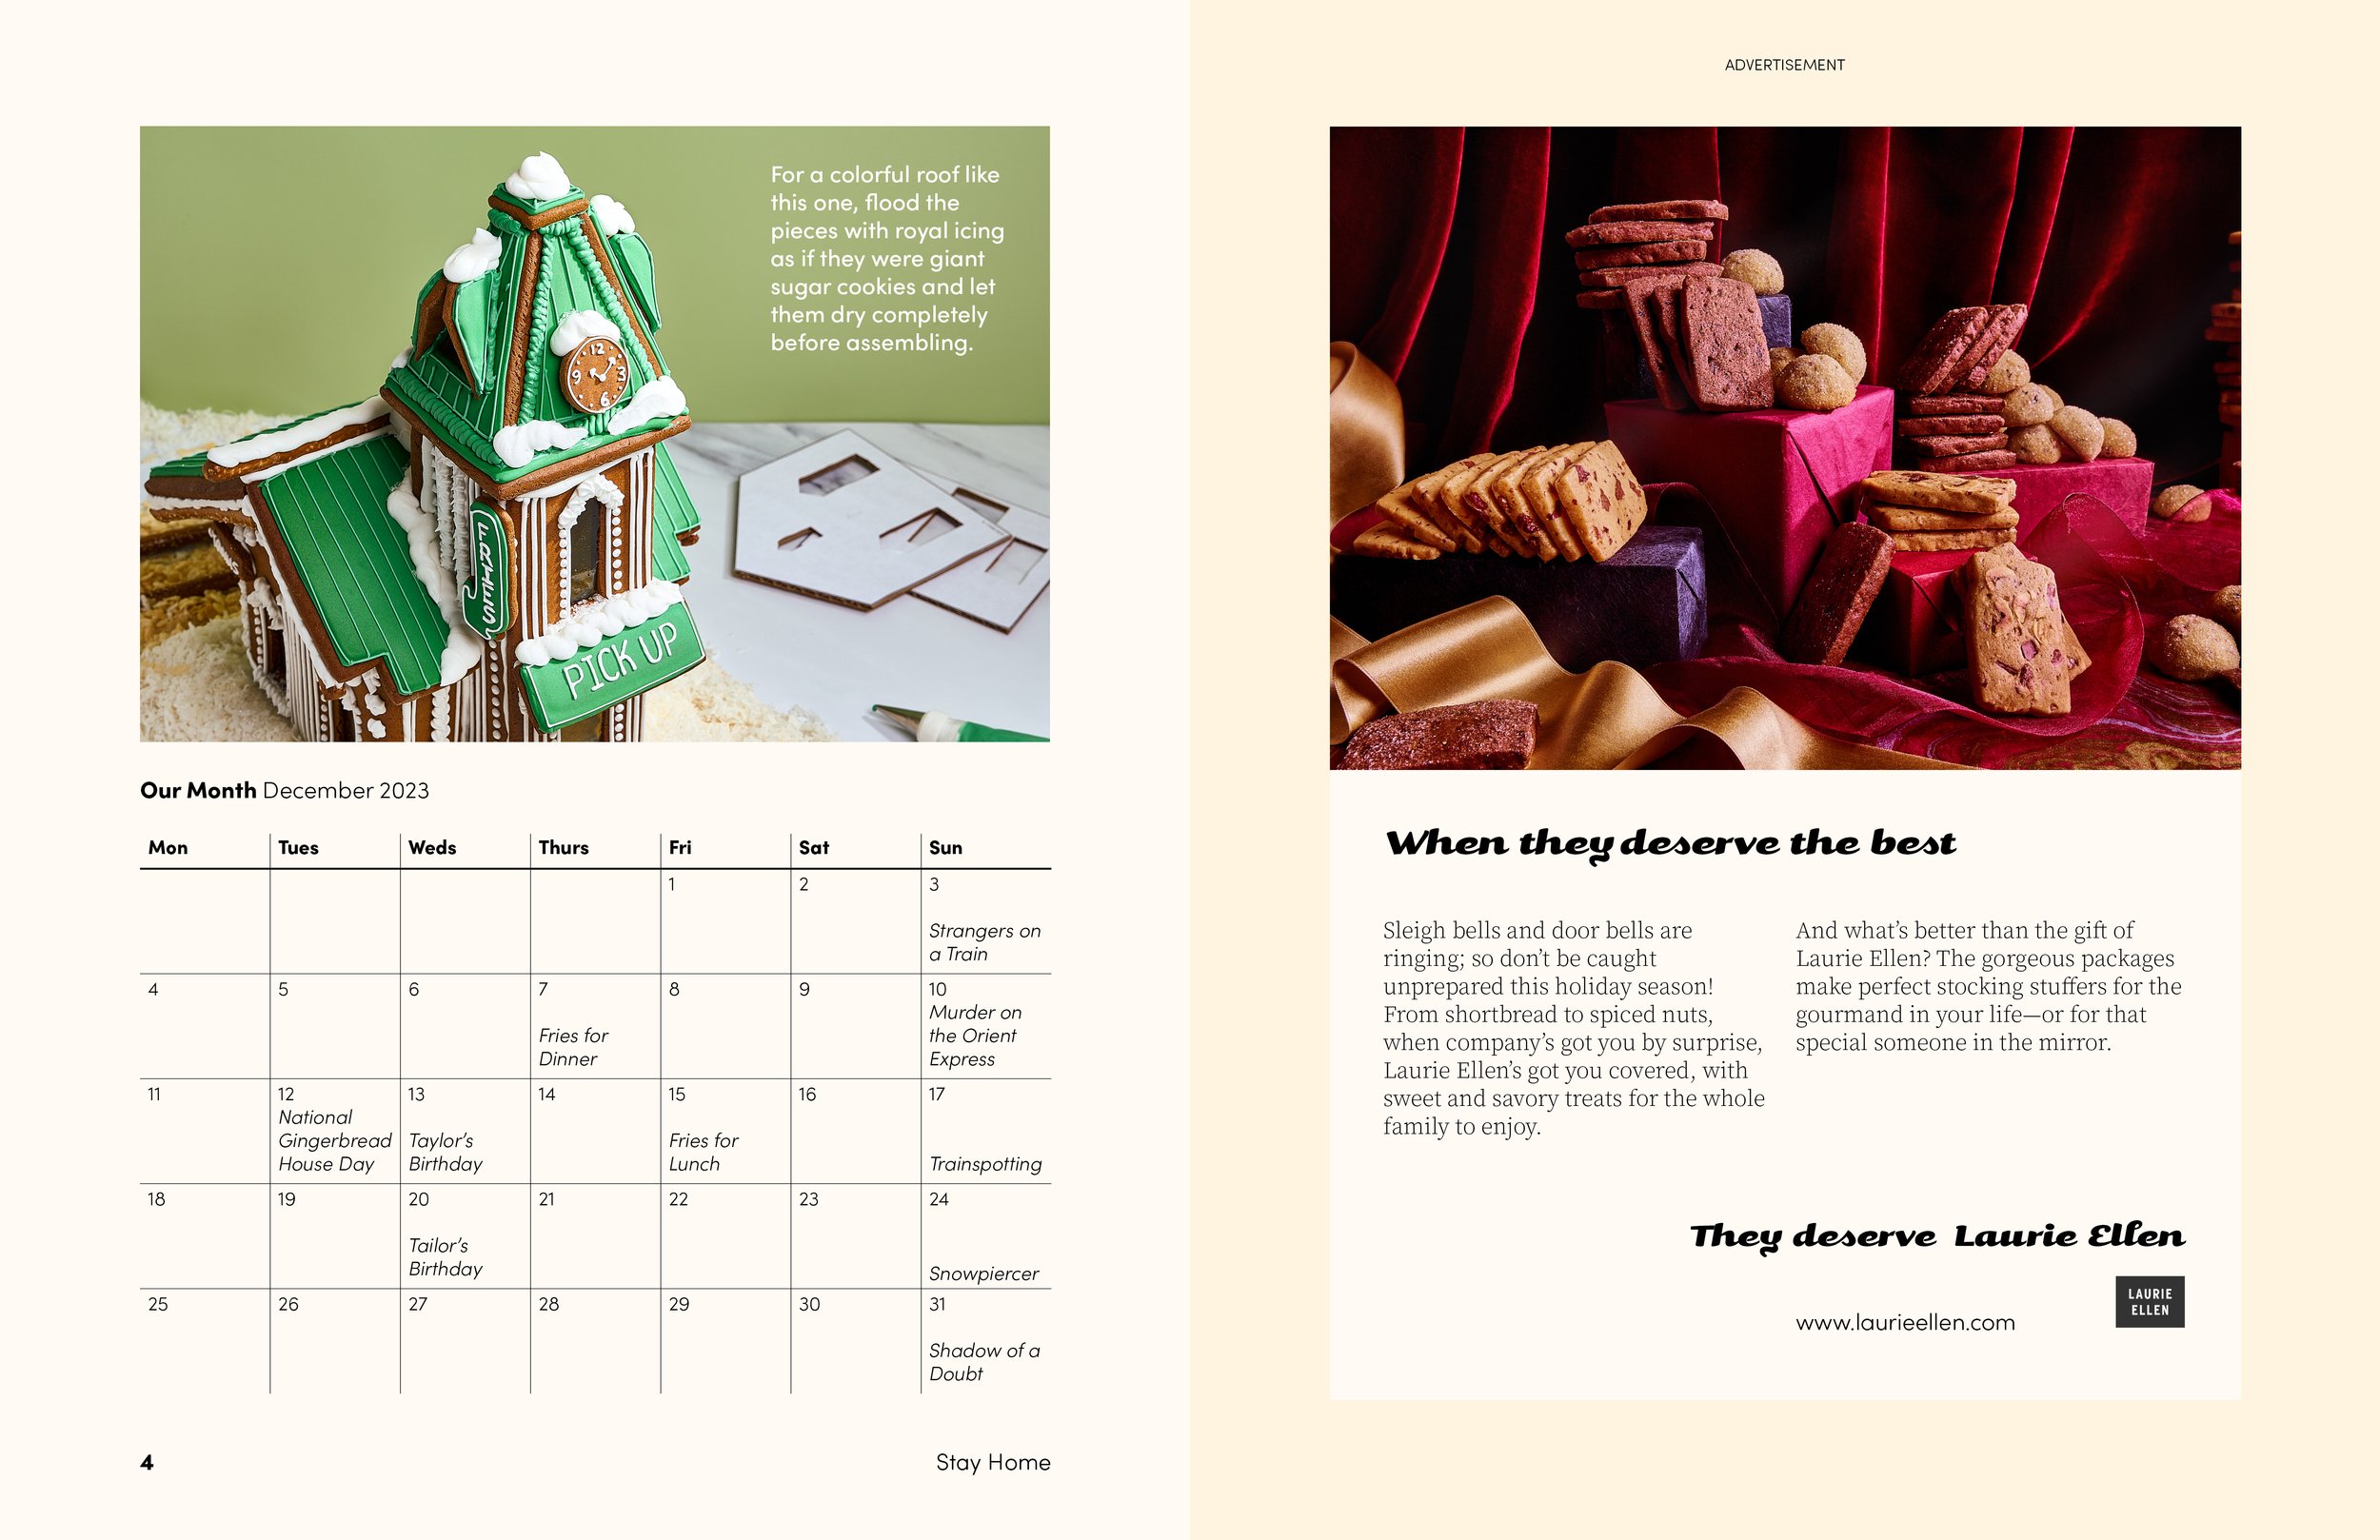
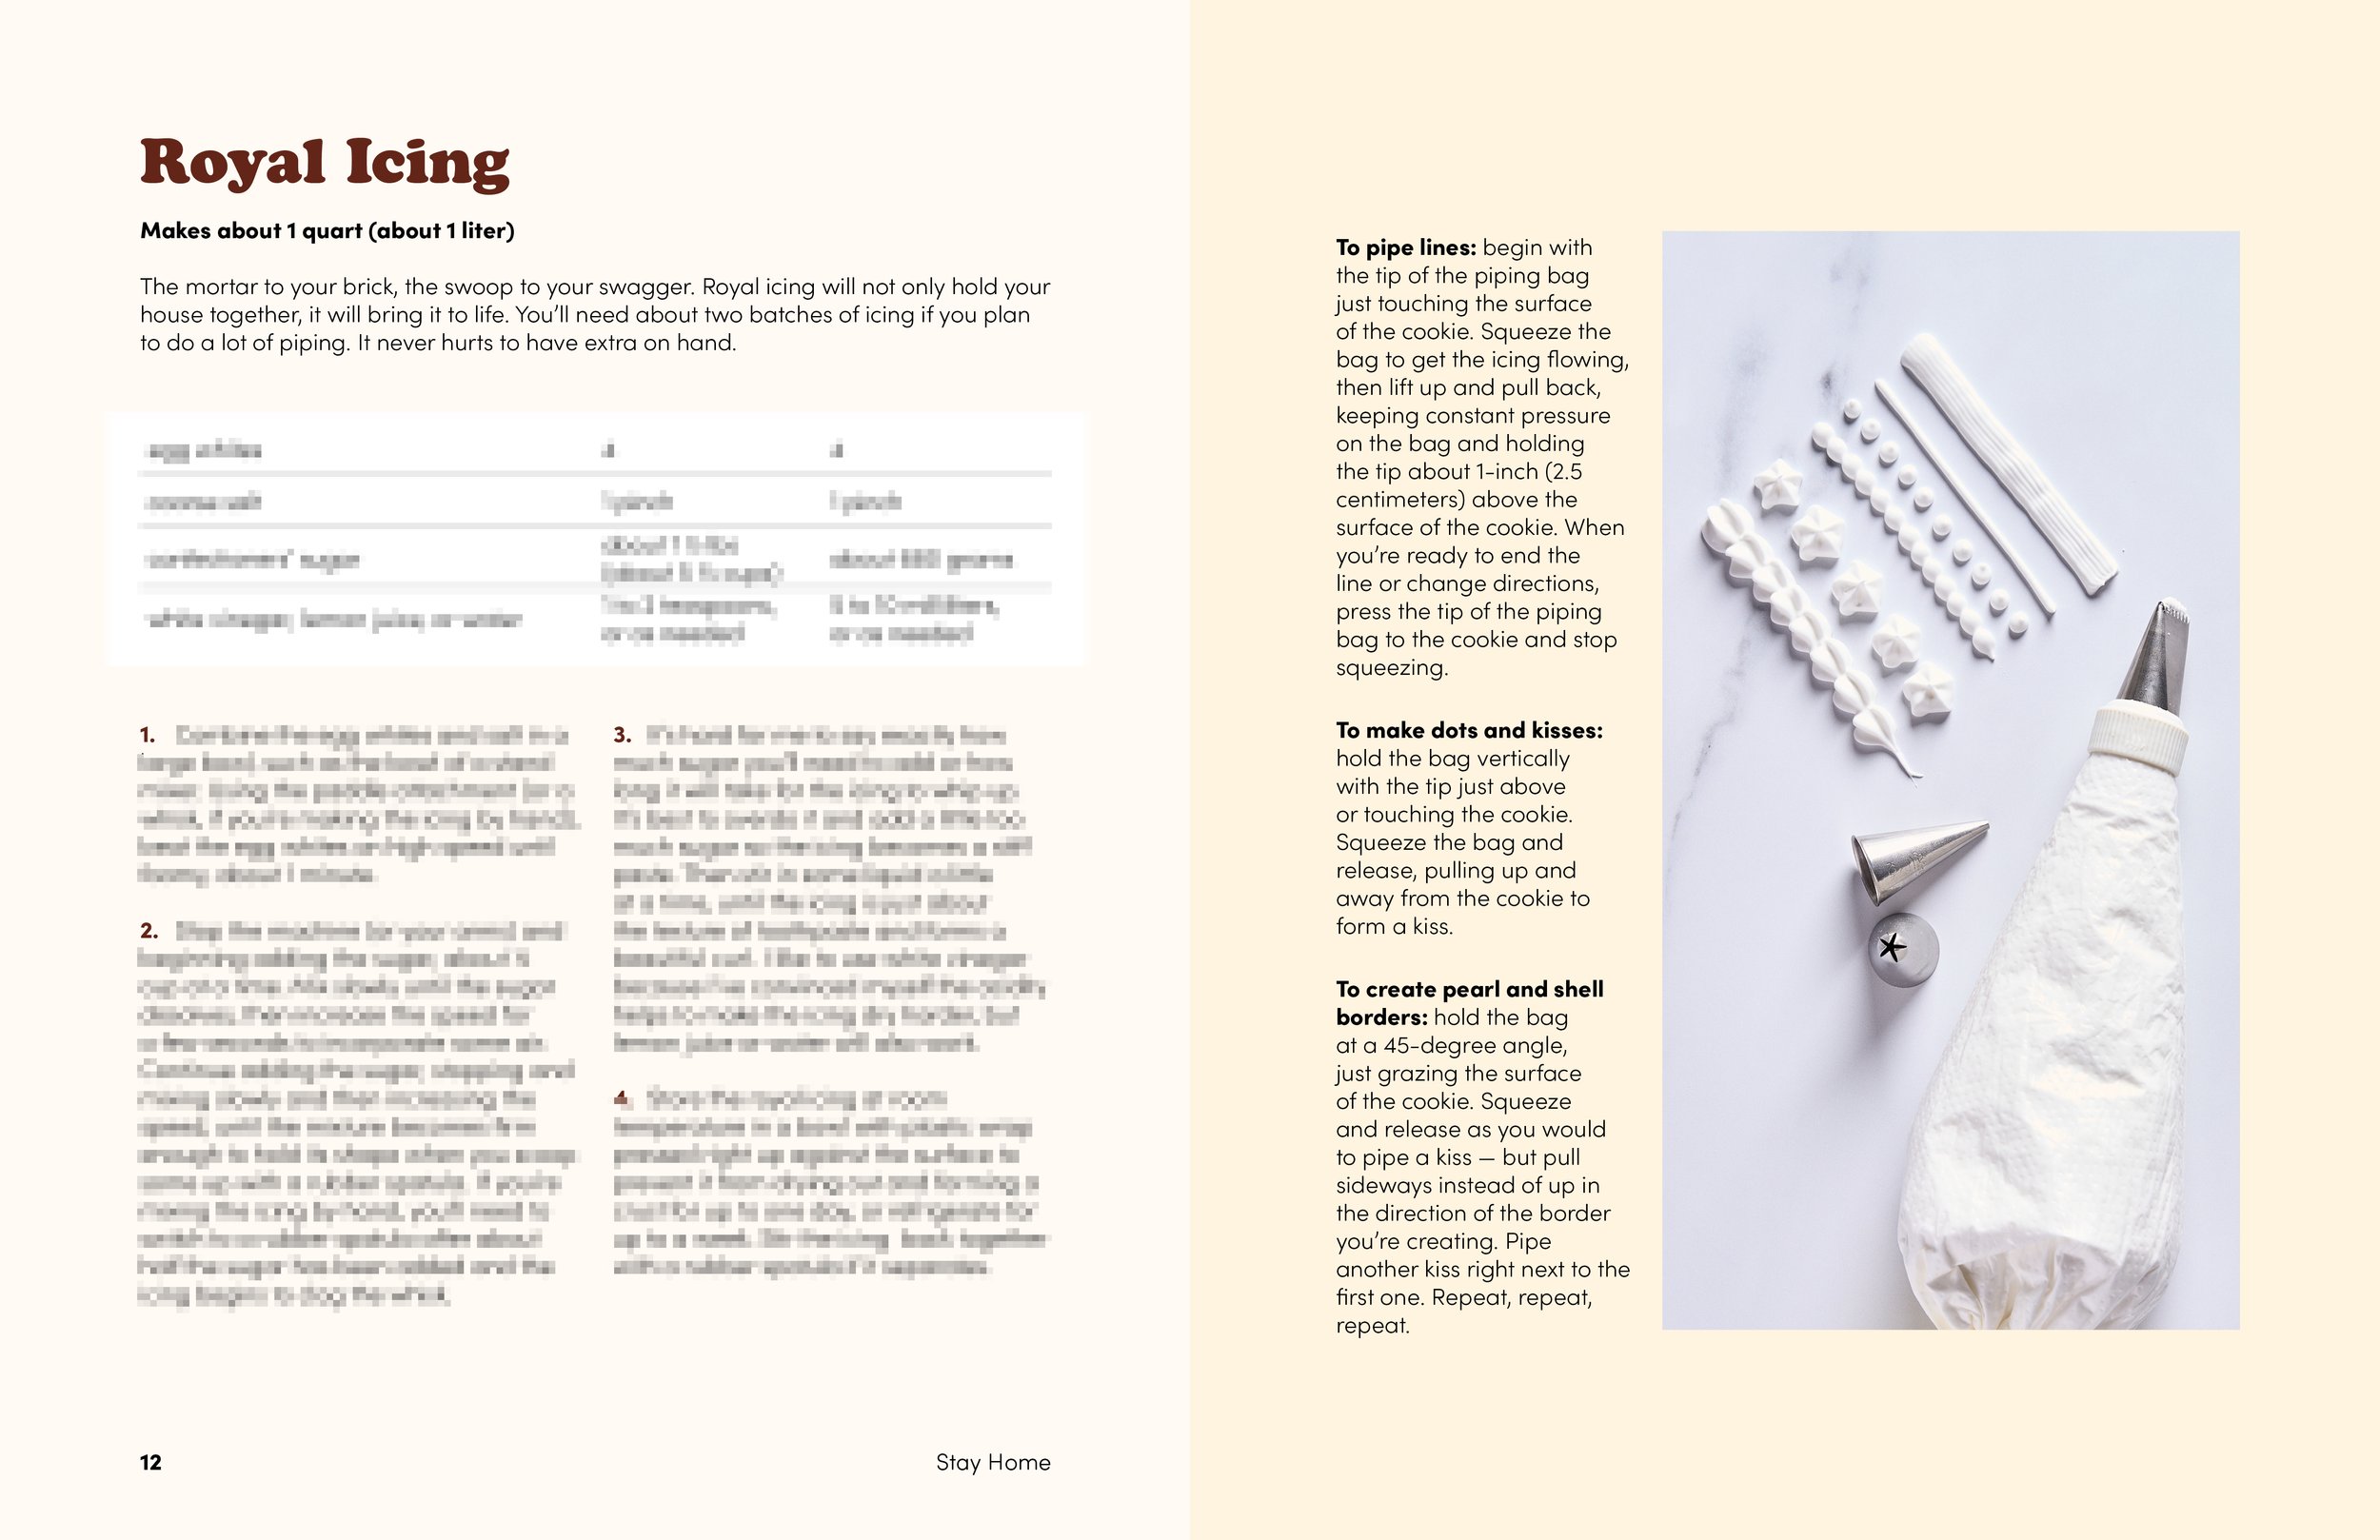
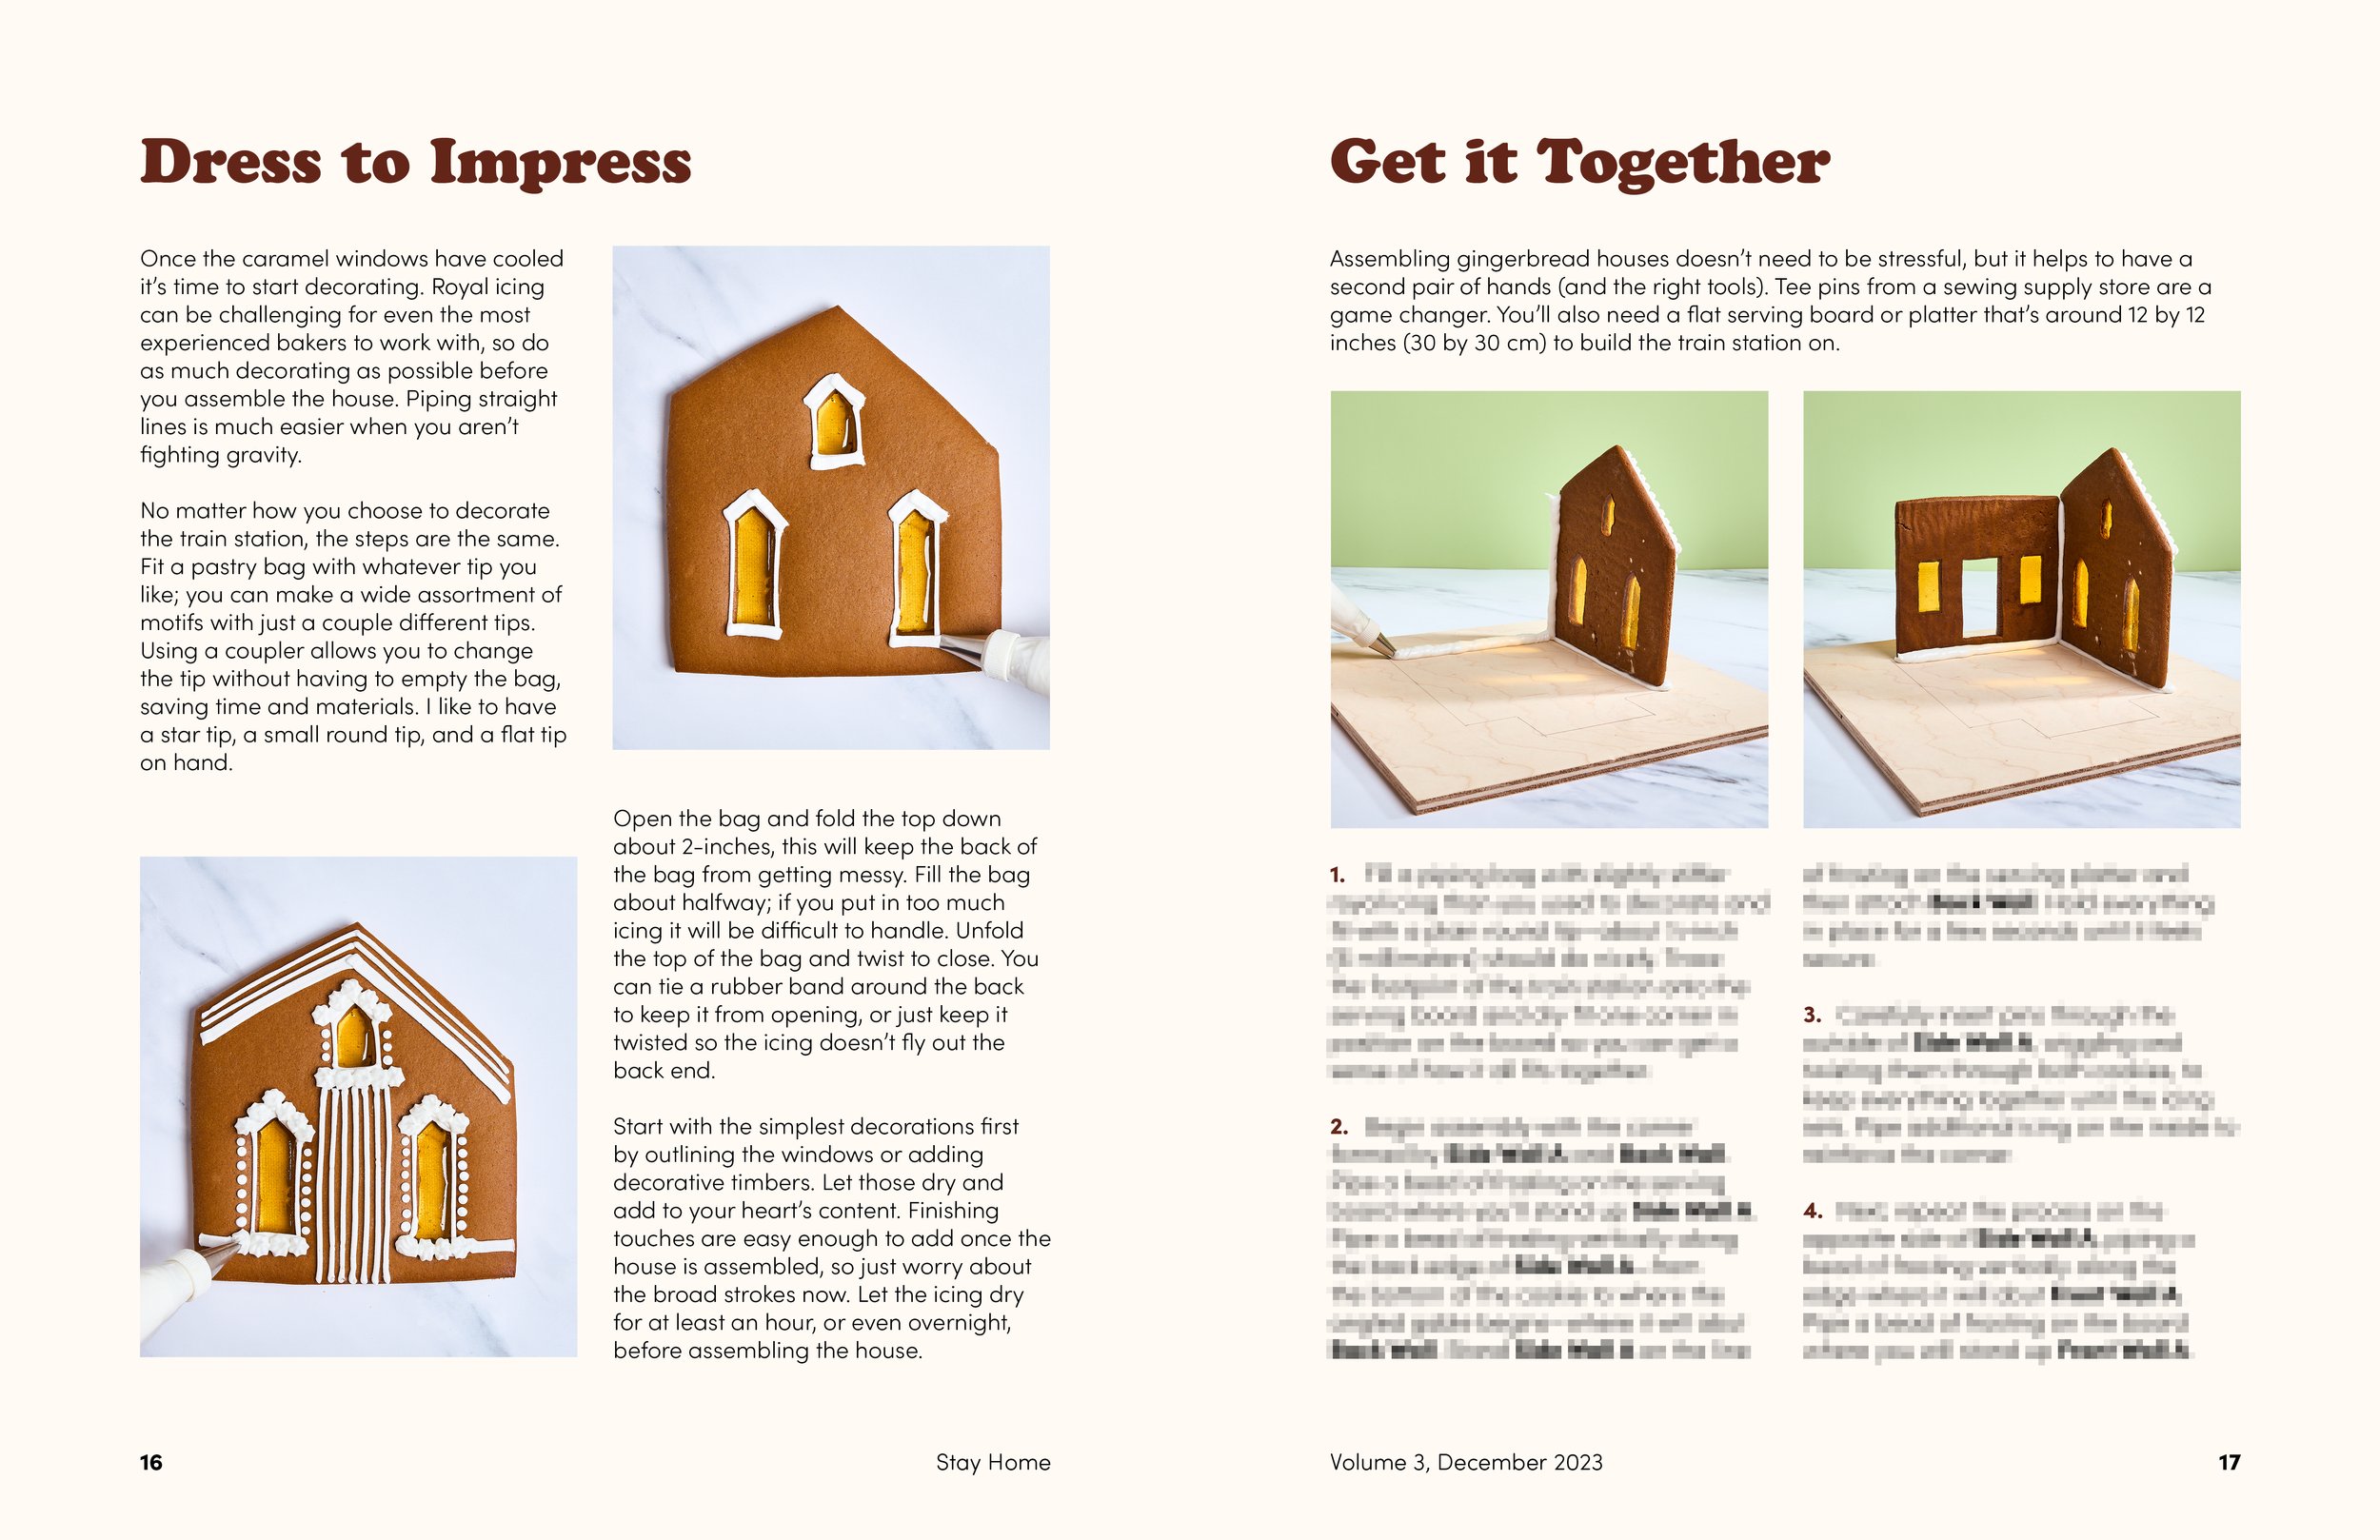
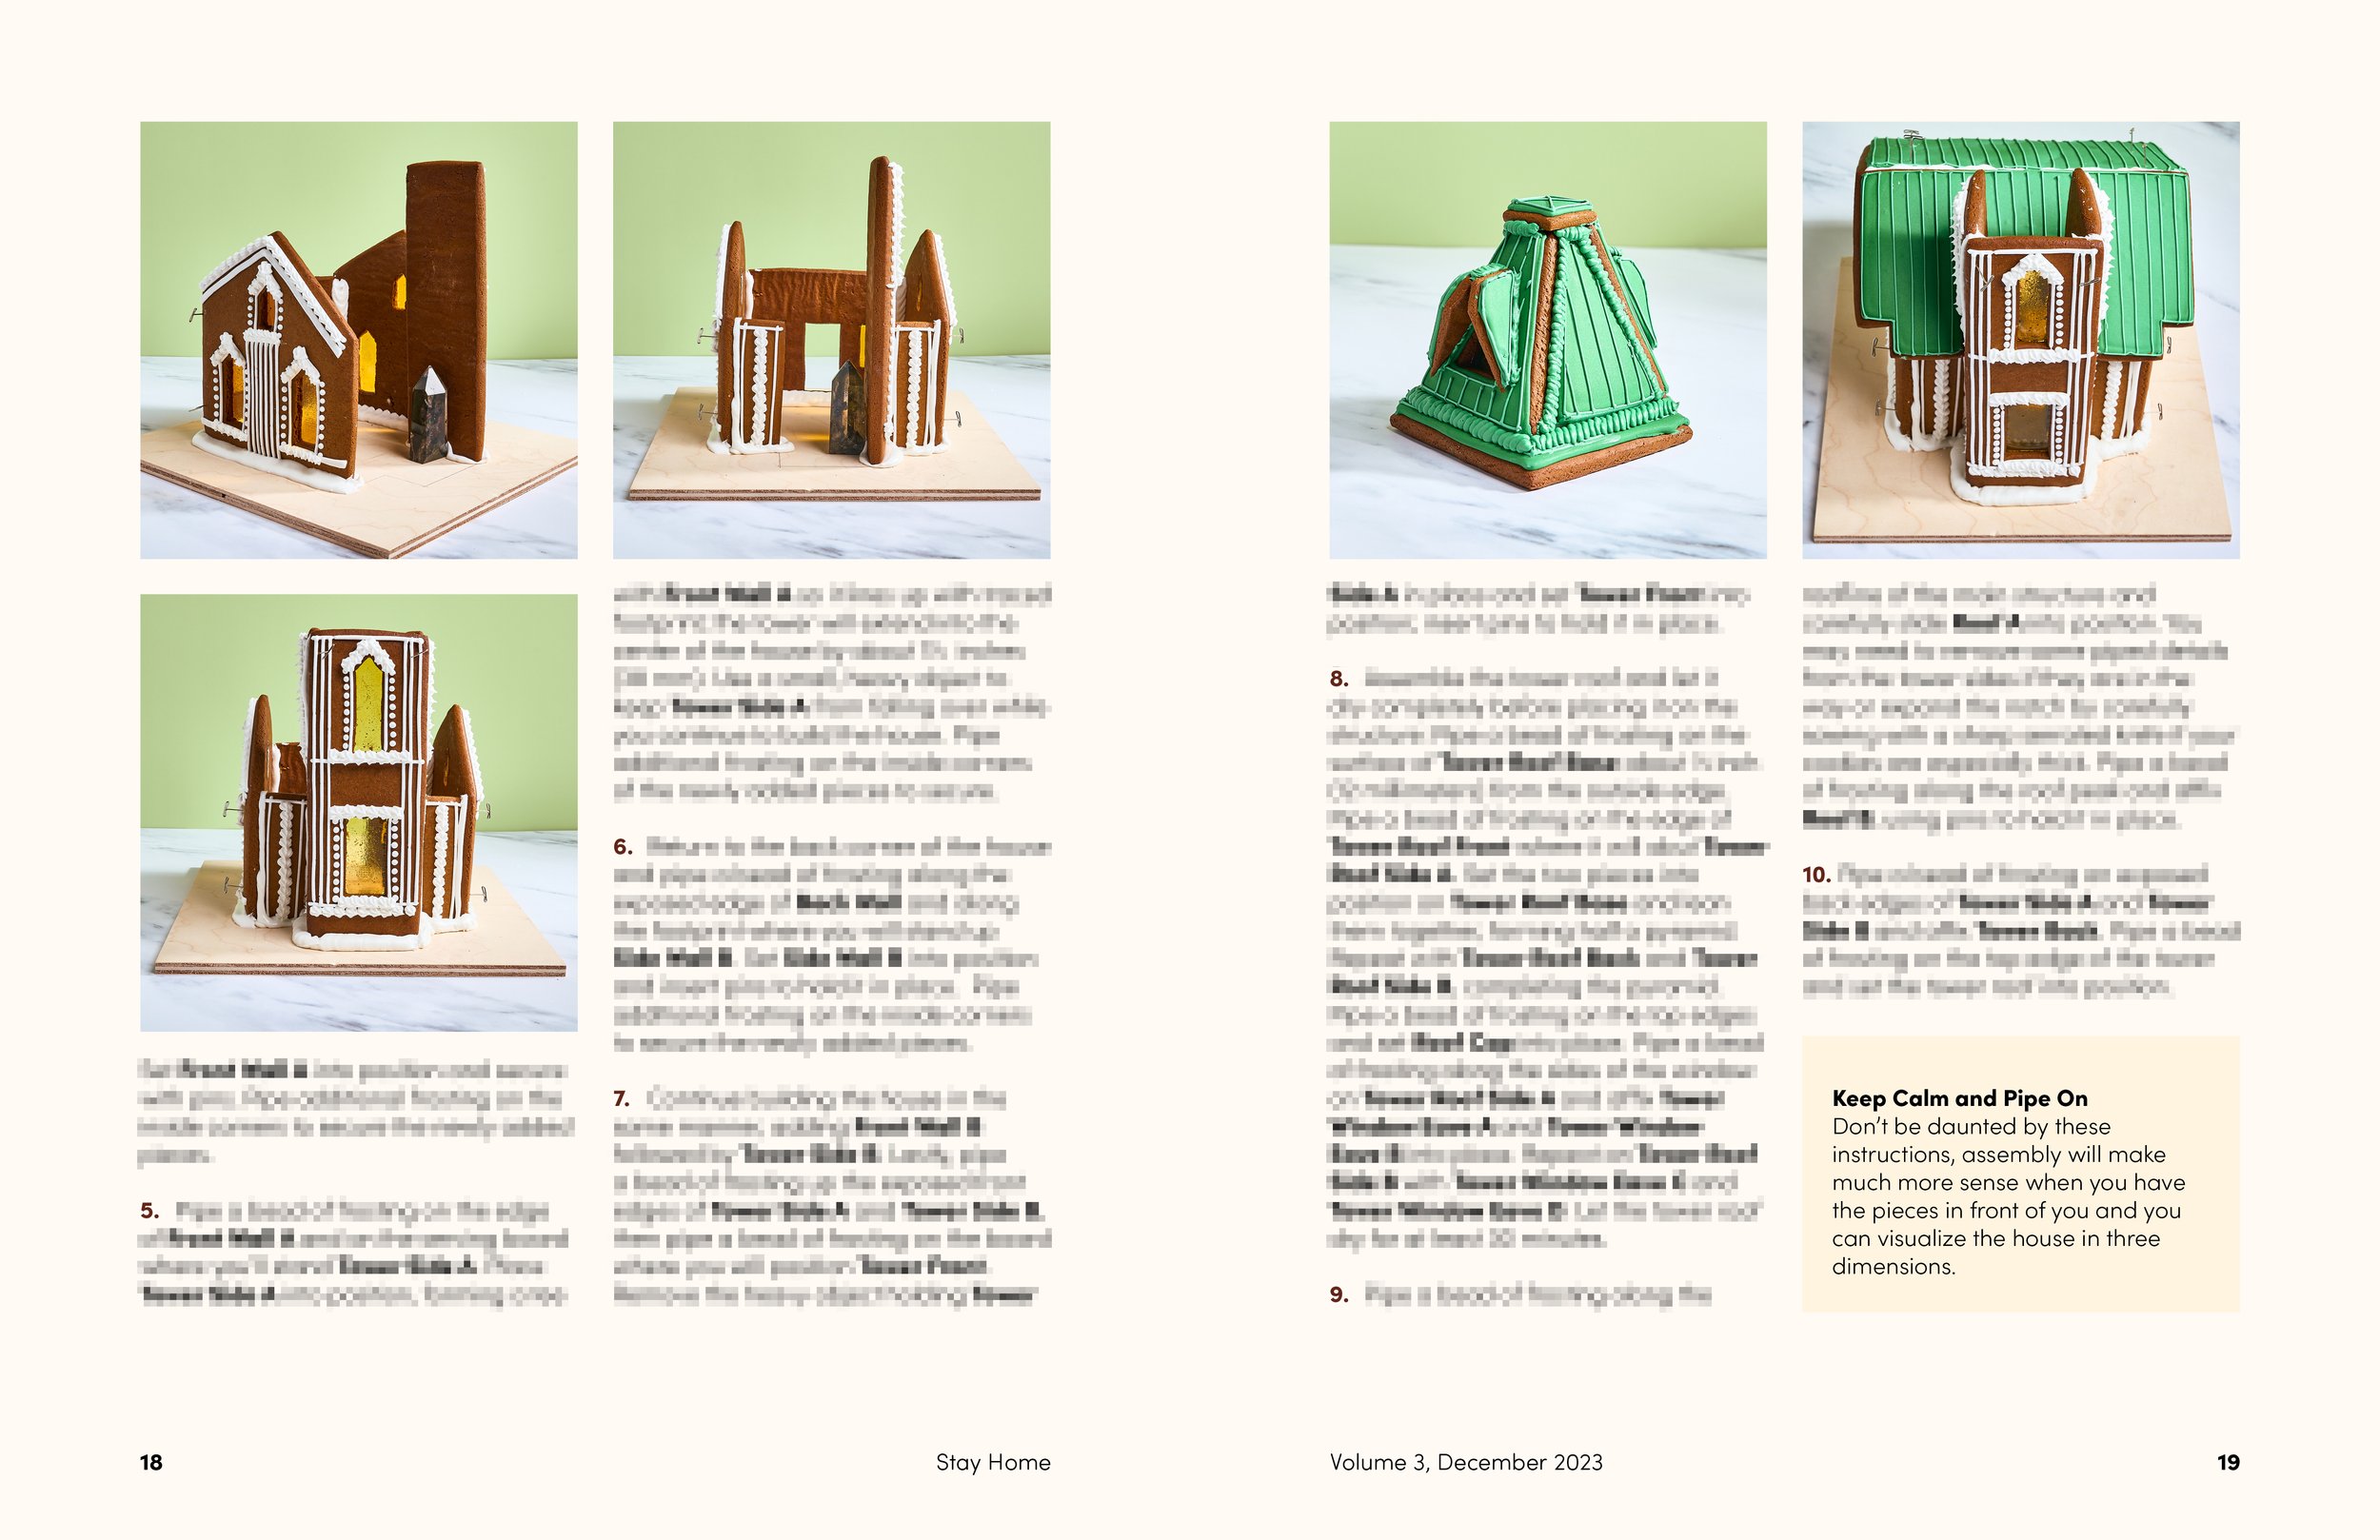
New for 2023! Stay Home is back with the third installment: A Train Station in a Small Town That Has Been Converted into a Restaurant (The Food Is Mediocre but the Fries Are Reliable).
All aboard the nostalgia train to nowhere! Get all the recipes and templates you need to build a gingerbread train station for the holidays in a cheeky lifestyle magazine. It's #choochoorific and fun for that one person in your family!
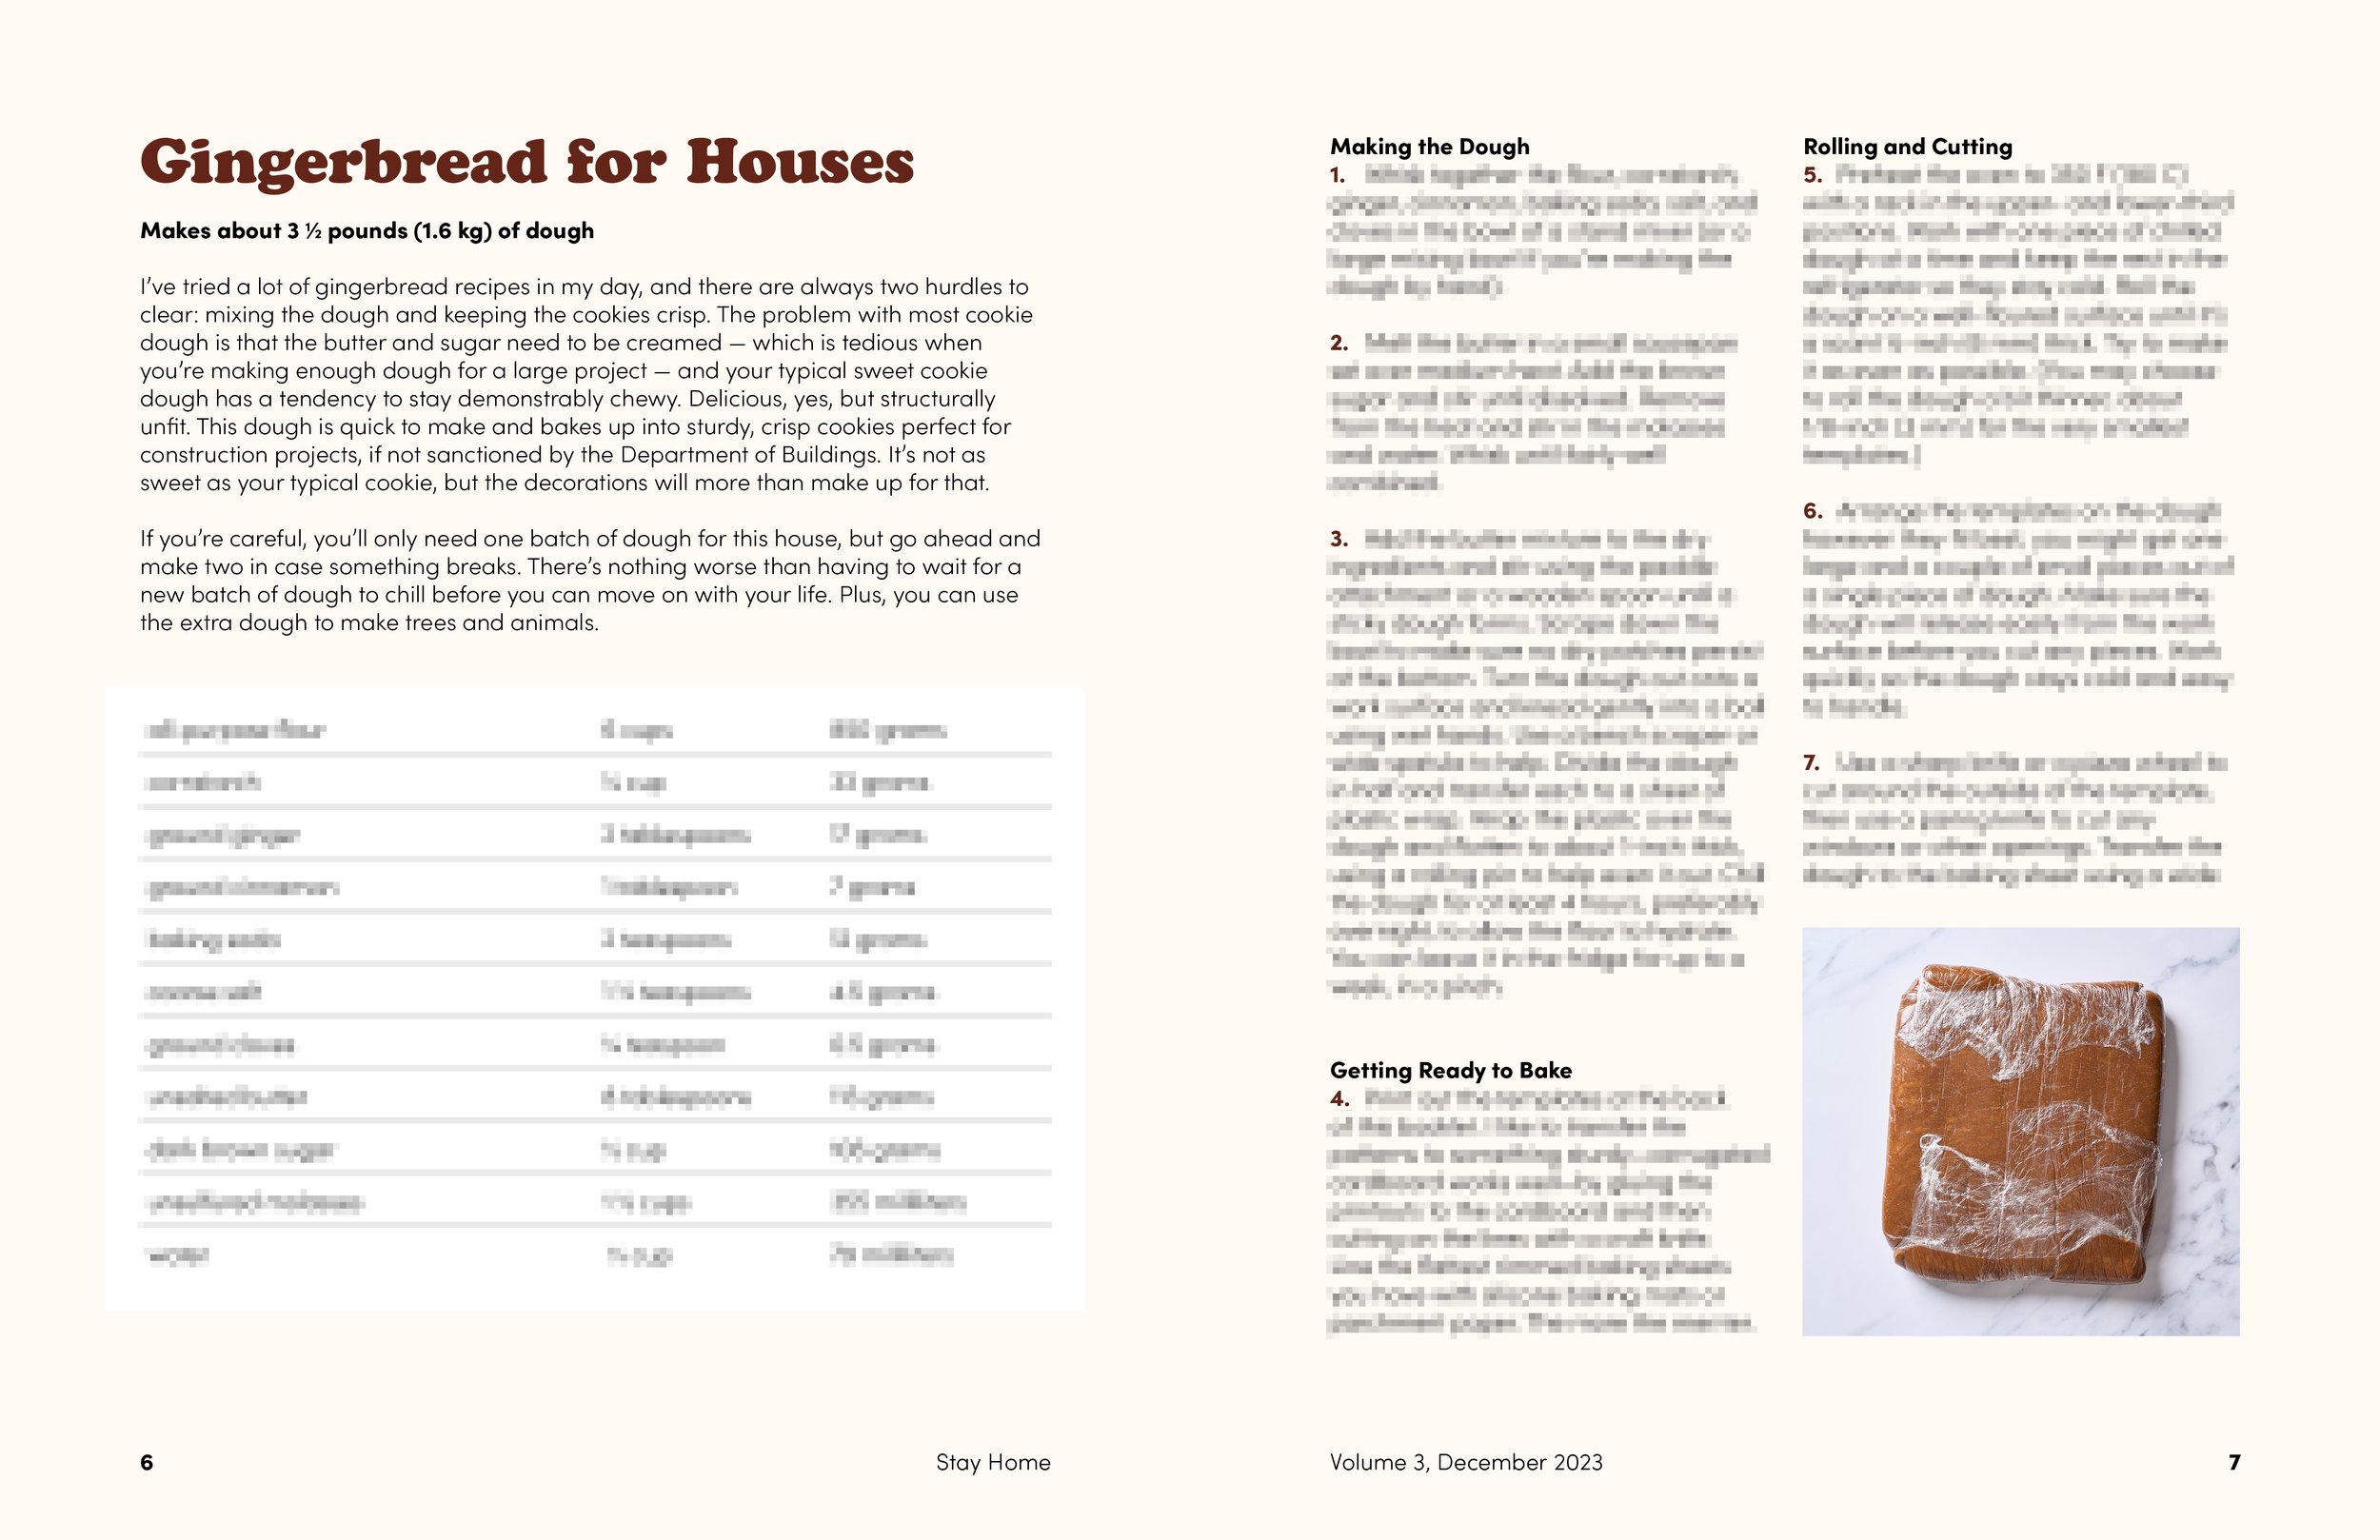
This digital zine contains 34 pages of recipes, photos, instructions, and templates for a perfect holiday project!
Inside this issue:
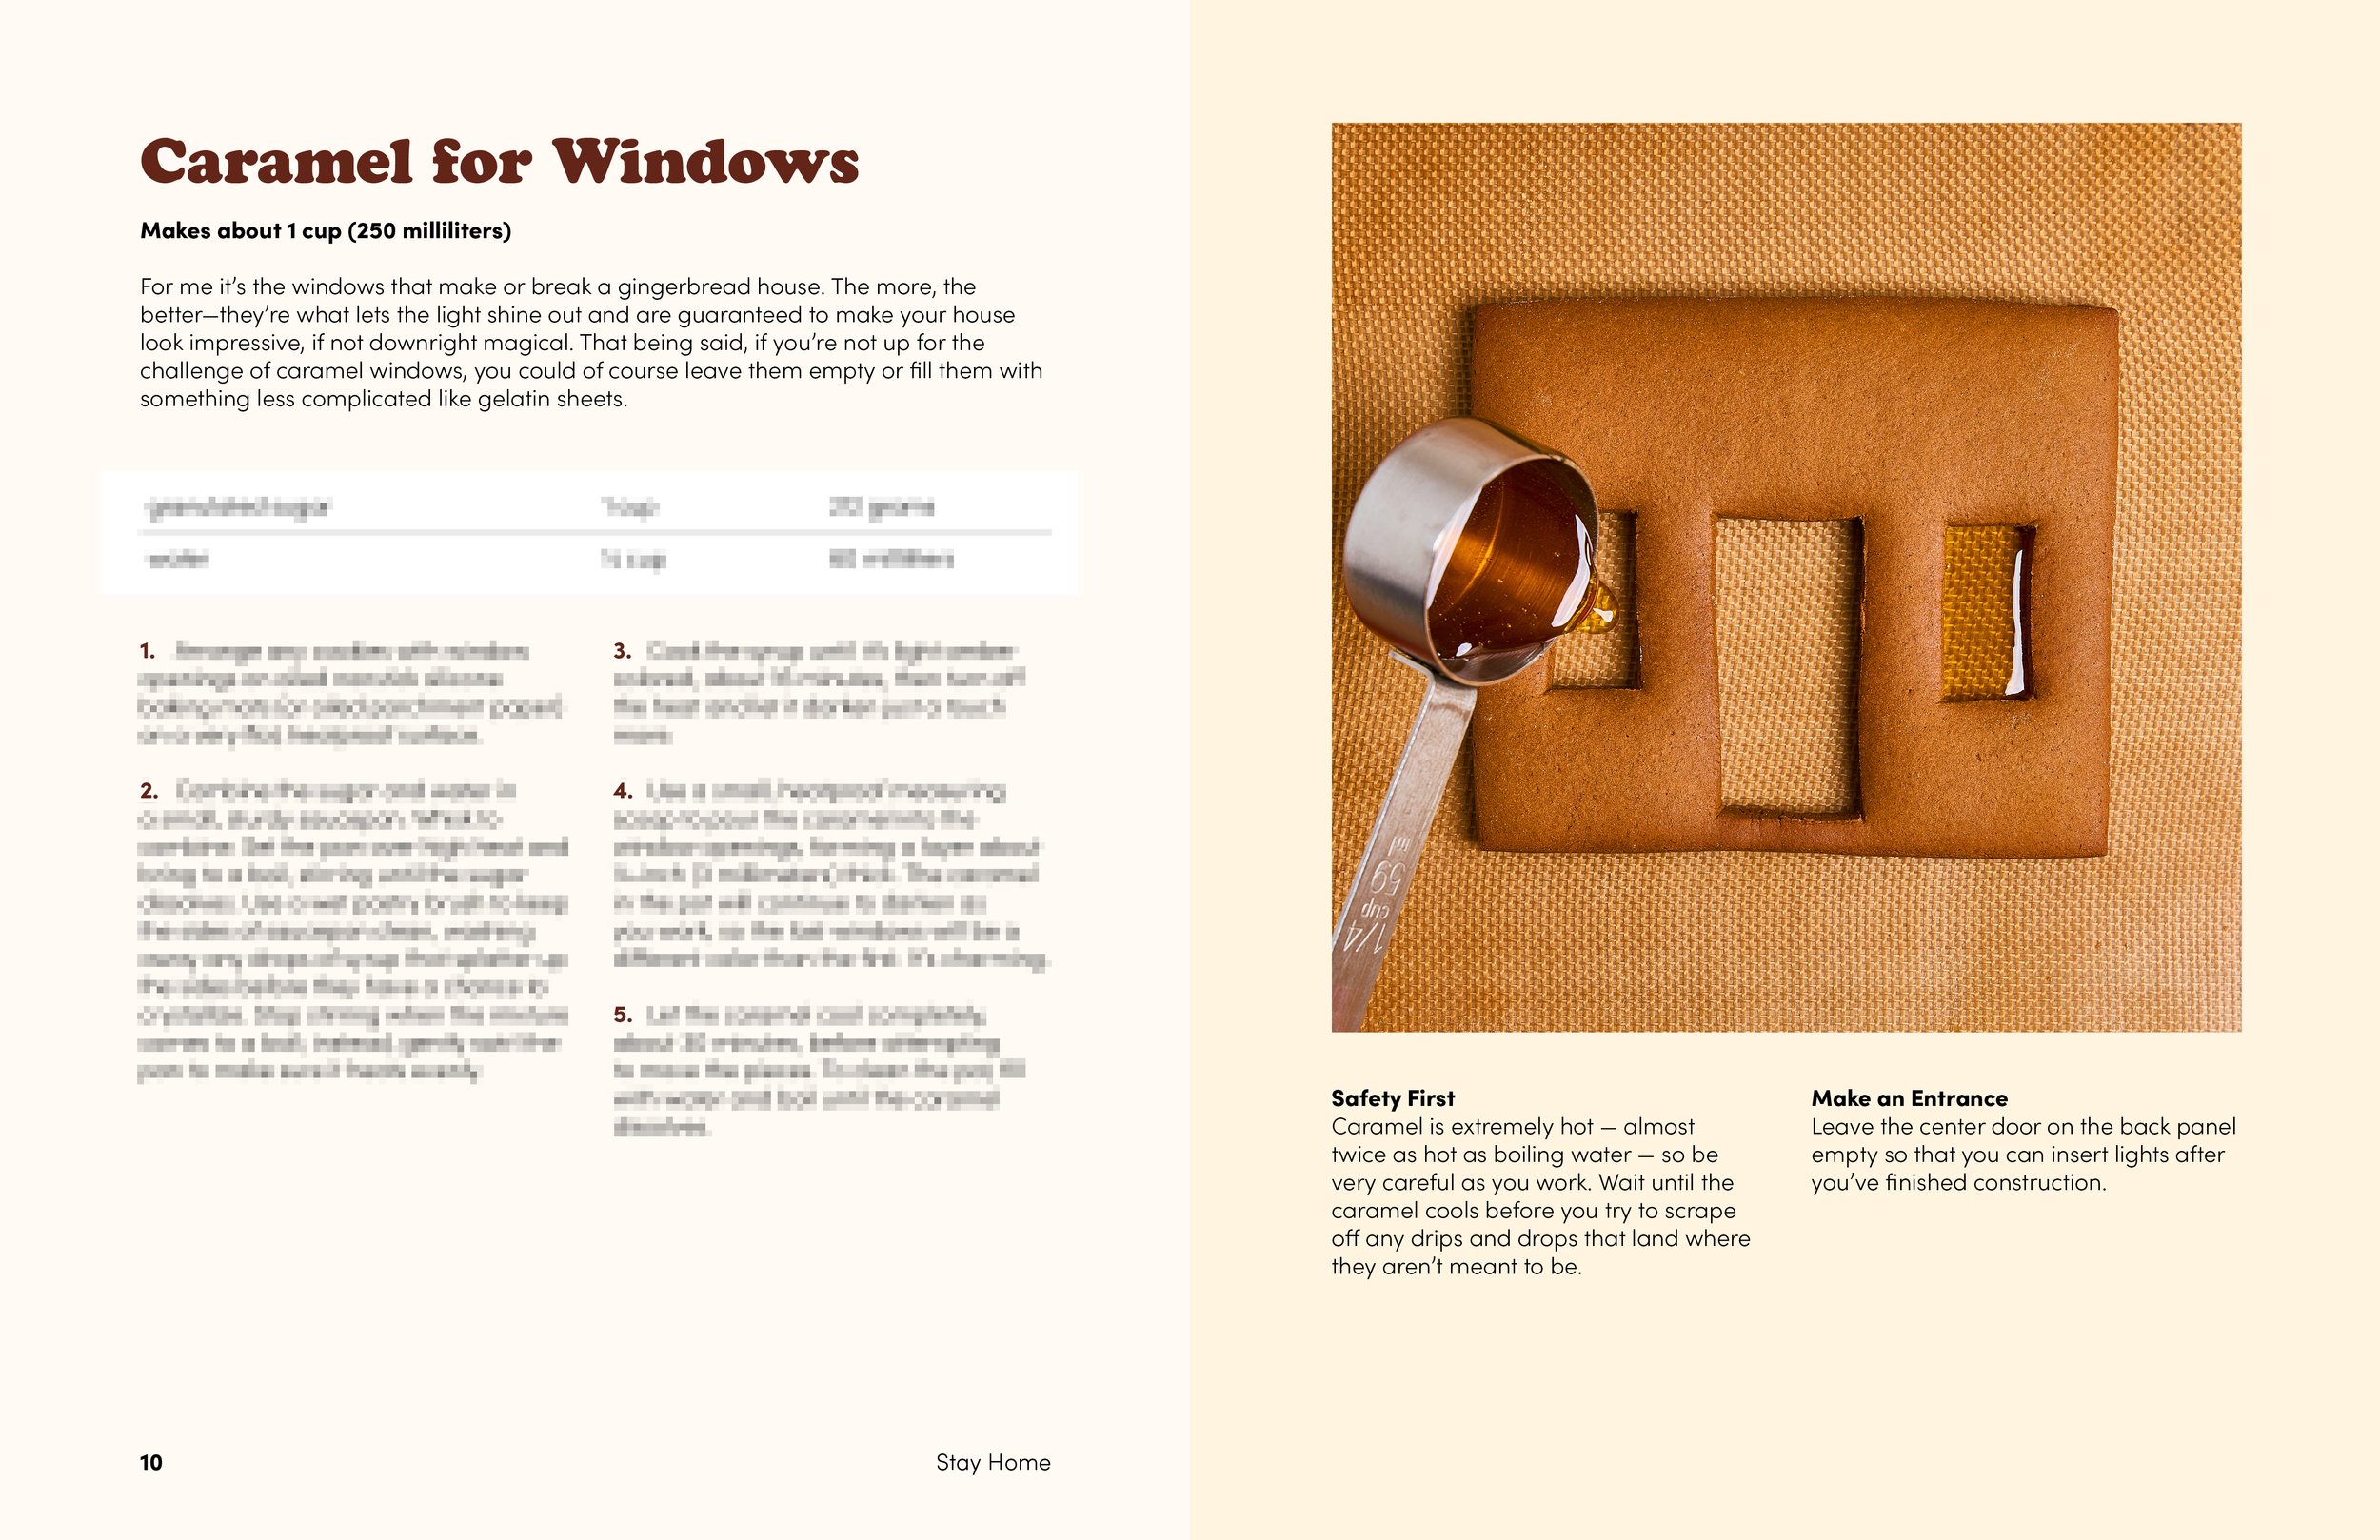
» Updated recipes for Gingerbread, Royal Icing, and Caramel windows
» Actual instructions
» Printable templates
» Tricks and tips
» Mildly comedic elements
» Tips and tricks
Recipes are provided in standard US and metric units.
recipes
Recipe: Sesame Rings
Sesame Rings that look like Taralli
Makes too many (about 7 dozen)
I would call them taralli but I think I strayed too far for these to be authentic. File under: recipes I made one time but haven’t thoroughly tested. Eddie and I can’t stop eating them and my notes are pretty thorough, but if you spot an error let me know!
310 grams warm water
21 grams fresh yeast (or 7 grams instant yeast)
50 grams tahini (Seed + Mill or Soom)
400 grams all purpose flour (King Arthur
125 grams semolina flour (Caputo’s Semola)
11 grams kosher salt (Diamond Crystal)
25 grams olive oil
about 1 cup sesame seeds
In a small measuring cup, crumble or sprinkle the yeast into the warm water and stir to dissolve. Let stand about 5 minutes until the yeast hydrates, then slowly whisk the yeasted water into the tahini. At first the tahini will thicken and become creamy, but as you continue adding water it will thin out again.
Combine both flours in the bowl of a stand mixer fitted with the dough hook attachment. Add the tahini mixture and stir until a rough dough forms. Add the salt. Knead on low speed (Kitchenaid speed 1) for 5 minutes until the dough is fairly, but not perfectly, smooth. Slowly drizzle in the olive oil and continue kneading until the dough comes back together, about 10 minutes. Turn the dough out onto a clean work surface and knead gently into a pretty smooth ball.
Place the dough in a large, oiled bowl and cover with a clean kitchen towel or plastic wrap. Set in a warm spot to rise for 1 hour until doubled.
Return the dough to a clean work surface and pat into a square about 12-inches across. Fold the top half down to meet the bottom and the left edge over to meet the right. Round into a ball once more, return to the oiled bowl, cover, and refrigerate overnight.
Preheat the oven to 375 degrees Fahrenheit and set a large pot of water to boil. Spread about half the sesame seeds on a rimmed baking sheet. Line a few rimmed baking sheets with silicone baking mats or parchment paper.
Turn the dough out onto a clean work surface, pat into a rectangle about the size of a sheet of paper, and cut into strips of dough about 3/4-inch wide (the exact size isn’t very important). Using the palms of your hands, roll and stretch the dough into long ropes that are as thin as you can get them without tearing. Somewhere between 1/4 and 1/2 inch should be good. You’ll need a lot of counter space to prep all the ropes at once, but you can work in batches. The thinner the ropes, the more delicate the crackers will be.
Working with one rope at a time, cut into strips about 6 inches long. The longer the strips, the bigger the rings will be. It’s up to you. Wrap a piece of dough around your fingers and pinch the ends together to seal, forming a ring. Set the completed rings on your work surface or a sheet pan. If you have a friend to help, you can start boiling the rings as you're making them, otherwise it’s probably easier to make all the rings at once before you move on to the next step.
Add about 5 or 6 rings to the boiling water, stretching to reshape them as you place them in the pot, and cook until they float, plus about 30 extra seconds for good luck. Using a spider or a slotted spoon, strain the rings out of the water and shake off the excess, then drop them into the sesame seeds. Transfer to the prepared baking sheets when they are cool enough to handle and replenish the sesame seeds on the baking tray as needed. You can crowd the baking sheets with rings, they don’t expand much in the oven.
Bake until golden brown, 35 to 40 minutes, then transfer to wire racks to cool completely. If your rings are brown but not completely cracker-dry, return them to the oven at 200 degrees Fahrenheit for about 30 minutes to dehydrate. Store in an airtight container.
Recipe: Chocolate-Hazelnut Sandos
Chocolate-Hazelnut Sandos
Makes about 4 ½ dozen cookie sandwiches
If you ask me, there’s pretty much nothing better than the classic combination of hazelnut and chocolate. One of my nephews said these were the best cookies he’d ever tried. My niece doesn’t like hazelnuts.
For the cookies:
355 g all-purpose flour
150 g granulated sugar
1 tsp coarse salt (preferably Diamond Crystal Kosher Salt)
1 tsp ground cinnamon
¾ tsp baking powder
2 tbsp cocoa powder
2 tbsp hot water
128 g toasted skinned hazelnuts
15 g cocoa nibs
226 g cold unsalted butter cut into pieces
2 tsp vanilla
1 yolk
For the chocolate filling:
4 tbs cocoa powder
7g powdered milk (optional)
4 tbs hot water
113 g unsalted butter, softened
1 tsp vanilla
¼ tsp coarse salt (preferably Diamond Crystal Kosher Salt)
200 g confectioners’ sugar
In a large bowl, whisk together the flour, sugar, salt, cinnamon, and baking powder.
In a small bowl, bloom the cocoa powder in hot water and whisk to combine.
In a food processor, pulse the hazelnuts, cocoa nibs, and a scoop of the flour mixture until coarsely ground. Add the remaining flour mixture and pulse until finely ground. Add the butter and pulse until the texture of coarse meal. Add the vanilla, cocoa mixture, and yolk, and pulse until a dough just starts to come together.
Transfer the dough to a clean work surface and knead gently into a ball, then divide in two. Flatten each half into a disc, wrap in plastic and chill 45 minutes or overnight.
Preheat the oven to 350 F (325 F Convection) with racks in the upper- and lower-third positions.
Working with one disc of dough at a time, roll between parchment sheets to a scant ¼-inch thick. Use a 1 ¾-inch round cutter to punch rounds. Gather the scraps into a ball and reroll.
Place the cookies on lined baking sheets, about 1-inch apart, and bake 18-20 minutes until firm to the touch and the edges are just beginning to turn golden. Transfer to wire racks to cool completely.
Meanwhile, make the filling: In a small bowl, bloom the cocoa powder and powdered milk (if using) with the hot water and whisk to combine. Combine the cocoa mixture with the butter, vanilla, and salt in a large bowl and beat with an electric mixer until combined. Add the confectioners’ sugar a little at a time and beat until light and fluffy. Transfer to a piping bag with a round tip.
Pipe a generous teaspoon of filling onto the underside of half the cookies and sandwich with the remaining cookies. Drizzle with melted milk chocolate, to garnish.
Store in a cool place for up to 2 days or refrigerate for up to a week. Bring to room temperature before serving.
Let's Stay Home and Build a House vol. 2
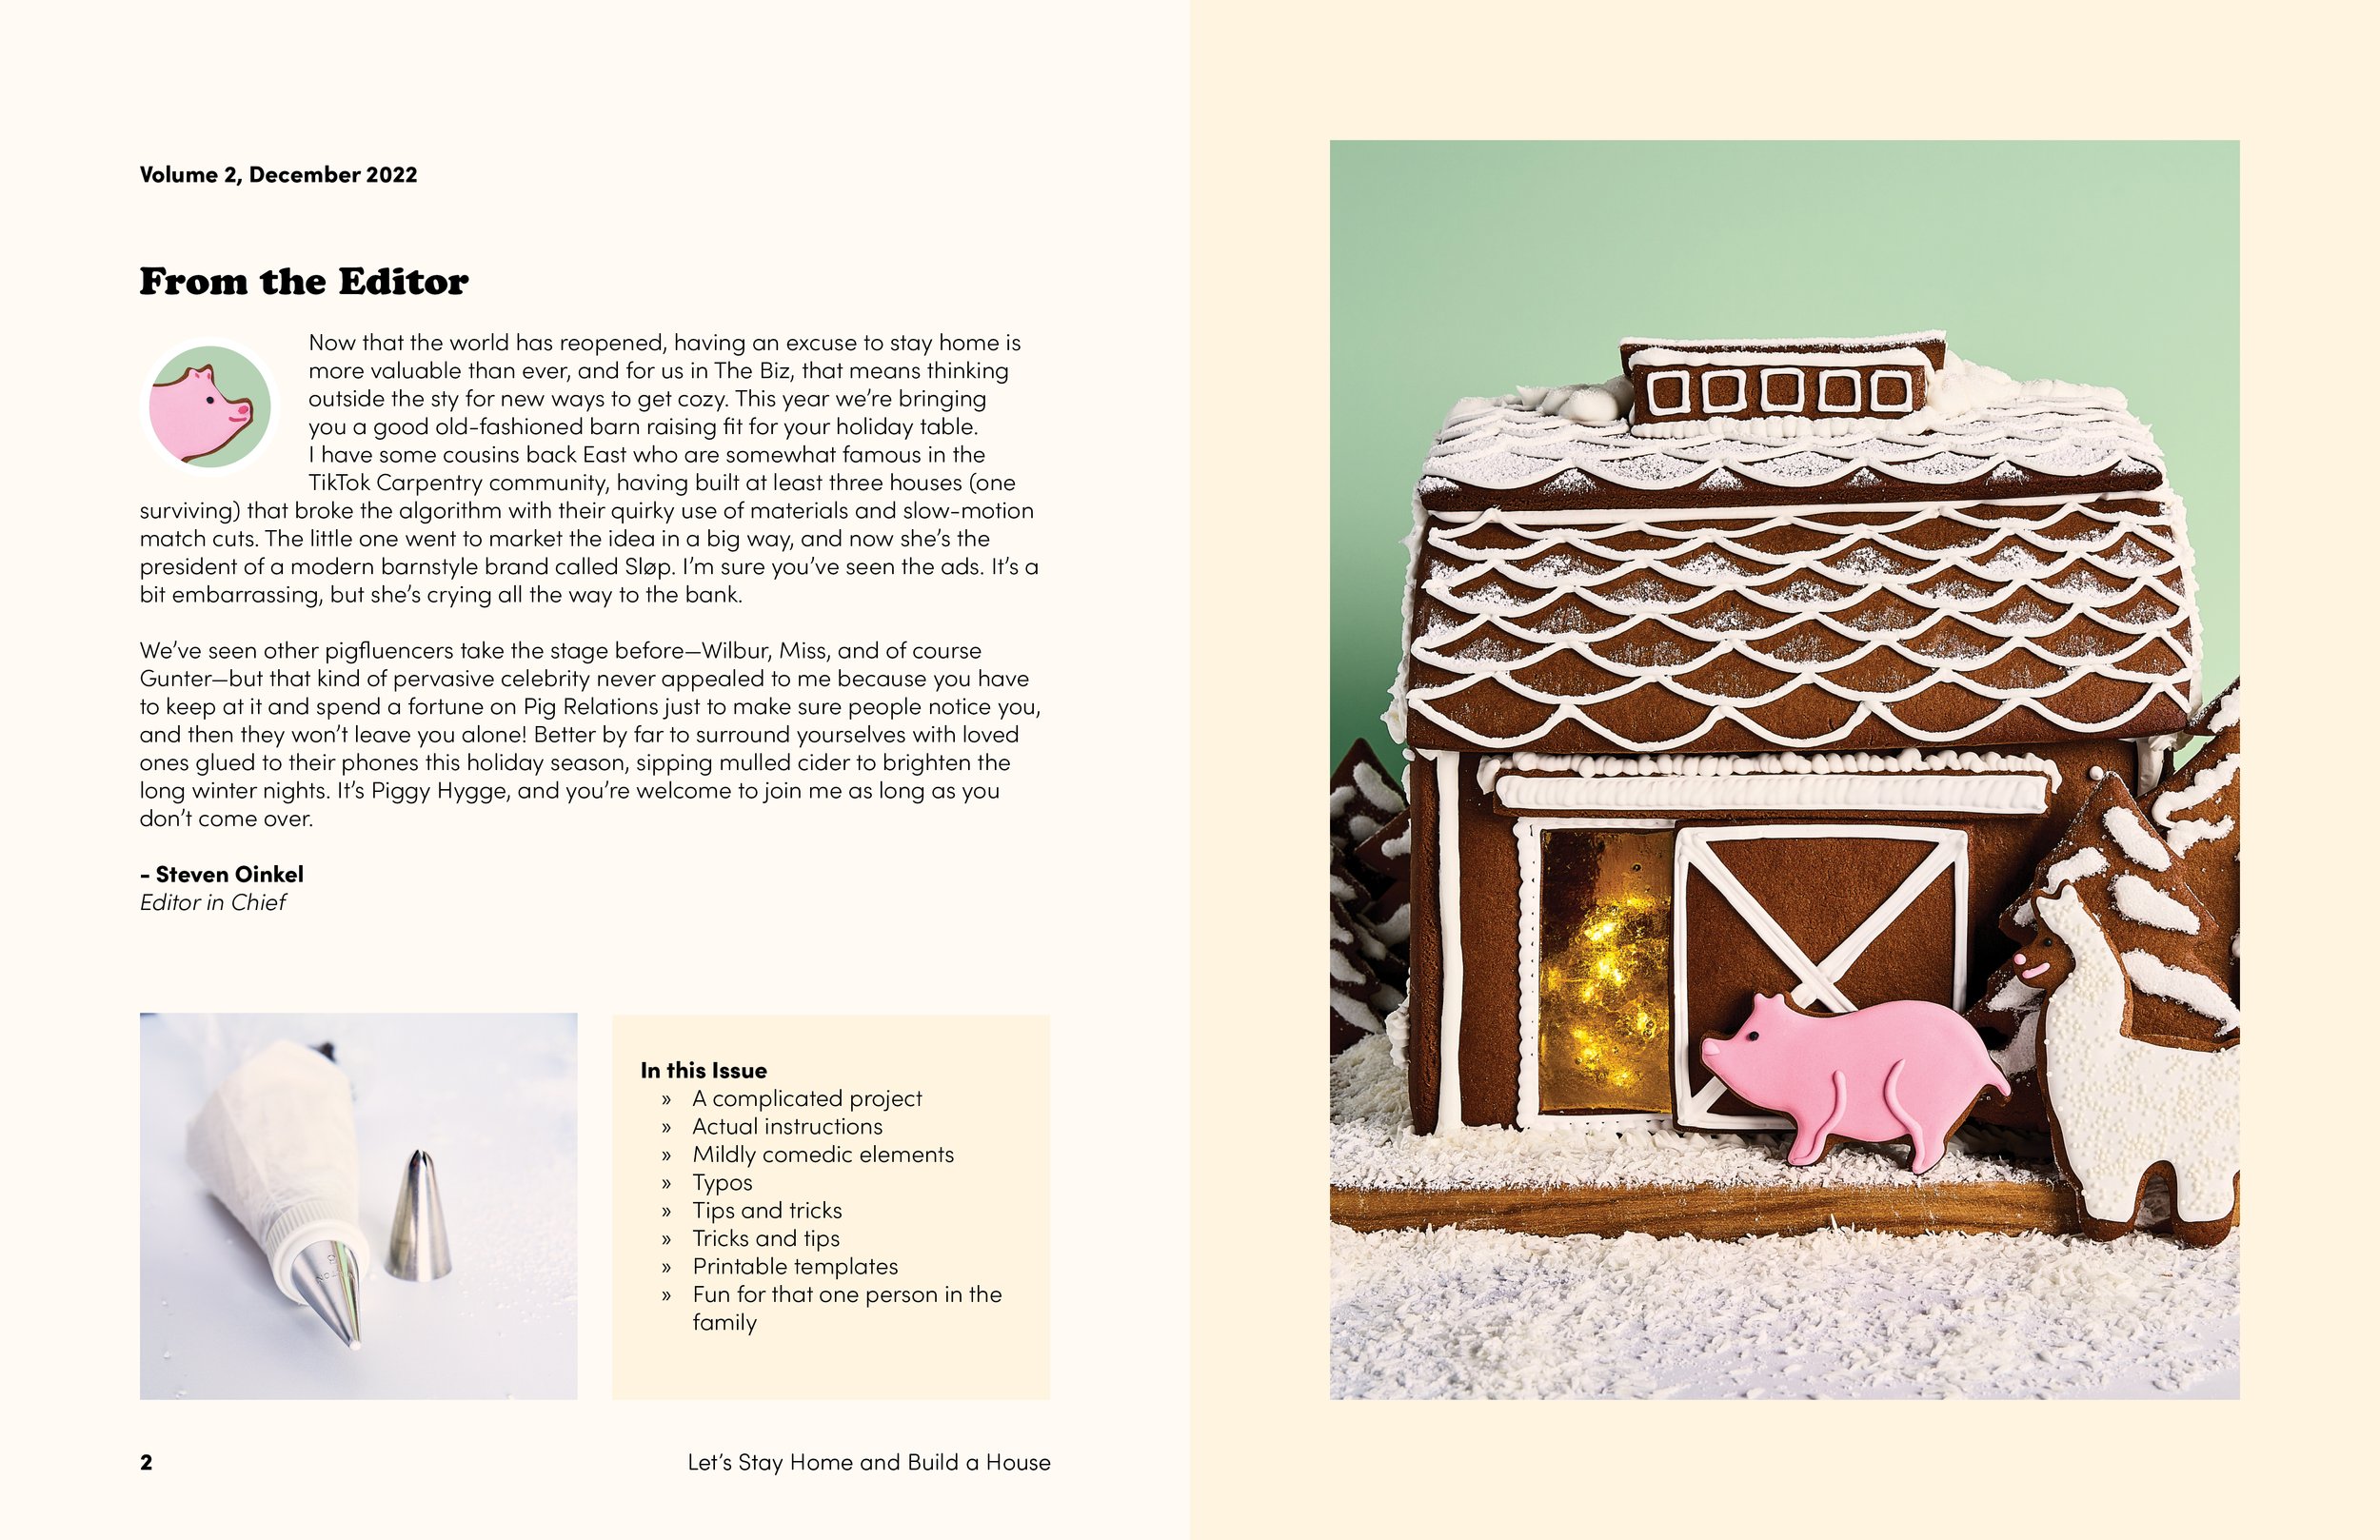
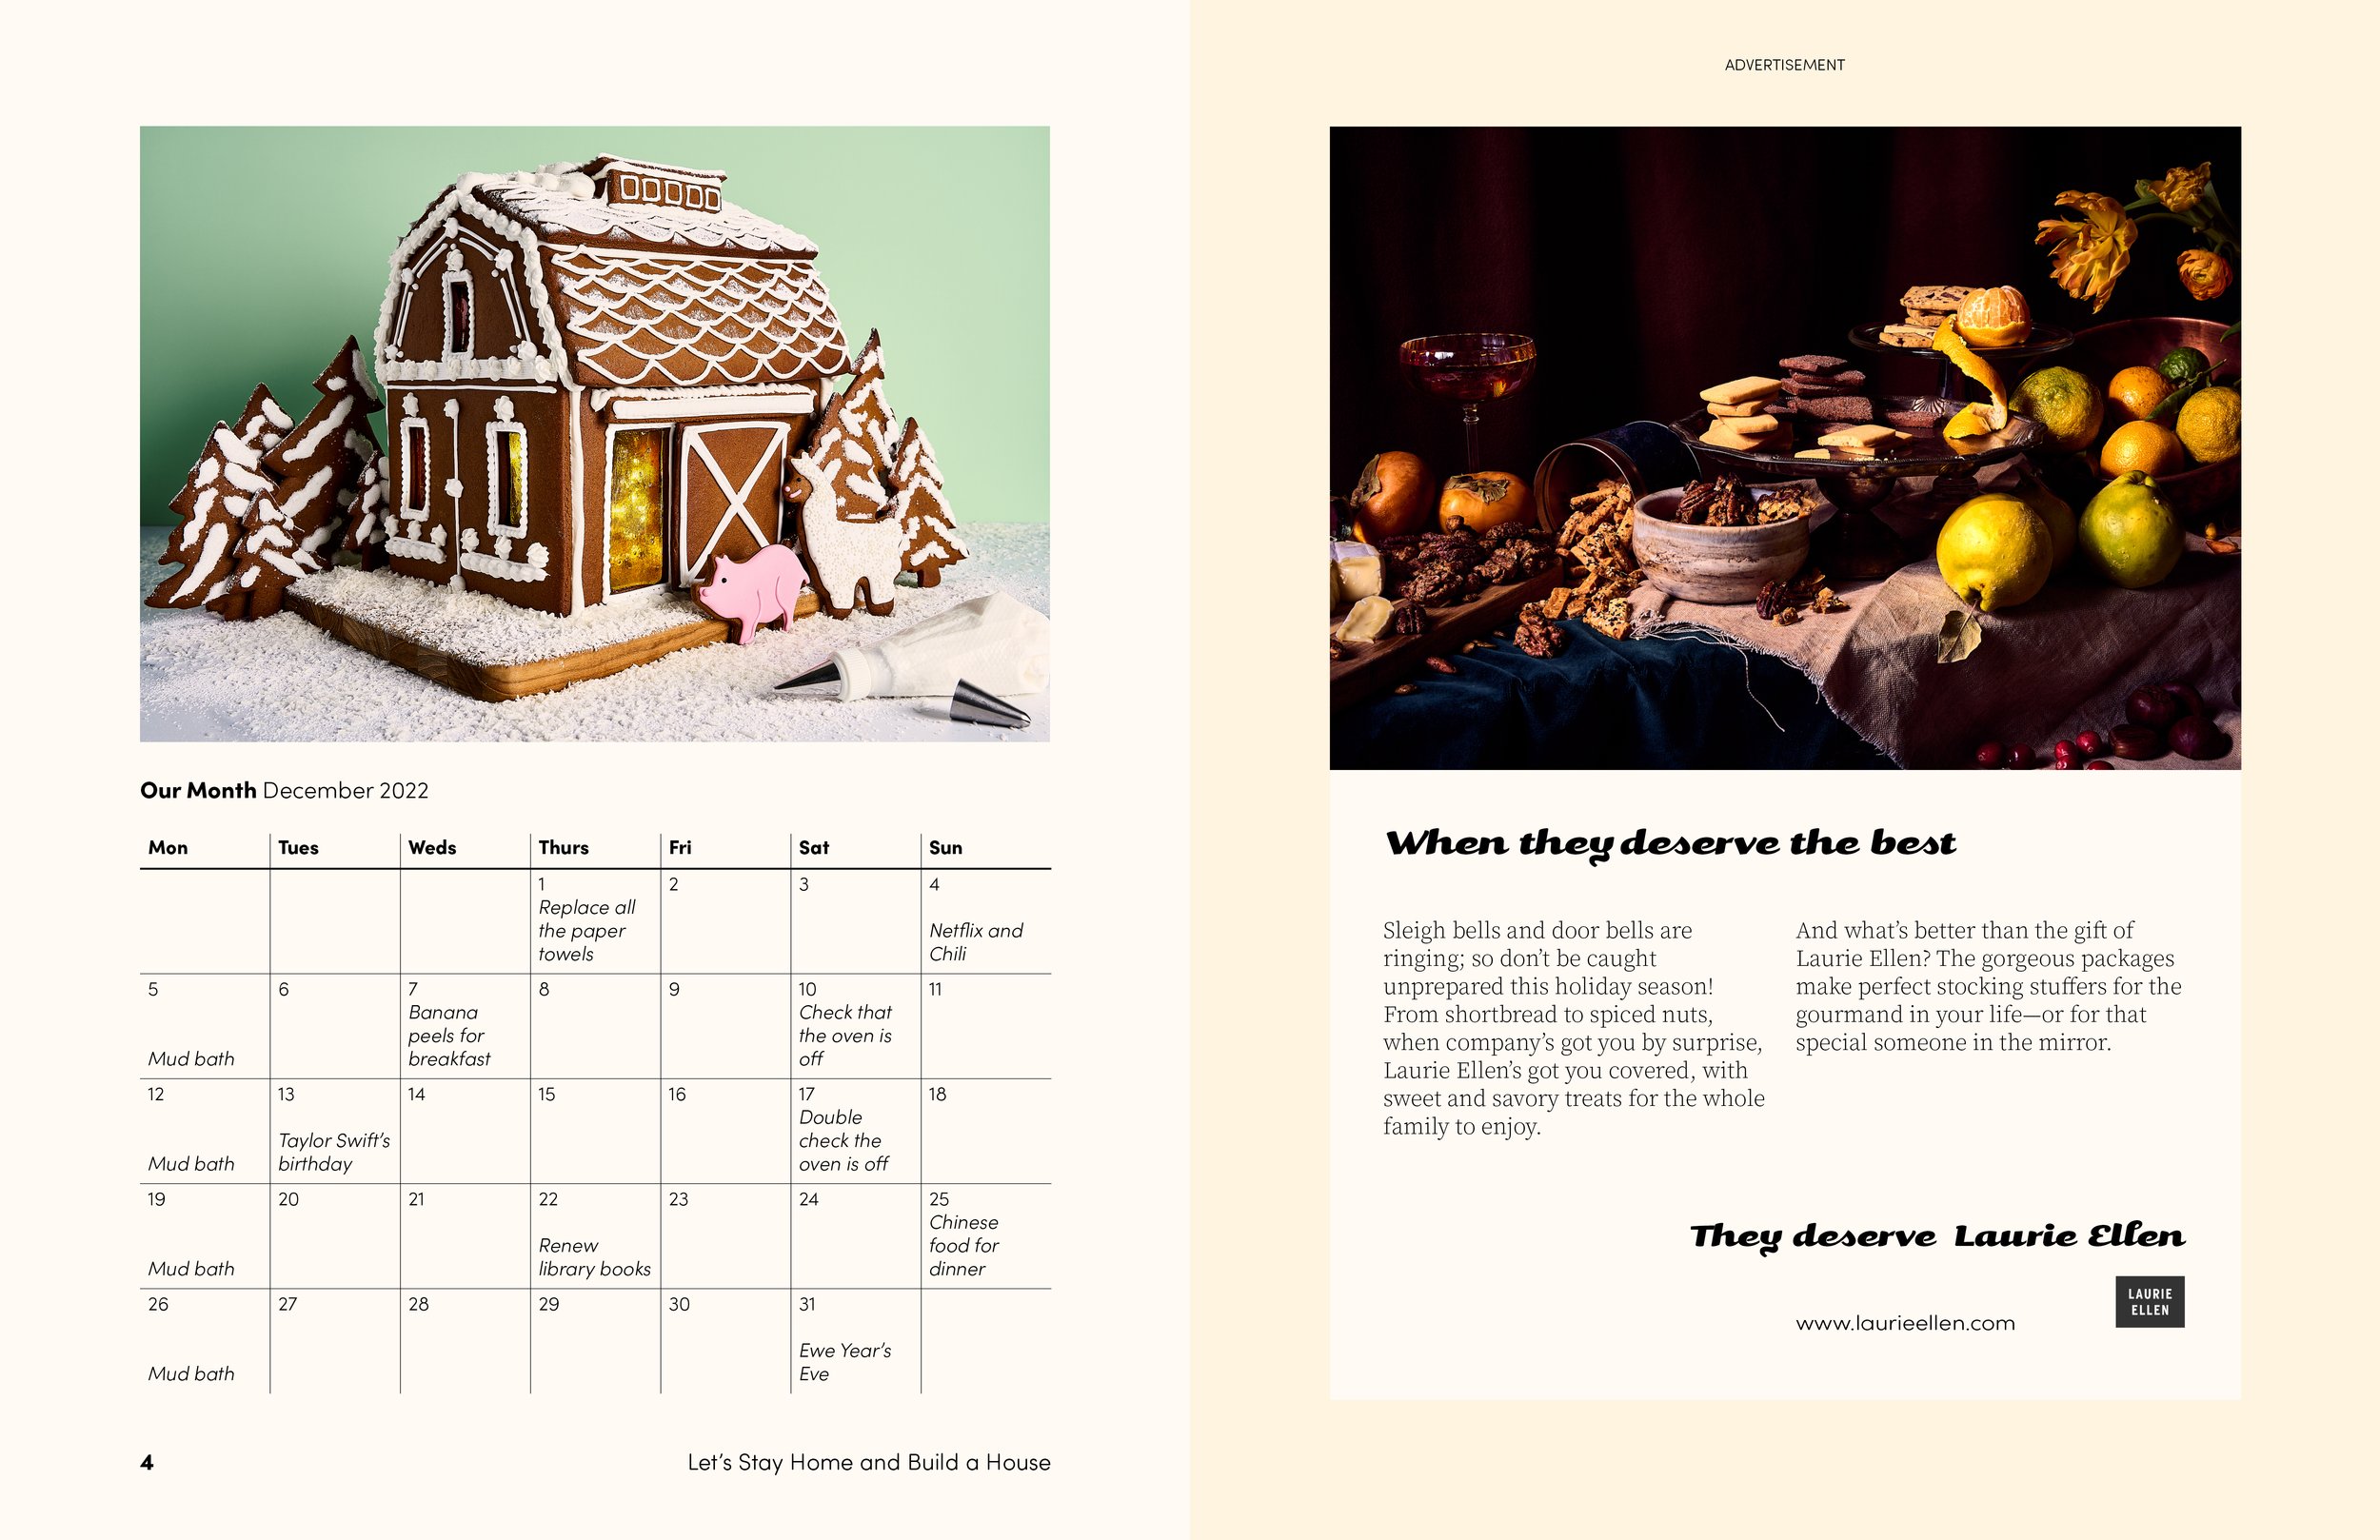
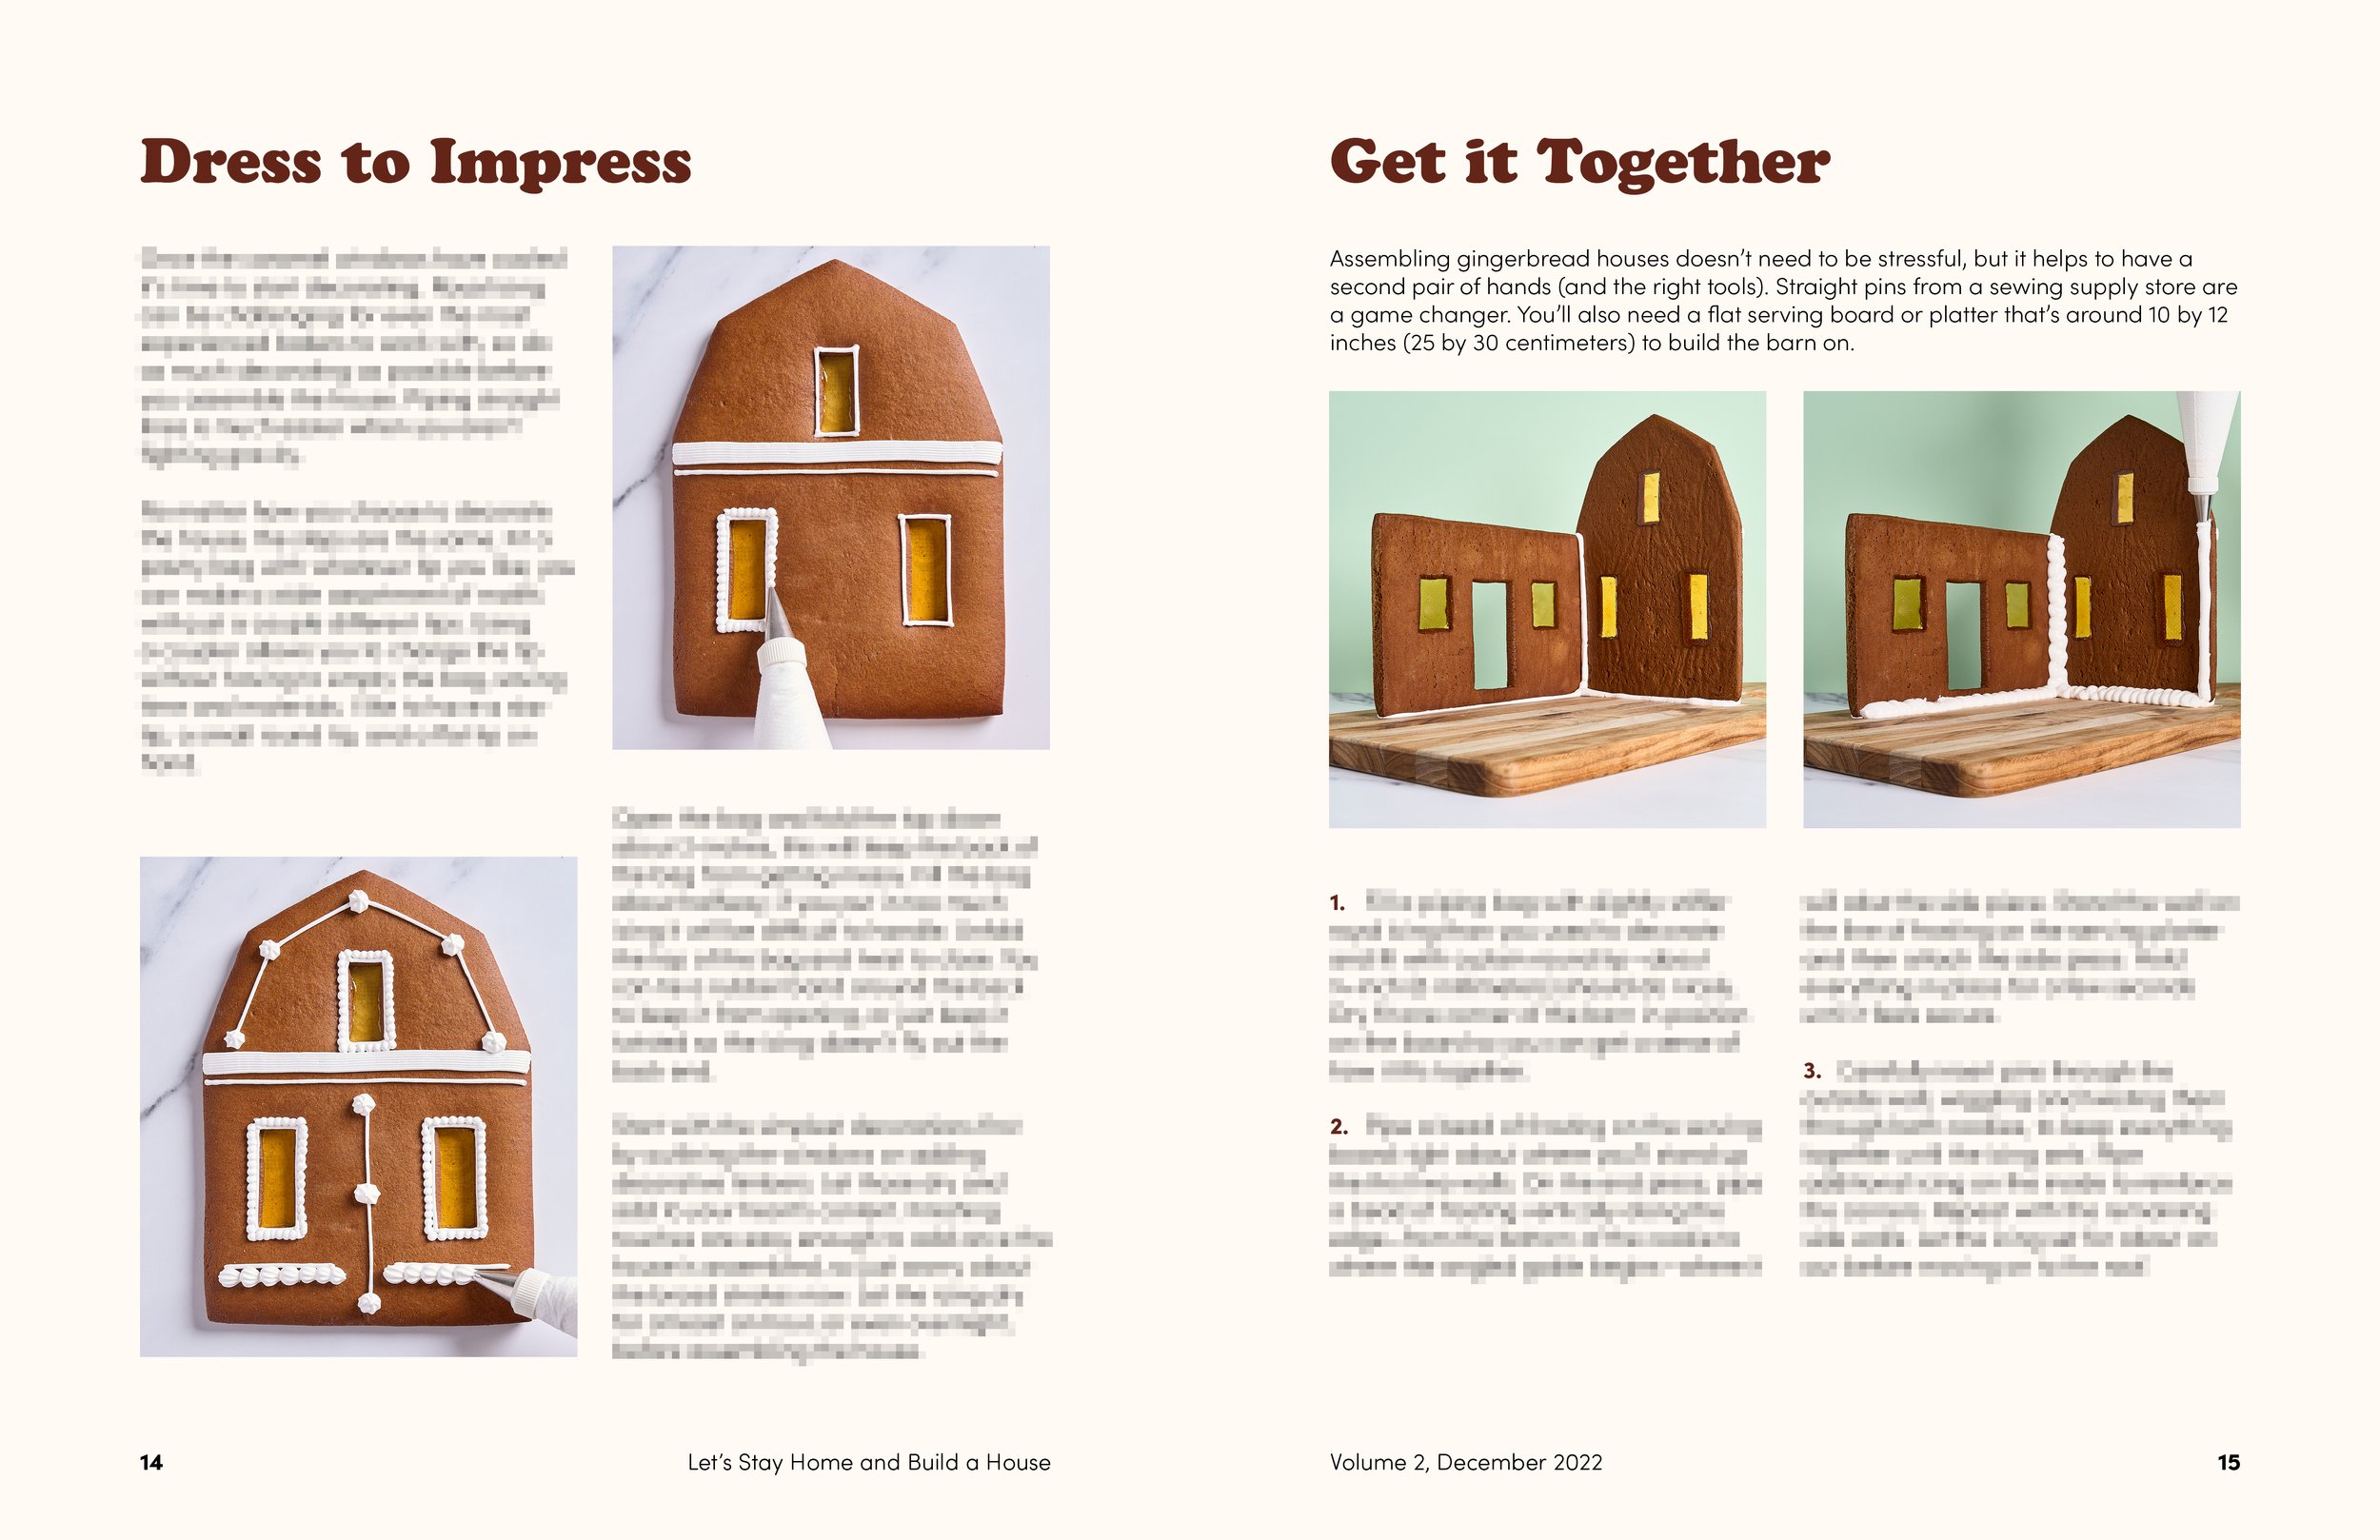
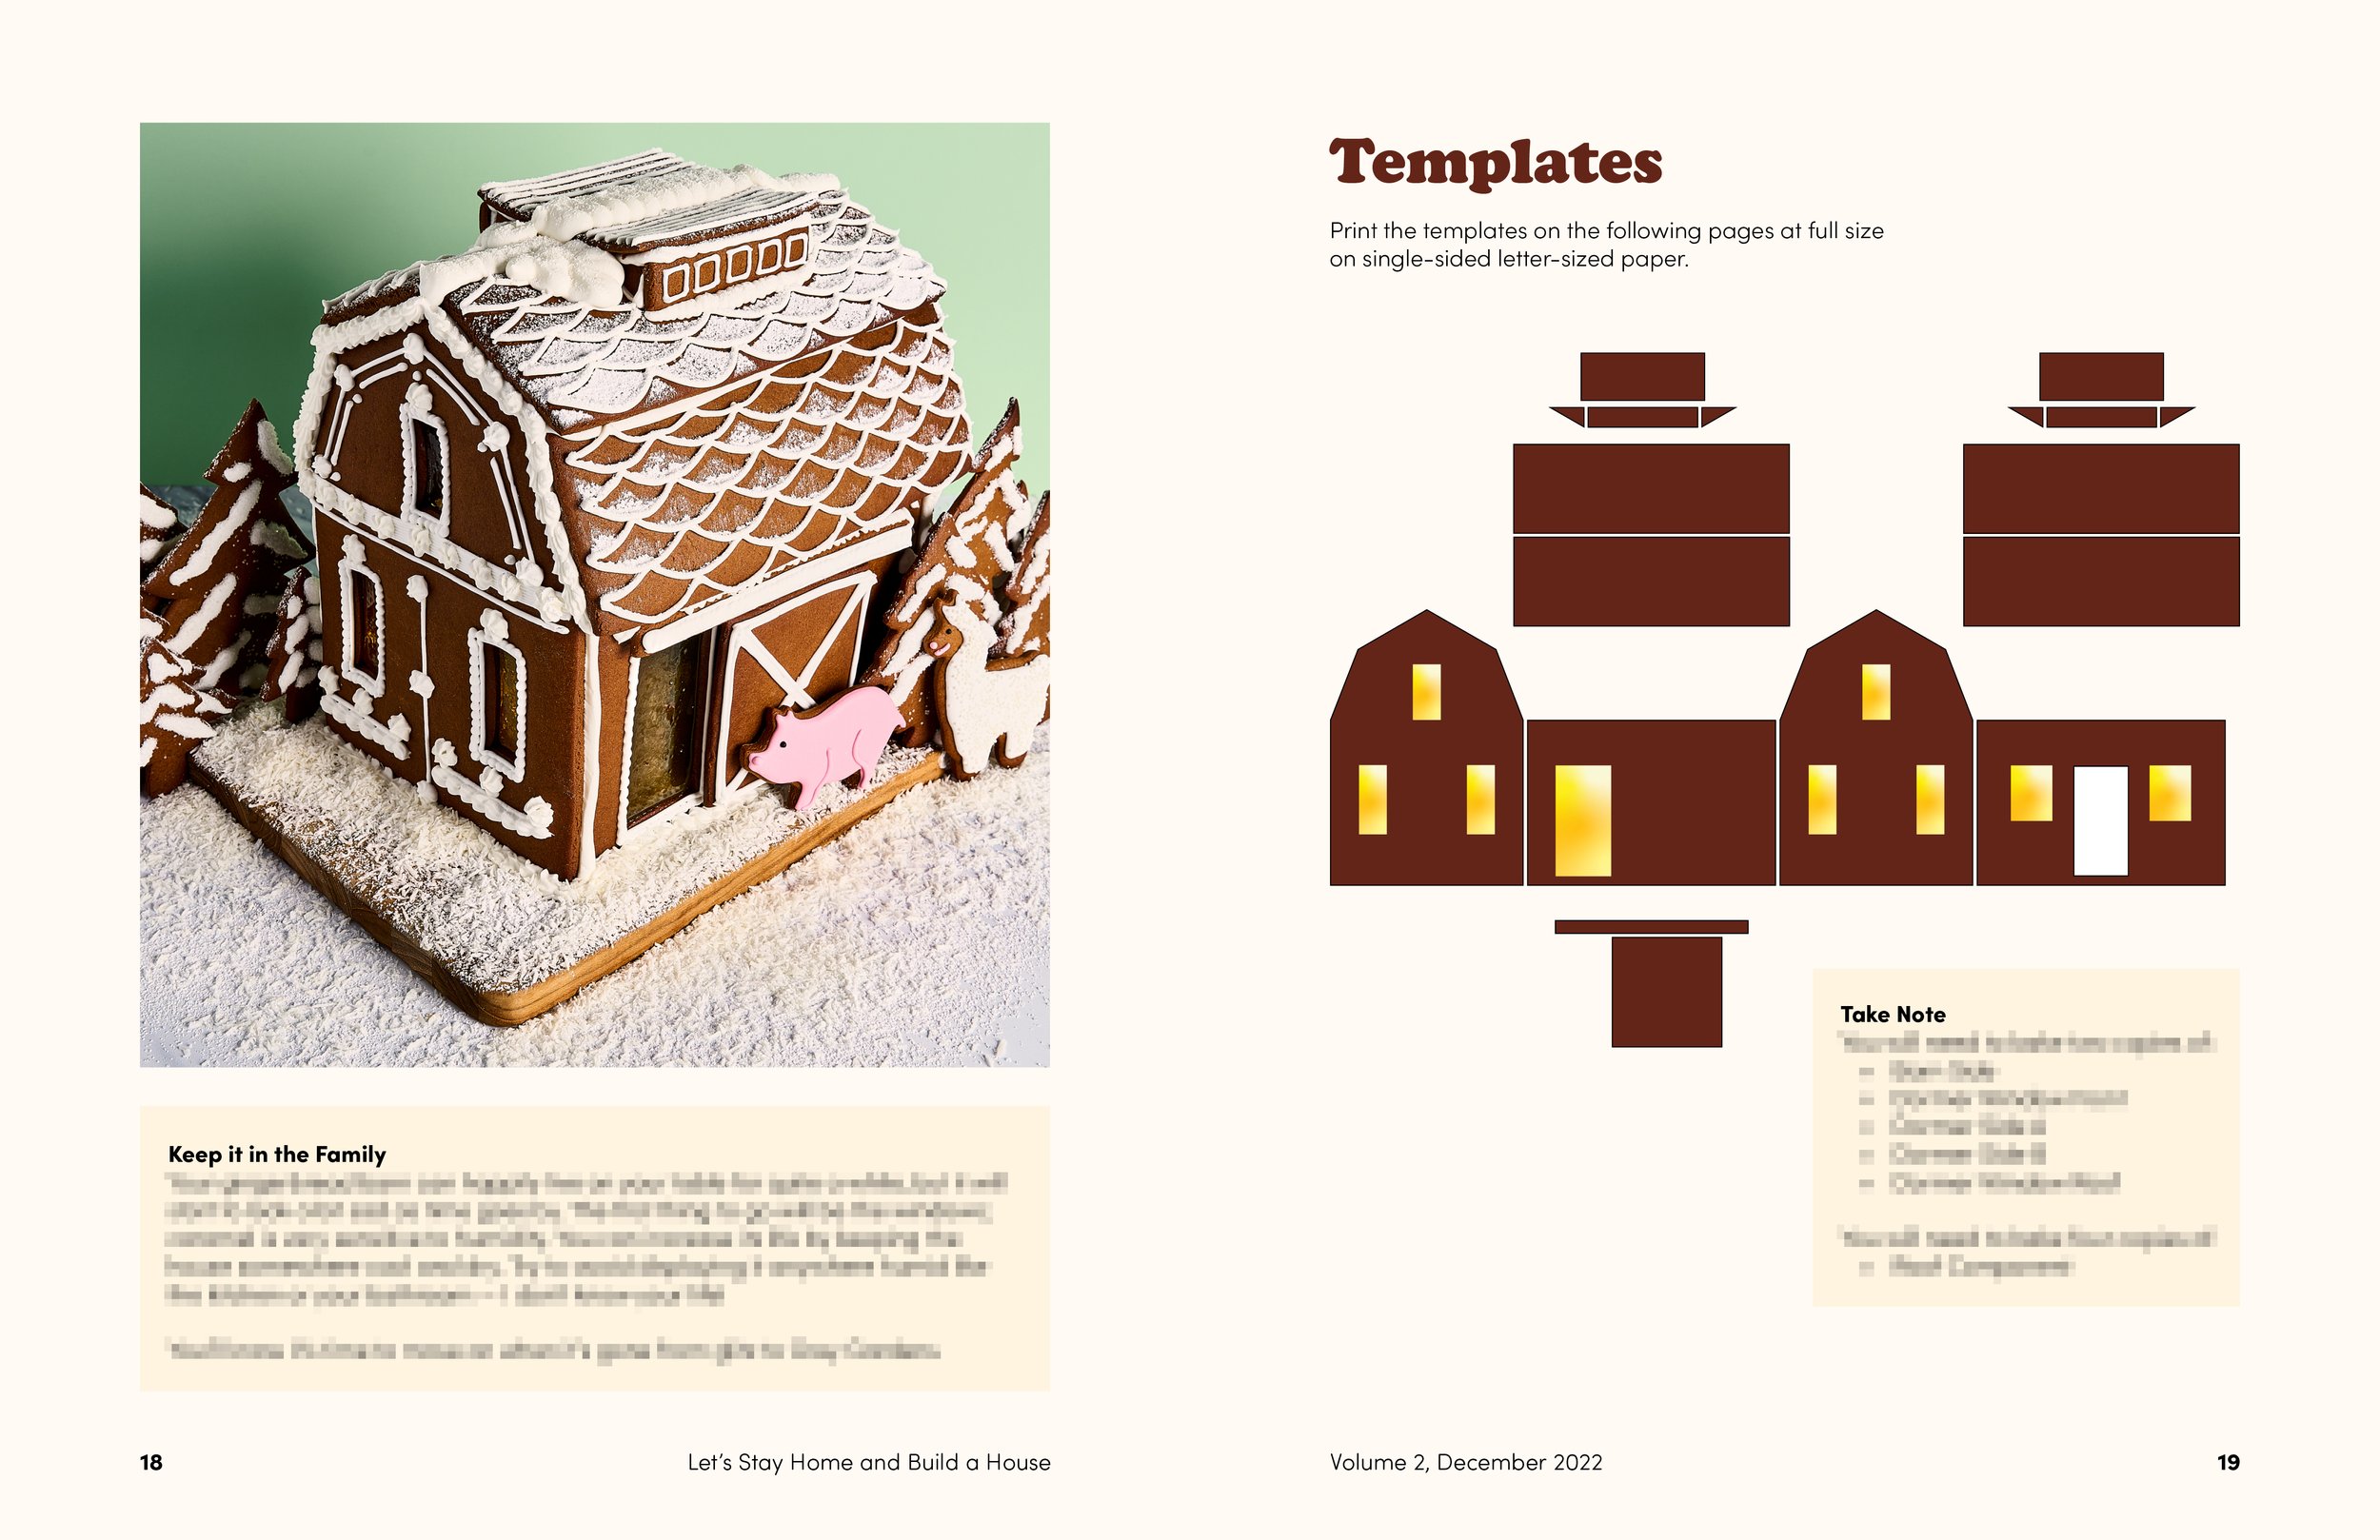
Back by popular demand, it's Let's Stay Home and Build a House volume 2! Wait, is it... a zine?
Get all the recipes and templates you need to build a gingerbread barn for the holidays in a cheeky lifestyle magazine edited by Steven Oinkel, named 2022's pigfluencer of the year by Sløp Holdings LLC. It's #piggyhygge and fun for that one person in your family!
Inside this issue:
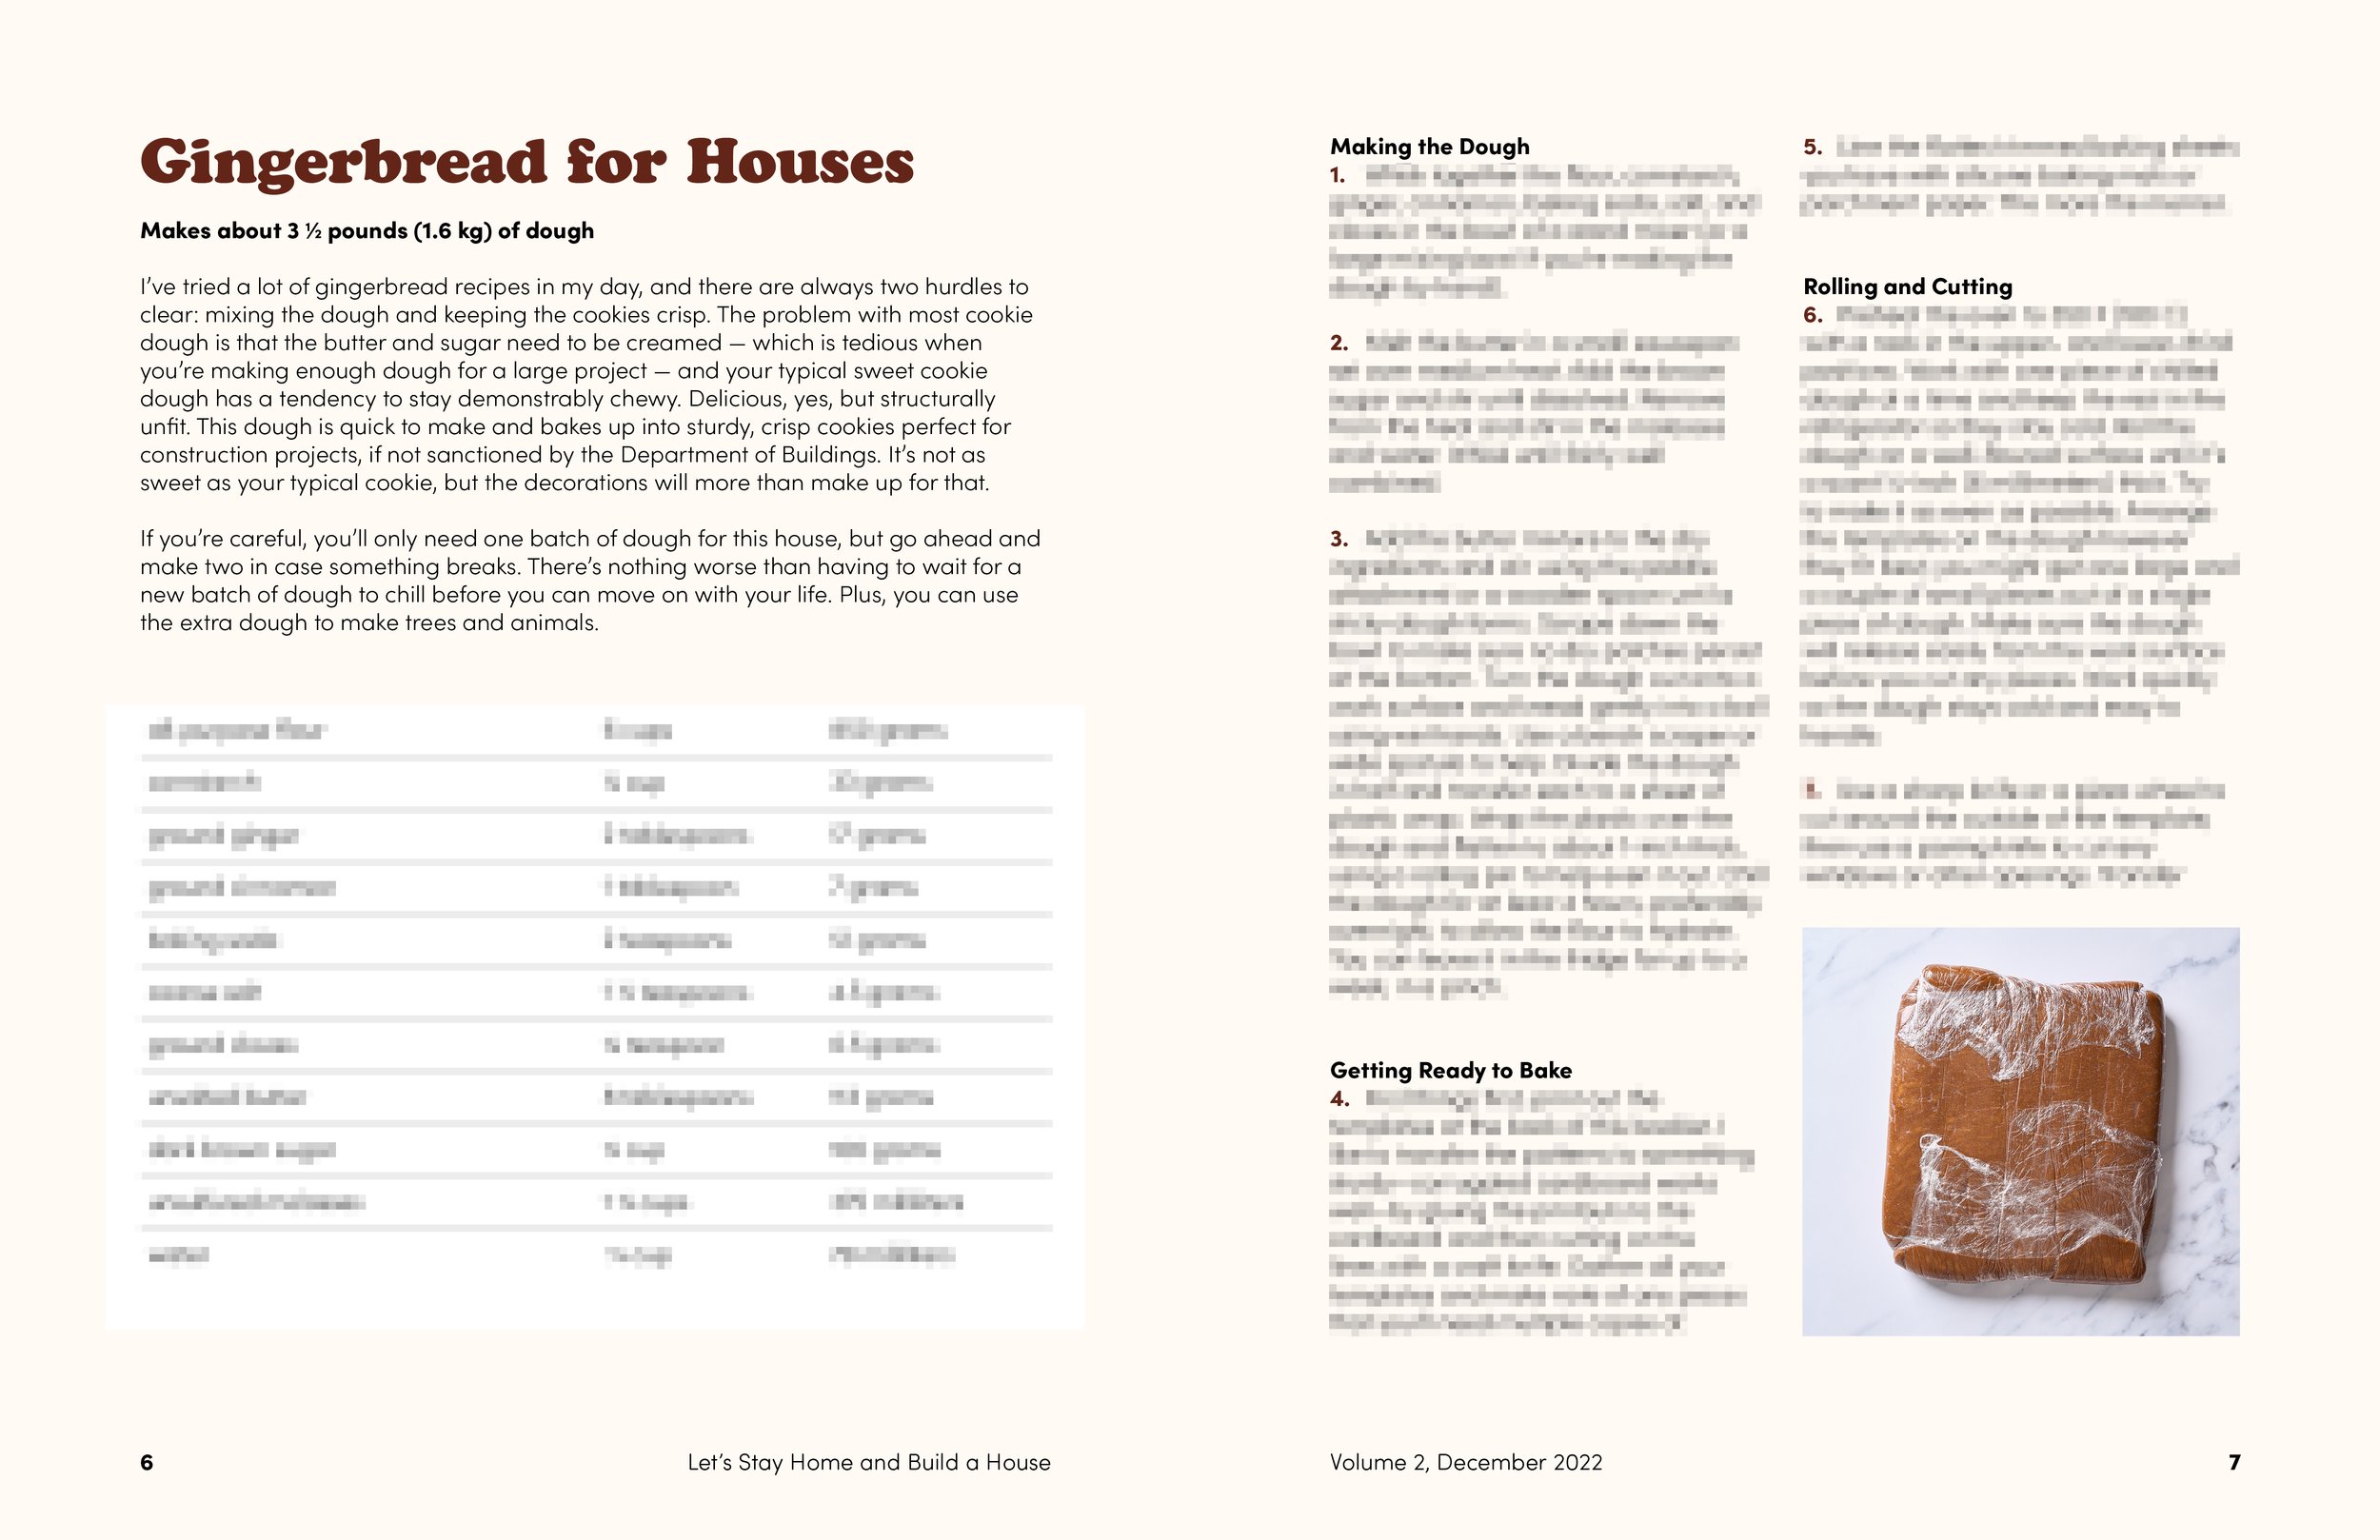
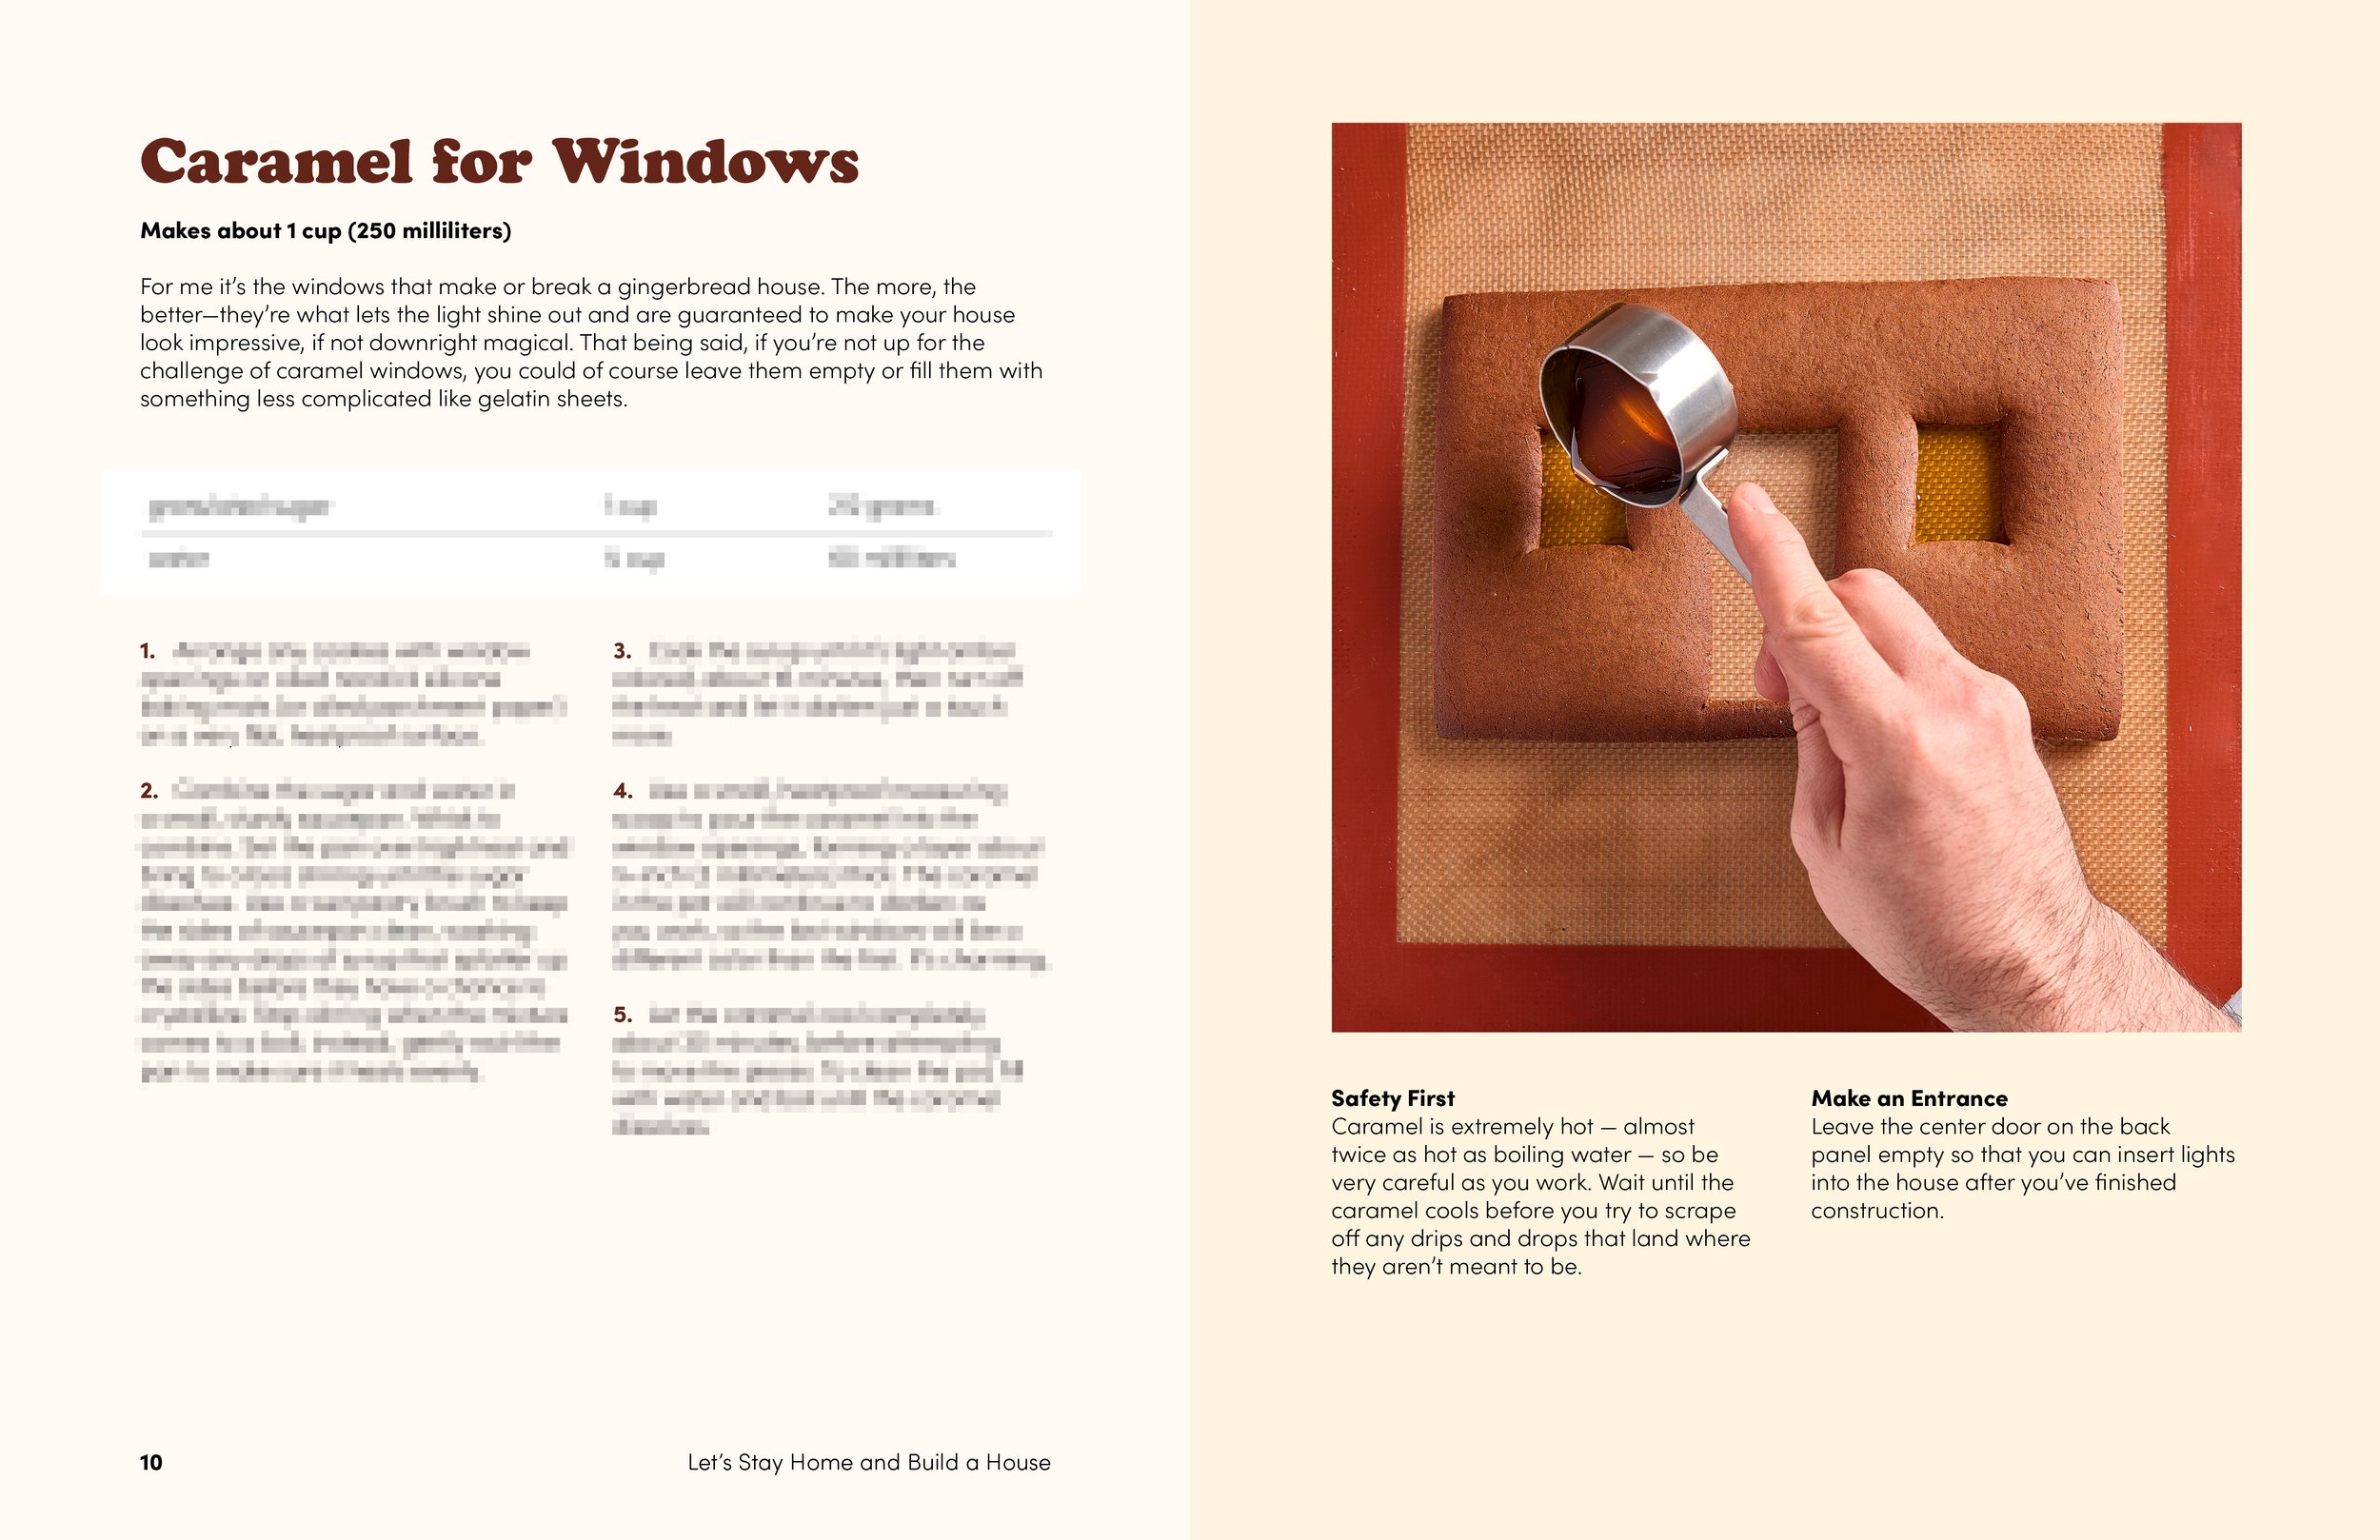
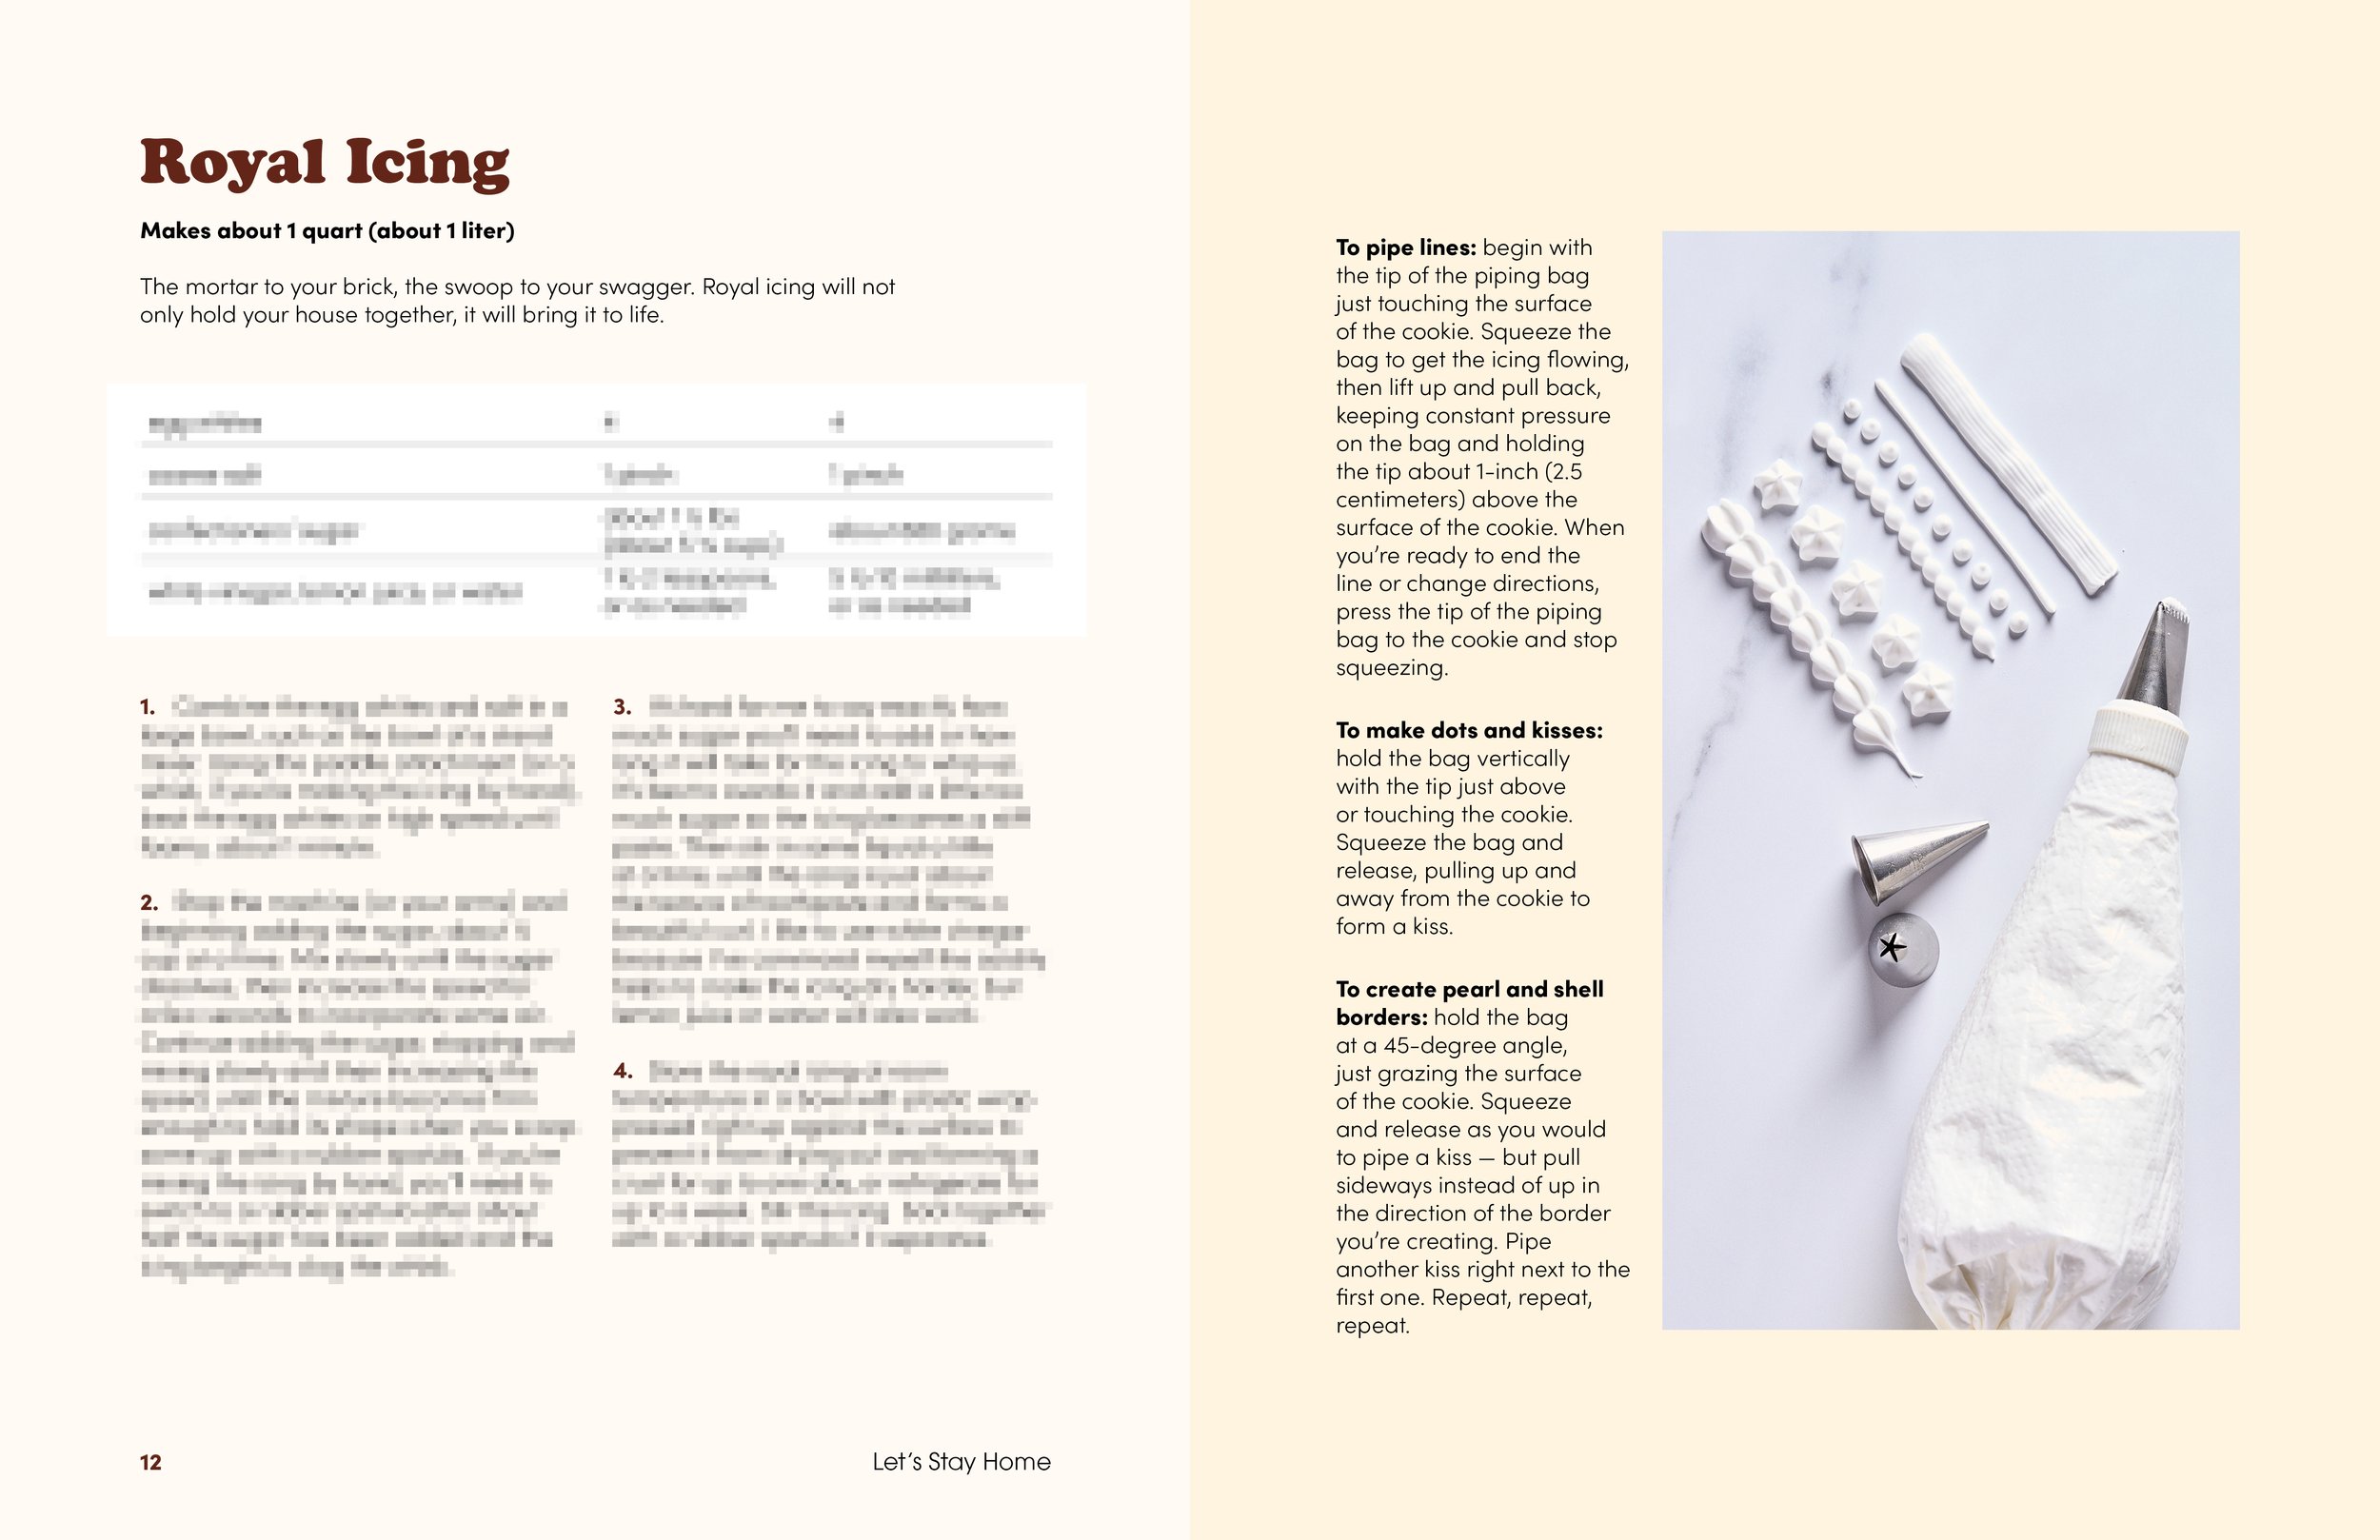
» My tried and true recipes for Gingerbread, Royal Icing, and Caramel windows
» Actual instructions
» Printable templates
» Tricks and tips
» Mildly comedic elements
» Tips and tricks
Recipes are provided in standard US and metric units.
Catch me on Martha's Holidays this December on Roku where I make a much less sane barn with Martha Stewart herself.
Share your barn! #piggyhygge
Looking to make an easier gingerbread house than this one?
Looking for an easy gingerbread house to make this holiday season? Get my recipe and instructions in the Delish Holiday Baking Quarterly
Recipe: Nan-e Barbari (Persian Flatbread)
Dave was screaming at me yesterday when I opened the refrigerator. To be fair, I’d left him in there a pretty long time, so it’s no wonder he was feeling neglected. Luckily, he wasn’t so much angry as he was raring to go, so in the end we both made out okay.
(I should say at the outset that Dave is my sourdough starter, named after David LaChapelle. Ten points to anyone who can thread that needle.)
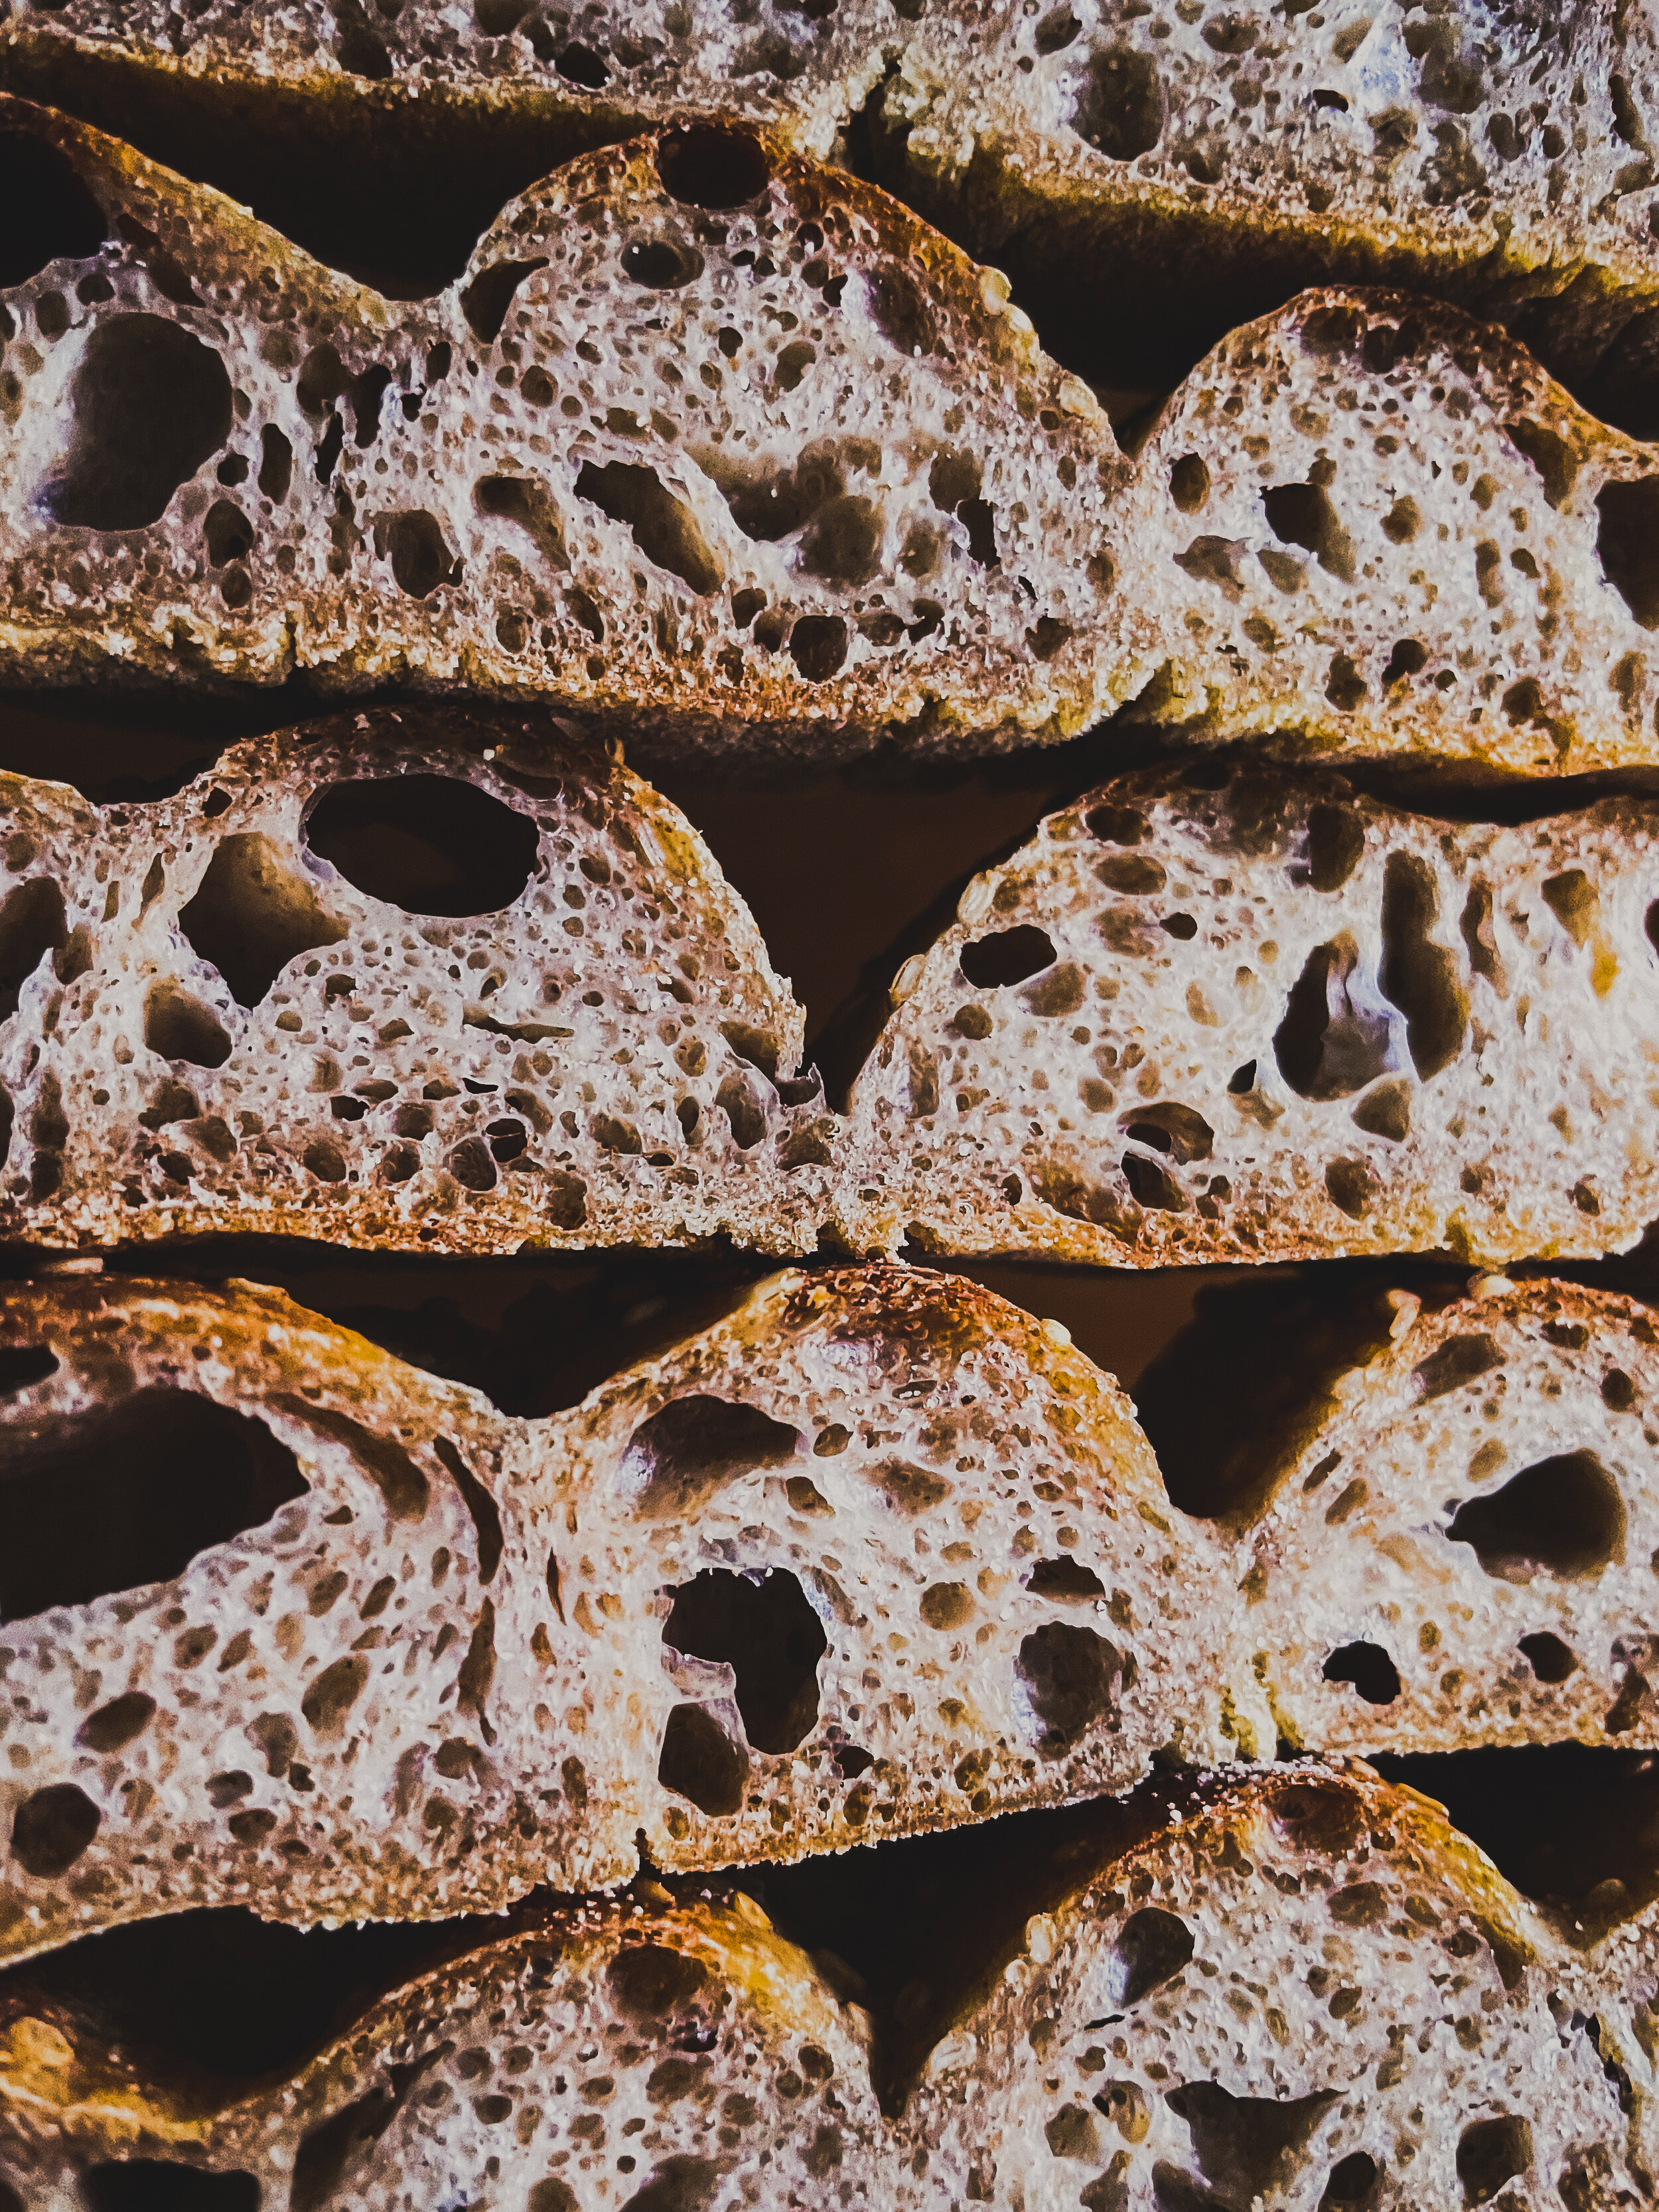
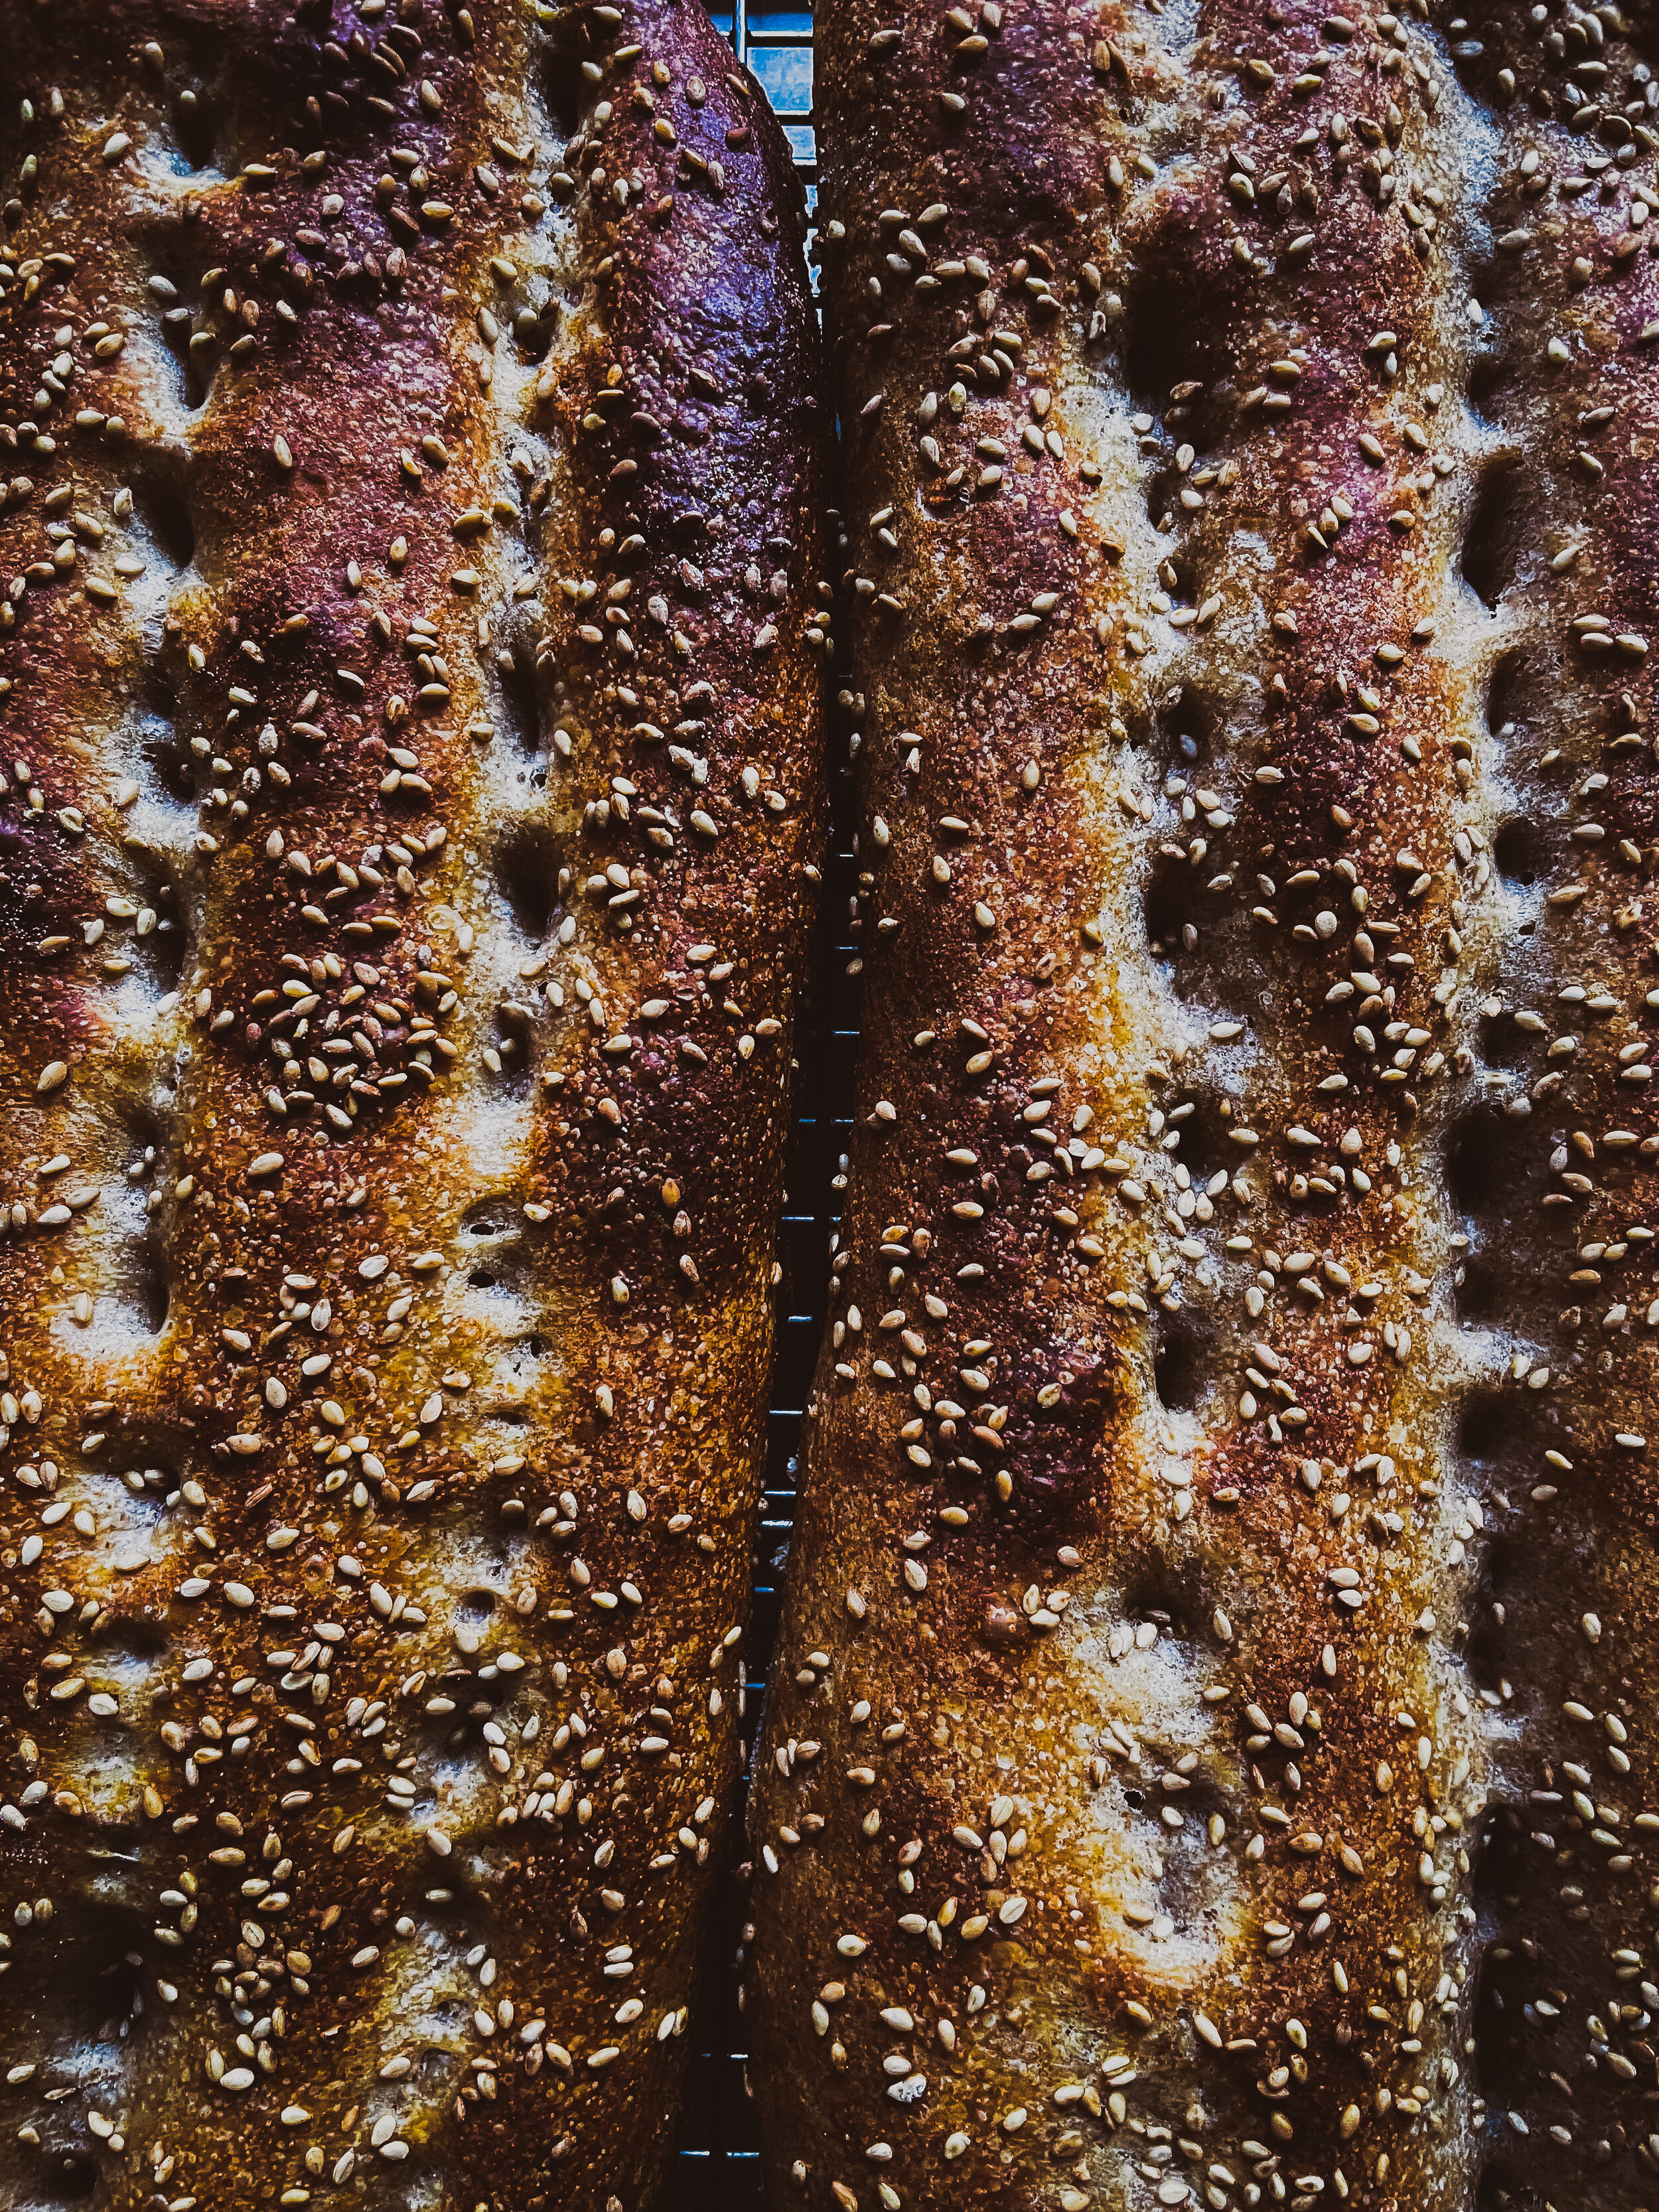
A couple weeks ago in my mindless instagramming I came across a recipe for nan-e barbari, a Persian flatbread I first encountered at a Before Times dinner at @sofreh_brooklyn, and it seemed like a perfect way to put Dave to good use. Crisp, tender, salty and savory, perfect for dipping or on its own.
Nan-e Barbari (adapted from @kates_bread and @hotbreadkitchen via @kingarthurbaking)
Makes 2
For the dough:
425 grams bread flour
75 grams whole wheat flour
385 grams water
100 grams sourdough starter
10 grams Diamond Crystal kosher salt
olive oil, for the bowl
Semolina flour, for dusting
For the glazing paste and finishing:
2 teaspoons bread flour
60 grams water
Sesame seeds, for sprinkling
Combine the bread flour, whole wheat flour, water, and sourdough starter in the bowl of a stand mixer. Stir together by hand until a sticky dough forms. Cover and set aside for 30 minutes.
Add the salt and mix on medium speed using the dough hook attachment until the dough cleans the sides (but probably not the bottom) of the bowl. It might take as long as 15 minutes to get there, so be patient.
Form the dough into a ball and place in a generously oiled bowl. Cover and set in a warm spot to rise until doubled, about 4 hours. Stretch and fold the dough in the bowl at the 30 minute and 1 hour marks, then leave to rise undisturbed for the remaining time.
Turn the dough out onto a work surface dusted with semolina flour. Divide into two pieces and shape each into an oval. Set on semolina-dusted parchment sheets to rest, about 2 hours.
Preheat the oven to 475F with a pizza stone in the upper-third position about 1 hour before baking.
Make the glazing paste: combine the flour and water in a small saucepan and bring to a boil over low heat, whisking constantly. Remove from heat and set aside to cool.
Working with one loaf at a time, rub the glazing paste over the dough, gently stretching it. If you’re feeling bold, you can transfer the shaped loaf to a pizza peel, or you can bake directly on the parchment paper. Either way, use your fingers to press deep grooves into the surface. Sprinkle with sesame seeds and brush away any excess flour from the parchment or peel.
Bake until deep golden brown and crisp, about 20 minutes. Transfer to a wire rack too cool.
FRUIT CAKE x food52 →
This PB&J cake from FRUIT CAKE is too easy to make *and* too easy to eat. I’ve still never been to Fire Island but I imagine it tastes just as good with a little sand on top. If you haven’t bought your copy yet, head over to food52 for the recipe.
Buckwheat-Spelt Cake with Pears and Chocolate
One of the great ironies of pandemic baking is that specialty flours seem to be easier to find than ever, which is great for me because there’s almost nothing I don’t want to mix with buckwheat and spelt. Here their nutty flavors provide the perfect bass note to balance out the sweetness of the pears and chocolate. This is the epitome of a snaking cake: sturdy enough to eat out of hand and needing no accompaniment.
86 grams | unsalted butter, plus additional for greasing pan |
100 grams | all-purpose flour |
50 grams | buckwheat flour |
50 grams | whole spelt flour |
½ teaspoon | coarse salt |
½ teaspoon | baking powder |
¼ teaspoon | baking soda |
150 grams | granulated sugar |
2 | large eggs |
50 grams | pure maple syrup |
75 grams | whole milk plain yogurt |
2 teaspoons | pure vanilla extract |
2 | firm ripe pears, peeled, cored, and chopped into ½-inch pieces |
150 grams | chopped chocolate (bittersweet, milk, or a mix) |
Preheat the oven to 350 degrees Fahrenheit with a rack in the center of the oven. Brush a 2-quart baking dish with butter.
In a medium bowl, whisk together the all-purpose flour, buckwheat flour, spelt flour, salt, baking powder, and baking soda, and set aside.
In a small saucepan, melt the butter over medium-high heat. Continue cooking, stirring frequently, until the butter is brown and fragrant, about 5 minutes. Transfer to a heatproof bowl, making sure to scrape all the brown bits from the pan. Add the sugar to the browned butter and whisk to combine, then set aside for a few minutes until the mixture is warm but not hot. Vigorously whisk in the eggs one at a time, then continue whisking until the mixture is the texture of a loose aioli. Whisk in the maple syrup, yogurt, and vanilla.
Whisk in the dry ingredients until just combined, then fold in the pears and chocolate. Scrape the batter into the pan and smooth the top.
Bake the cake until golden brown, the center springs back to the touch, and a cake tester comes out clean, about 30 minutes.
Transfer the baking dish to a wire rack to cool. Store in an airtight container at room temperature for up to two days.
Real Simple Halloween
Coming up with creative ways to make food exciting and fun for the holidays is a big part of being a food stylist — and for me, getting ready for halloween is one of my favorite projects! With fall just around the corner, here's a look back at some videos and recipes that I created for Real Simple last year.